How to make acorn jelly with a zol oak acorn acorn jelly
Last winter, I went to a forest full of oak trees, and acorns were all over the stream. The acorn of the oak tree has very small fruit, which fruit is very small.^^ It's so small and smart and pretty that it's pretty just by hanging it on the tray, so it's good to touch it like a touch game. I searched YouTube and blog and made it while watching how to make it. (I learned acorn jelly~^^) It wasn't hard because it was a small amount, but it was hard to peel it, and it took a lot of patience to change the water while sinking the sediment. I was worried that I might have failed while boiling it and hardening it, but when I made it, I felt so good that the delicious acorn jelly was completed without any tangy, soft, and astringent taste. a great success.
4 serving
Within 999 minutes
Tina소울푸드
- Ingredients
-
-
Acorns730g
-
Water600ml
-
potato starch200ml
-
Water800ml
-
- Cooking Steps
-
STEP 1/13Wash the collected acorns in water and hang them on the strainer tray to dry thoroughly.
 STEP 2/13As the acorn dries, the skin cracks, making it easier to peel.
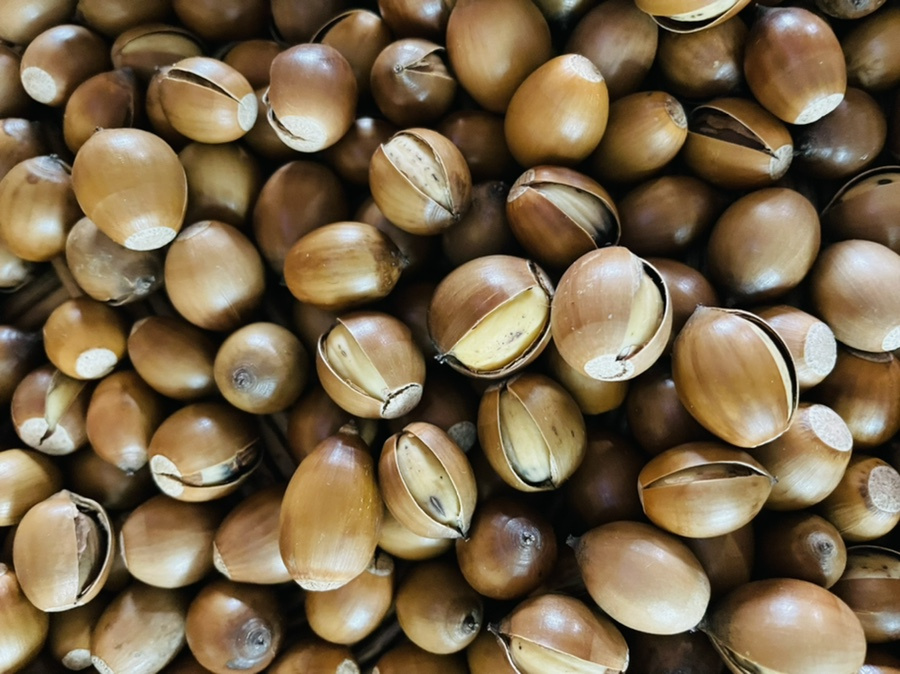 STEP 3/13You have no choice but to peel acorns that don't crack. I cut it off with scissors. Fortunately, small oak acorns have a thin skin, so they peel well even if you cut them slightly with scissors.
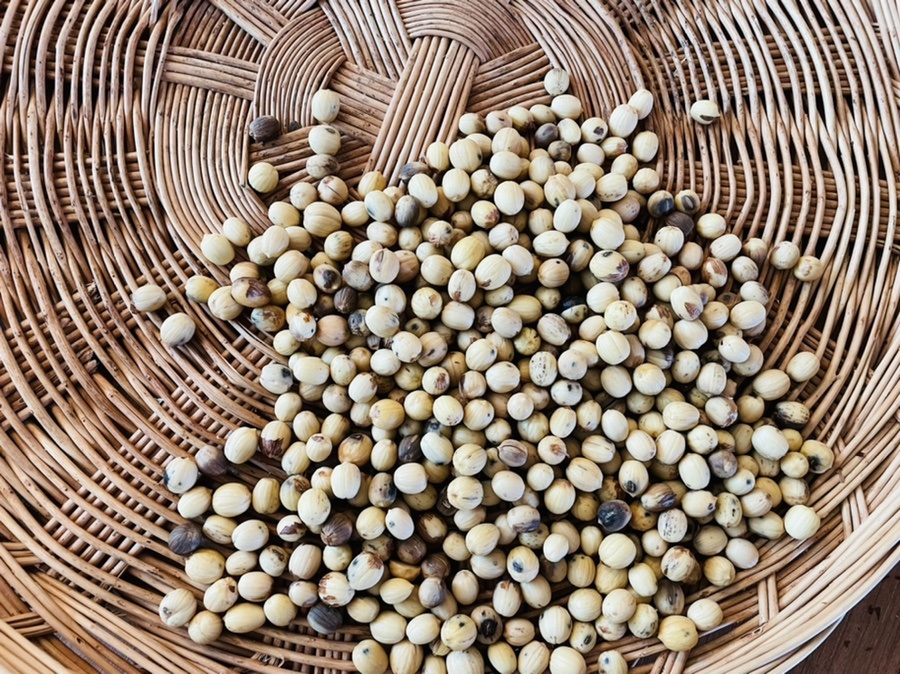 STEP 4/13Put the acorns in a blender and grind finely with plenty of water. You don't have to care about the amount of water because the sediment will sink and then throw it away, so you can put it in so that the acorns are easily split.
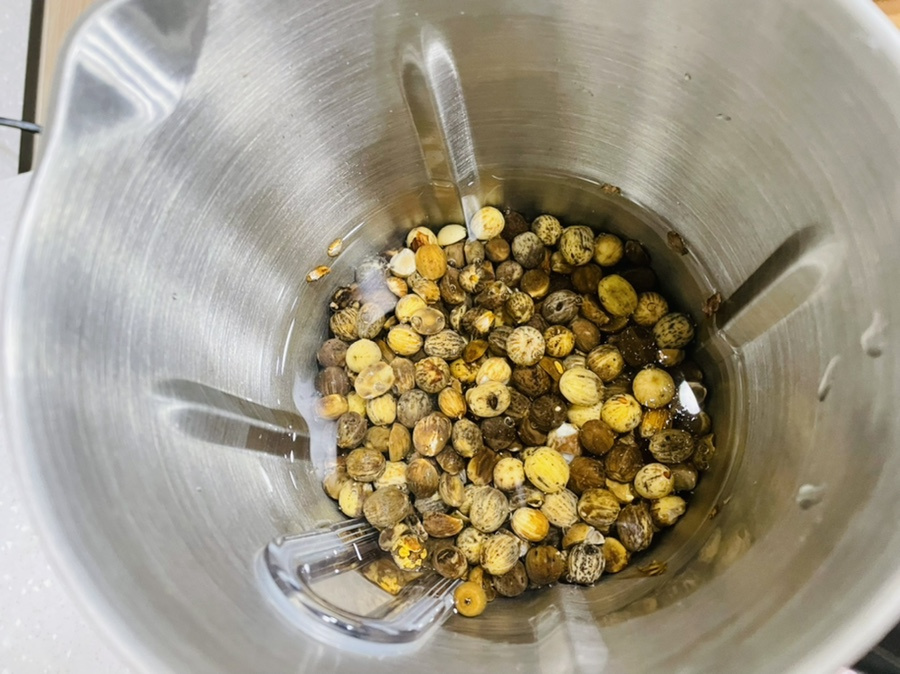 STEP 5/13Place cotton cloth in a large bowl and pour in ground acorns.
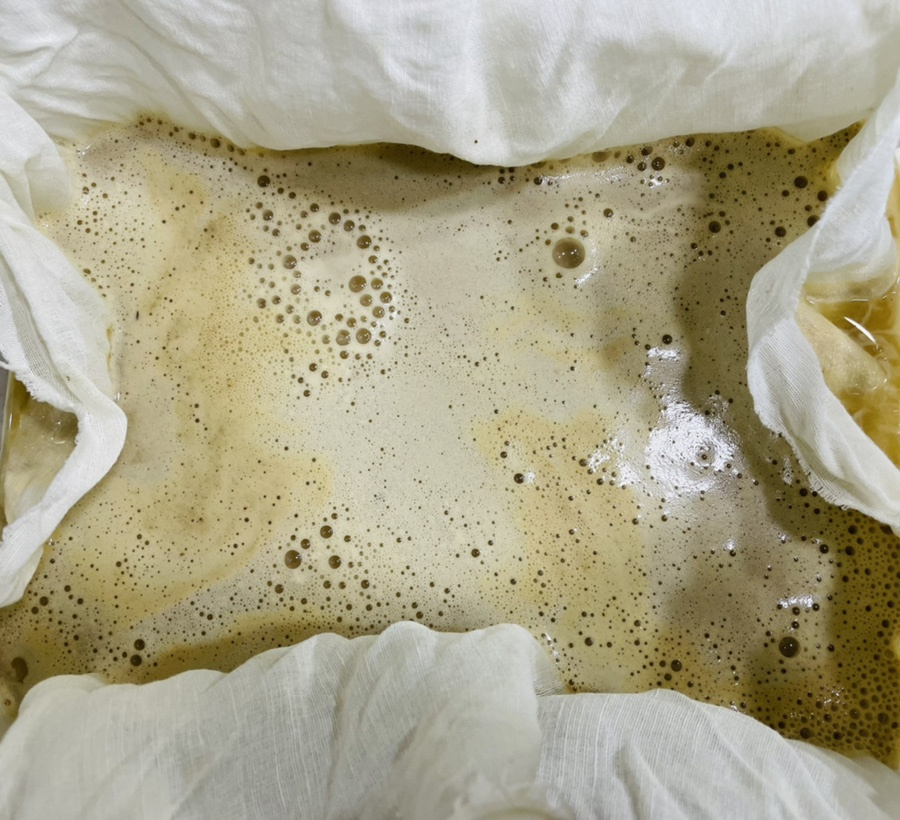 STEP 6/13Close the cloth tightly and pat it with your hands so that starch comes out. There's acorn water that's like coffee color, and there's an acorn starch paste mixed in it. Get new water several times, rub it like washing it, and squeeze it later. Repeat 3-4 times, pouring 1 liter of water.
 STEP 7/13Place the coffee-colored acorn powder water in a large container and let stand for about 5 hours until the starch subsides.
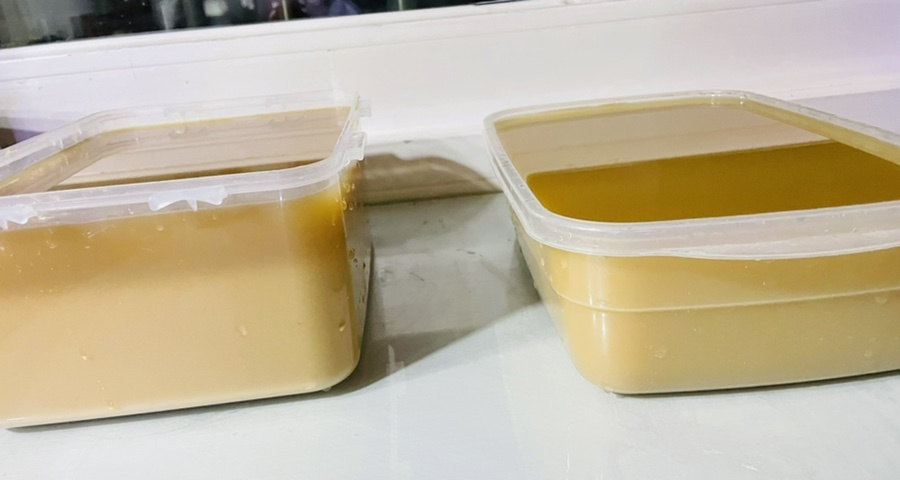 STEP 8/13When starch sinks to the floor, pour water carefully on top to prevent it from coming up. The starch was lost when I changed the water, so it almost halved crying
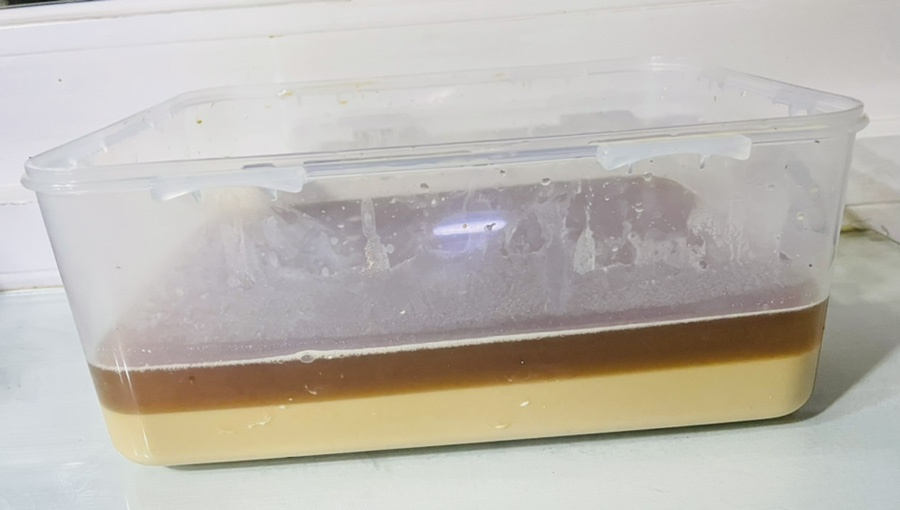 STEP 9/13I'll pour the starchy sauce on the pot
 STEP 10/13Pour water about four times the starchy sediment, stirring constantly over high heat at first, and simmer until the bottom does not burn.
 STEP 11/13When it starts to boil, reduce heat to medium low and keep stirring. I can feel that the starch is getting more and more ripe and resistant. I didn't know the amount of water at first, so I put it in little by little and boil it to adjust the concentration. I stirred and mixed it all over the place, so I lifted the pot and put it back down on the fire. Since it was my first time, I was clumsy in many ways.
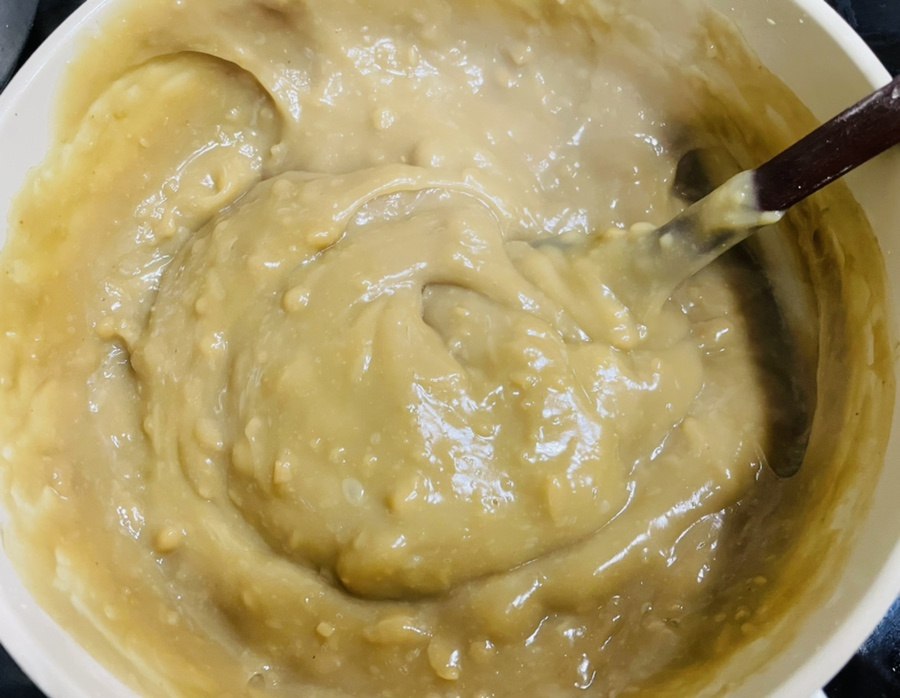 STEP 12/13When one or two bubbles begin to form, stir with the heat as low as possible. Since it's the highlight, I turned off the heat, stirred it in the residual heat, covered it, and let it steam for about 3 minutes.
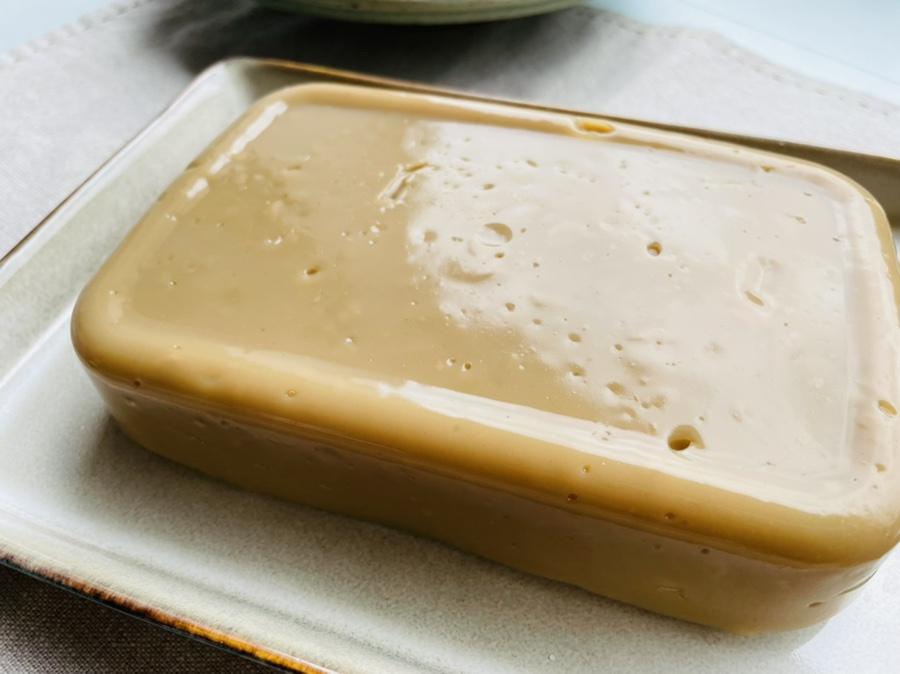
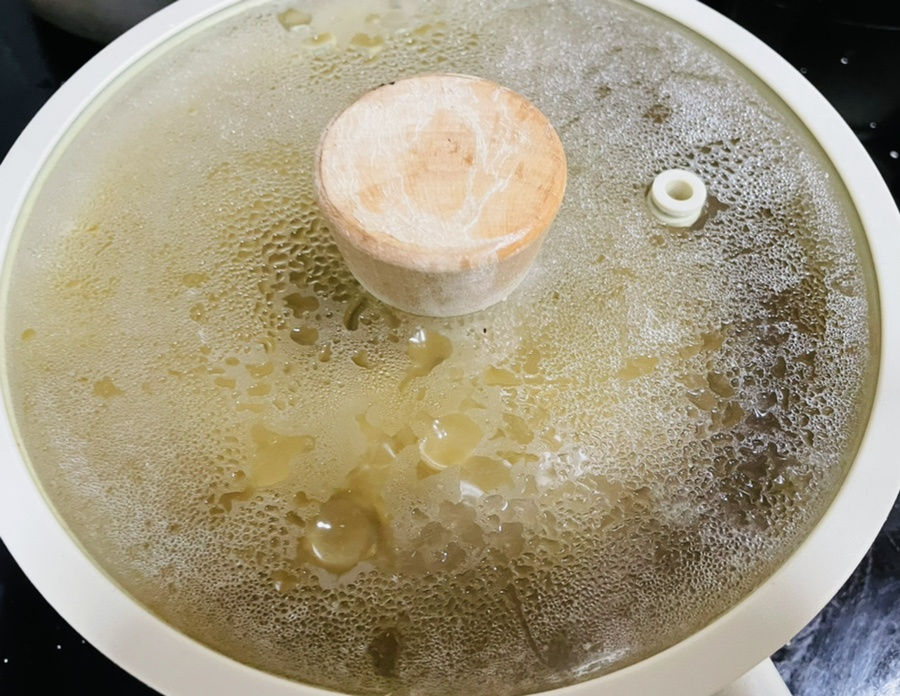 STEP 13/13When the heat goes off, put the dough in a suitable container and cool it with a lid on. The visual was sloppy, but it looked decent when I turned it upside down after it hardened.
 - Remove the astringent taste of starch sediment by changing the water. - When it starts to boil, lower the heat and stir well.
- Kimchi Recommended recipe
-
-
1
 [How to make water kimchi] Simple way to make water kimchi4.90(99)
 -
2
 How to make it taste like green onion kimchi, a golden recipe fo4.88(42)
 -
3
 Short soup with young radish kimchi4.97(39)
 -
4
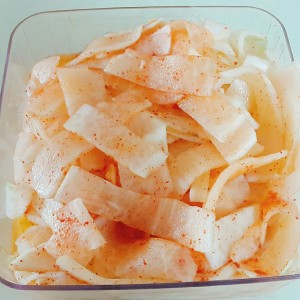 Cold noodles radish kimchi4.78(37)
-
- Bibimbap Recommended recipe
-
-
1
 Tuna and vegetable bibimbap5.00(7)
 -
2
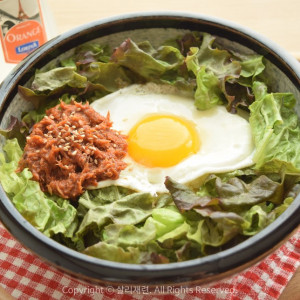 Lettuce bibimbap tastes great if you mix it with tuna ssamjang!4.95(84)
 -
3
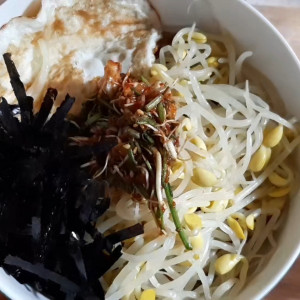 [Bean sprout rice] It's easy to make bean sprout bibimbap (+even4.89(9)
 -
4
 Young radish bibimbap, a simple meal5.00(10)
-