Making Japanese-style egg-grilled kyoku making egg bread
Making Japanese-style egg-grilled kyoku making egg bread
There were some failures
It's an improved recipe, so you can follow the recipe.
4 serving
Within 90 minutes
올디니
- Ingredients
-
-
egg4ea
-
Eggs1ea
-
Sugar60g
-
a beautiful forest50g
-
the King's30g
-
bad luck150g
-
Shrimp.80g
-
Tzuyu1T
-
- Cooking Steps
-
STEP 1/13Break the egg into a small bowl, check, and transfer to a large bowl.
Occasionally, when visible foreign substances are combined, it becomes difficult to use eggs.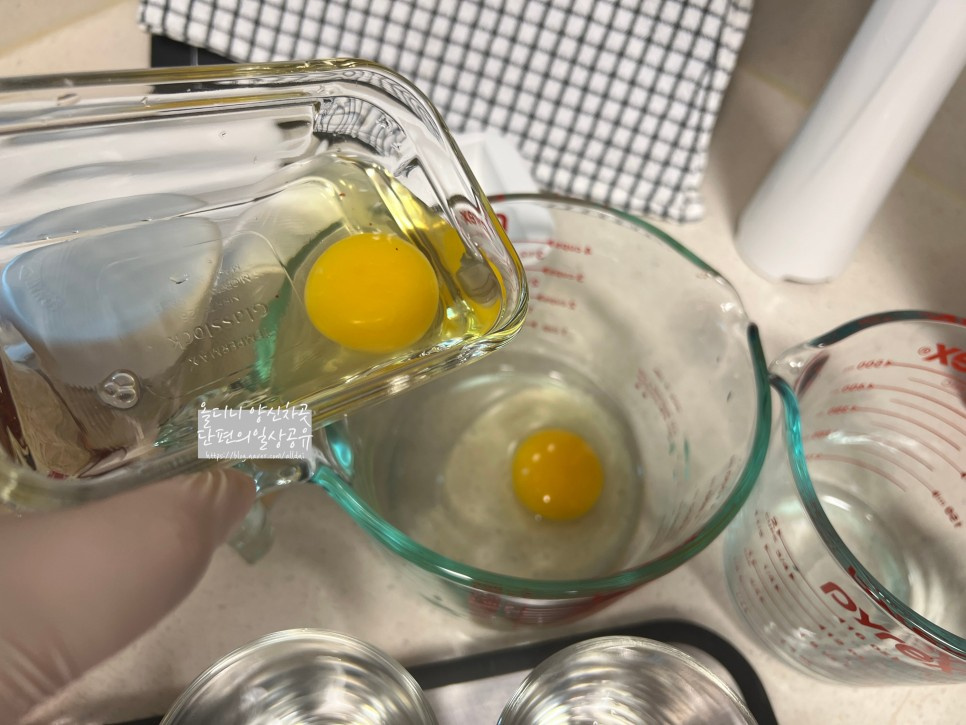 STEP 2/13Eggs shouldn't foam.
Mix it with chopsticks.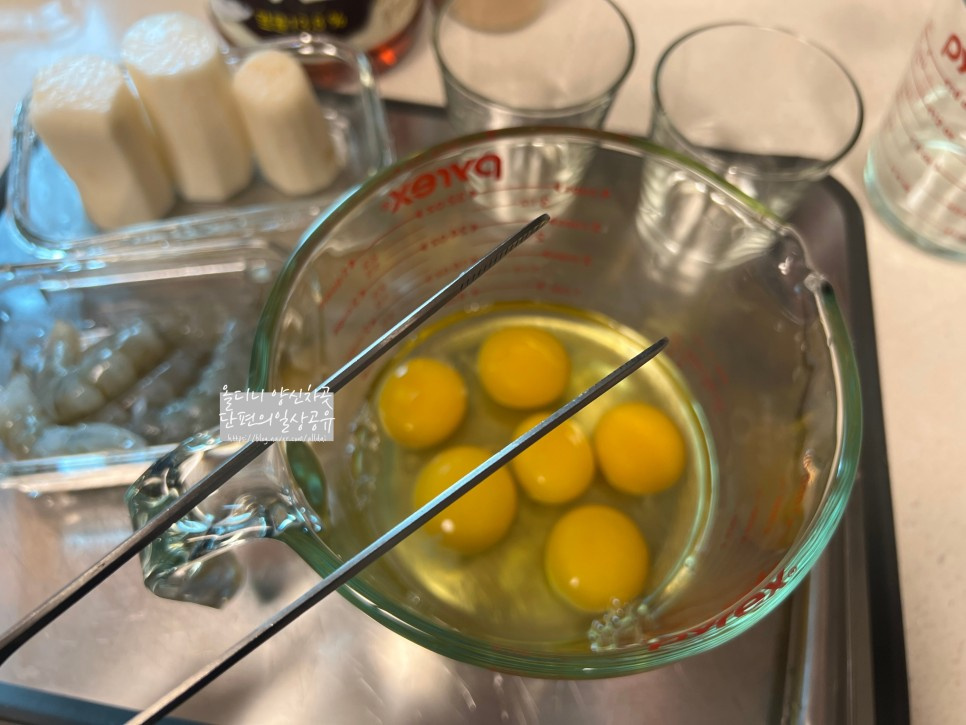 STEP 3/13Add mirin, cheongju, and sugar and heat them up to blow away the alcohol and melt the sugar well.
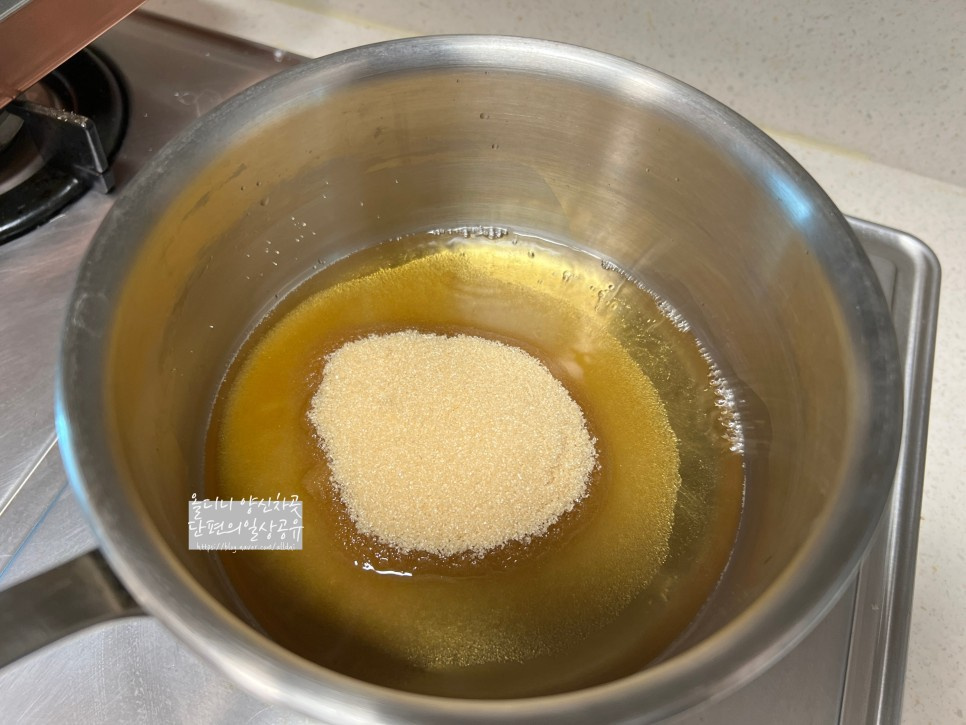 STEP 4/13When mixing well-heated mirin and rice wine with egg water, the eggs should not be cooked, so please cool them down.
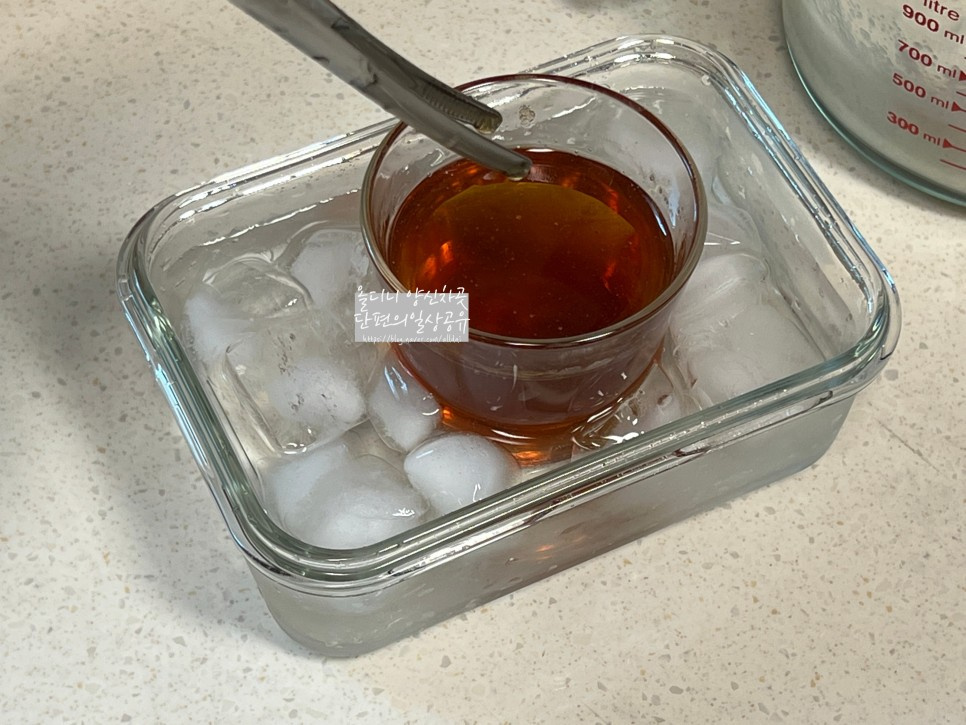 STEP 5/13There are some people who are allergic to Chinese yam, so please wear gloves and take care of it.
Make sure to remove the intestines when preparing shrimp.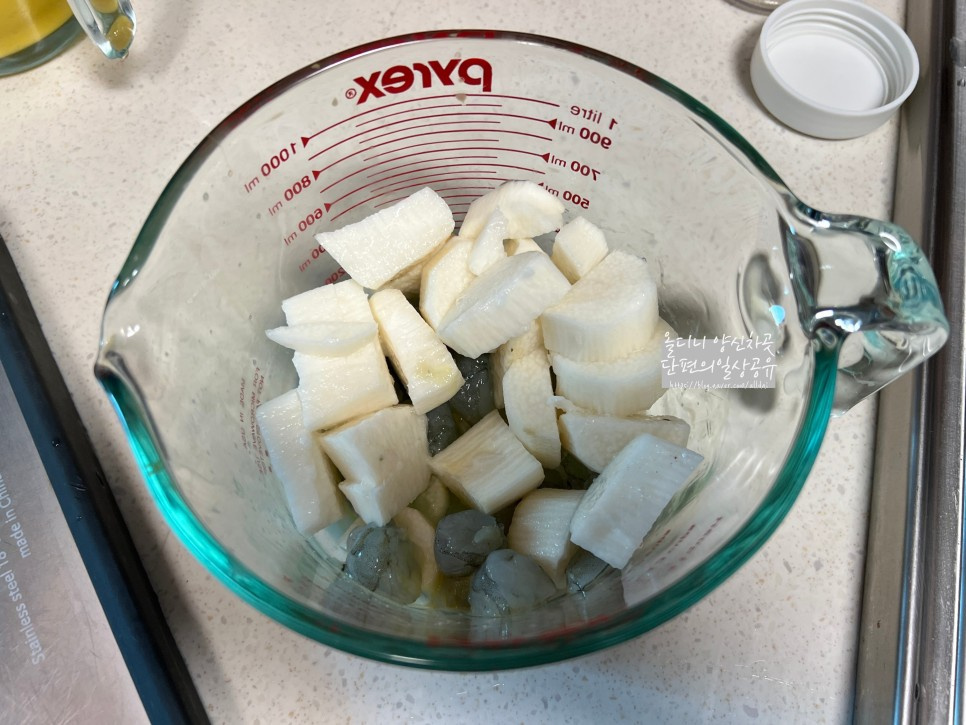 STEP 6/13Grind the yam and shrimp well and prepare them.
If you don't grind it too much, you can feel the texture, and if you grind it too much, the degree of grinding is important, so I just ground it finely with a blender...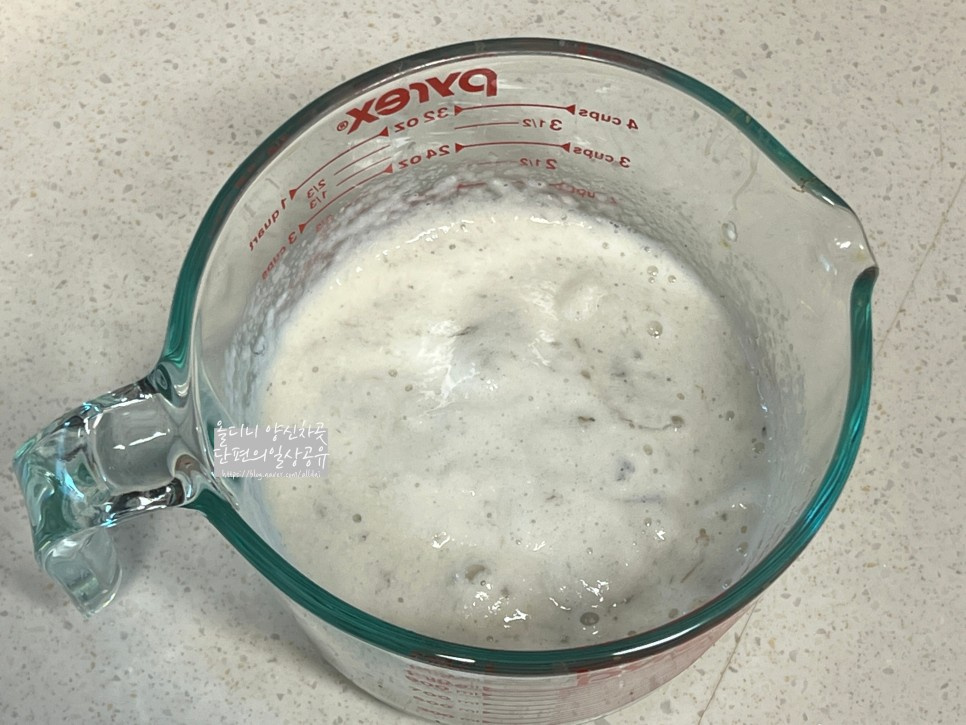 STEP 7/13If you have a Japanese soy sauce called Usukuchi, please add 1T here.
I don't have it, so I replaced it with Tzuyu.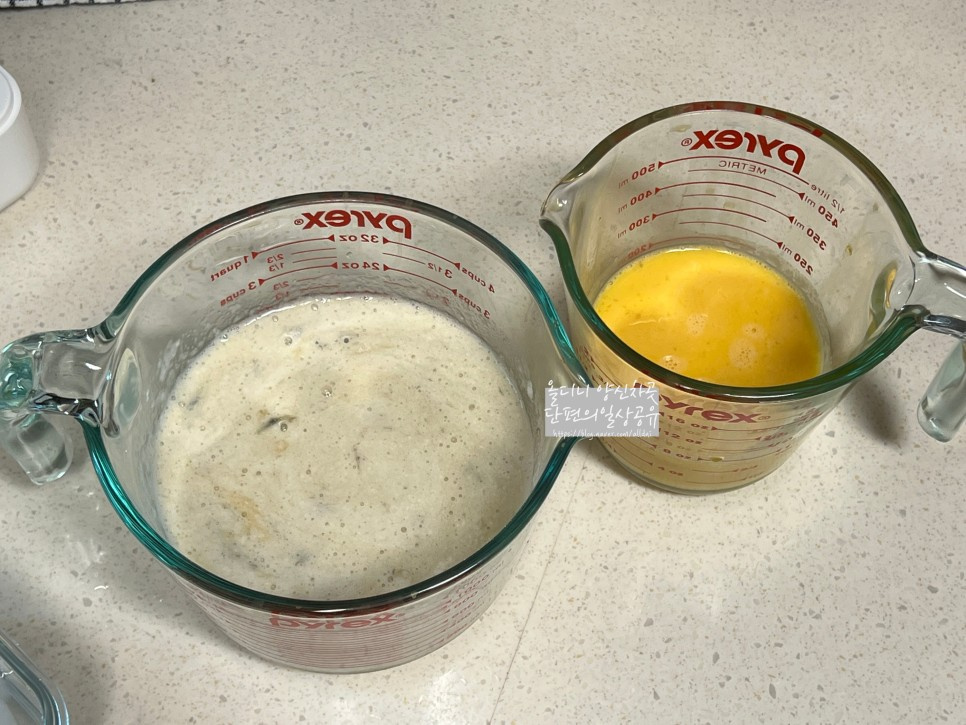 STEP 8/13Usually, Japanese restaurants and Izakaya use a little bit of oil to warm up the pan for more than 30 minutes during the preparation time.
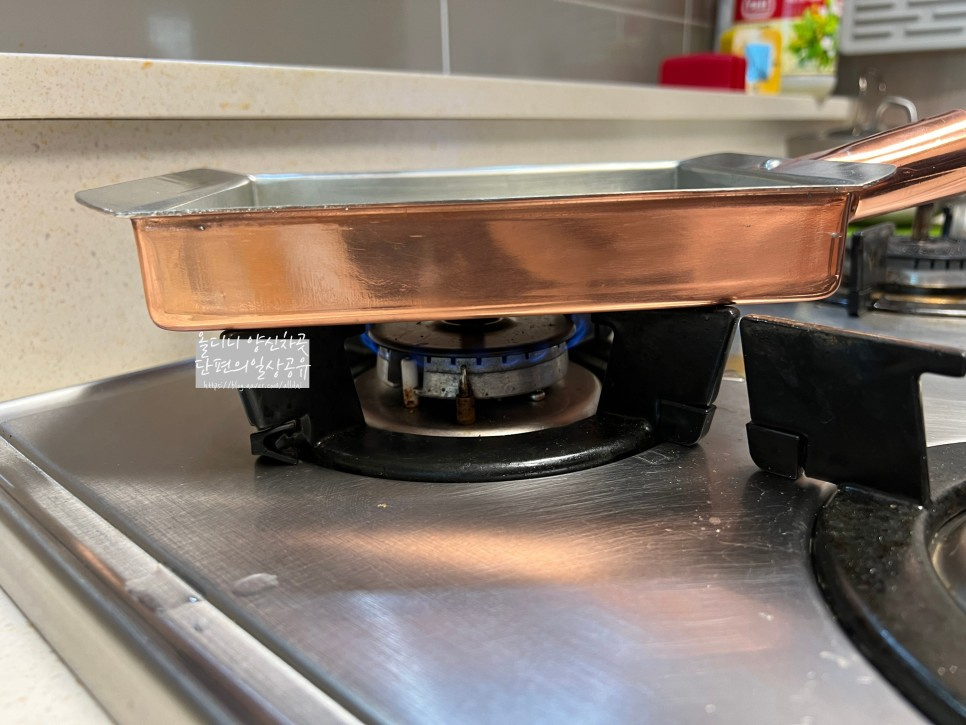 STEP 9/13Use the above method or place briefly in the oven to warm the pan. If it's too hot, the egg will burn.
It's a copper pan, but you can do it on a regular oven tray.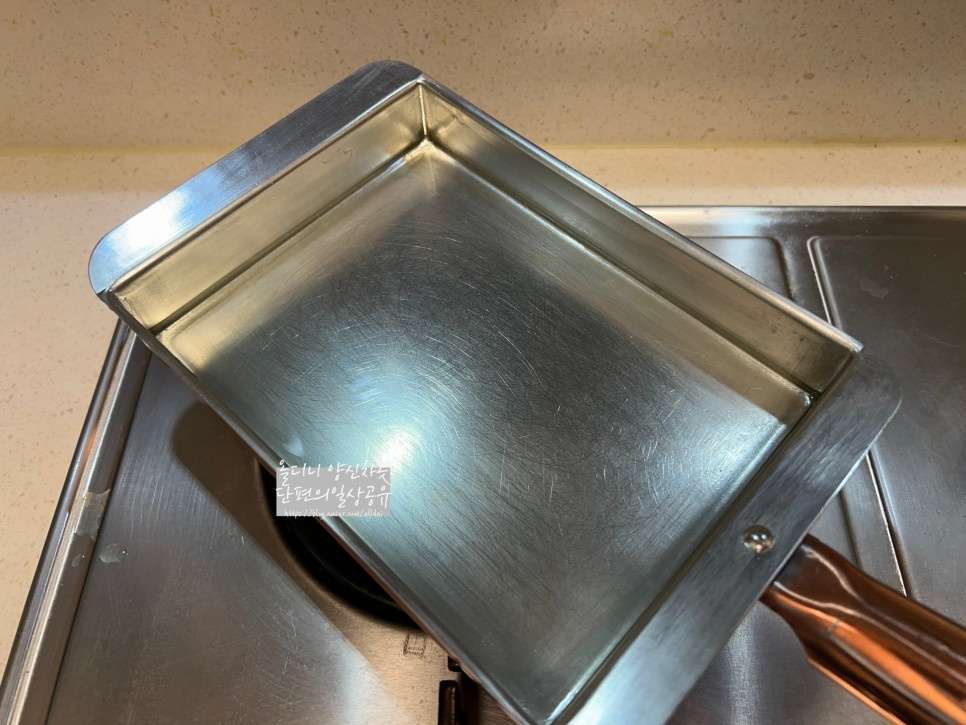 STEP 10/13The heat source is round, so the center keeps swelling.
Gas fires don't shine.
Place in the lowest heat of induction or oven at 110 degrees and bake for 30 to 1 hour.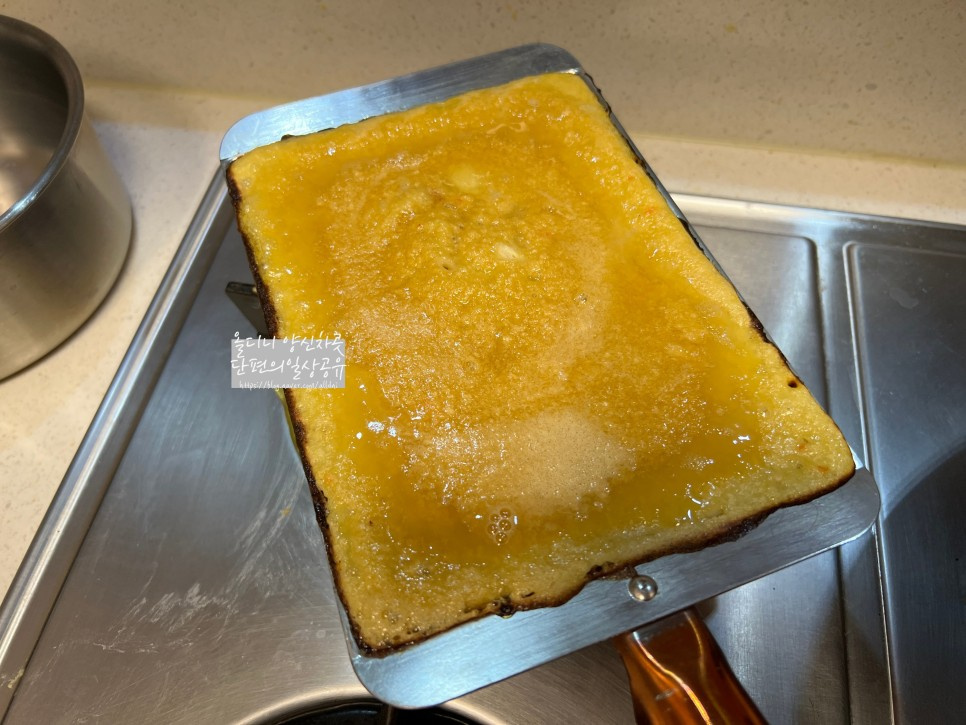 STEP 11/13On a gas stove... No, I burned a lot.
It's over-cooked because it's on gas.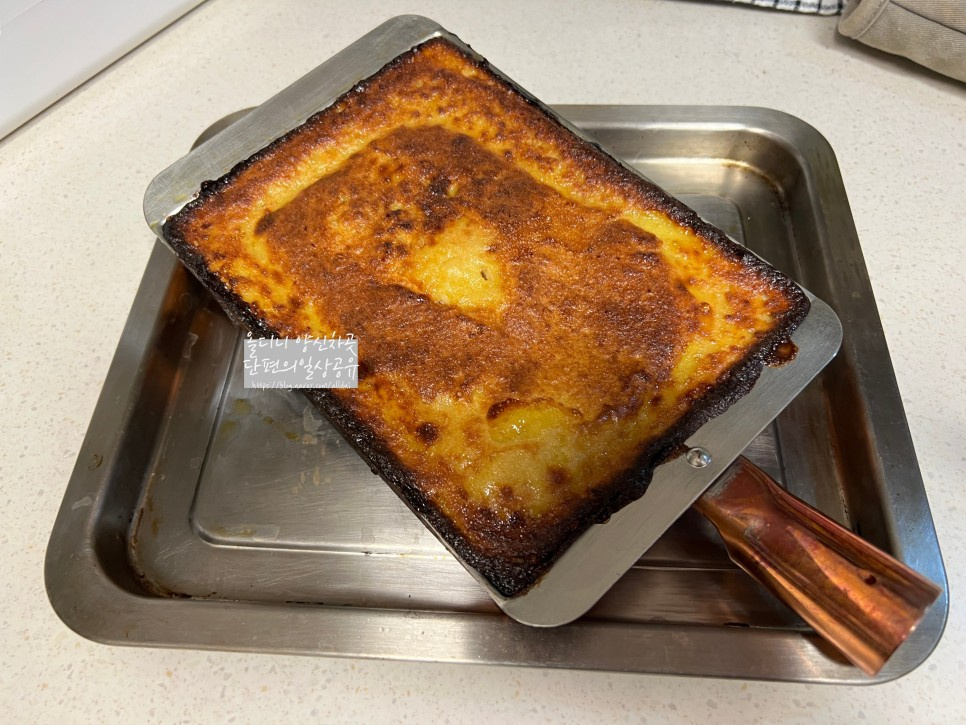 STEP 12/13They say there shouldn't be layers
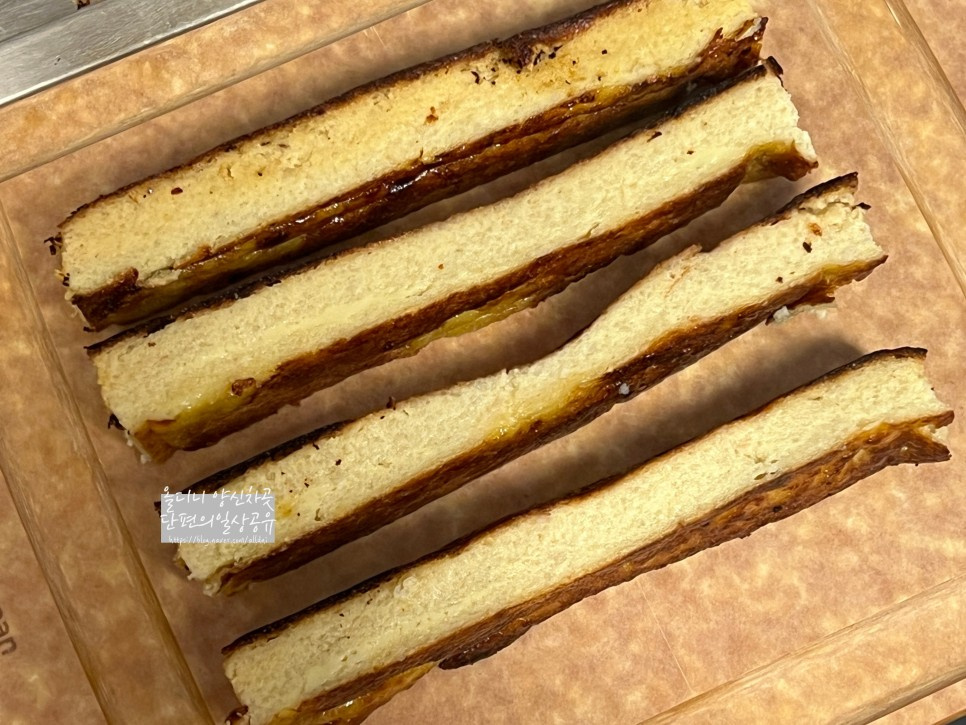
It's cooked well without layers, but it's kind of burnt on both sides because it failed to control the heat.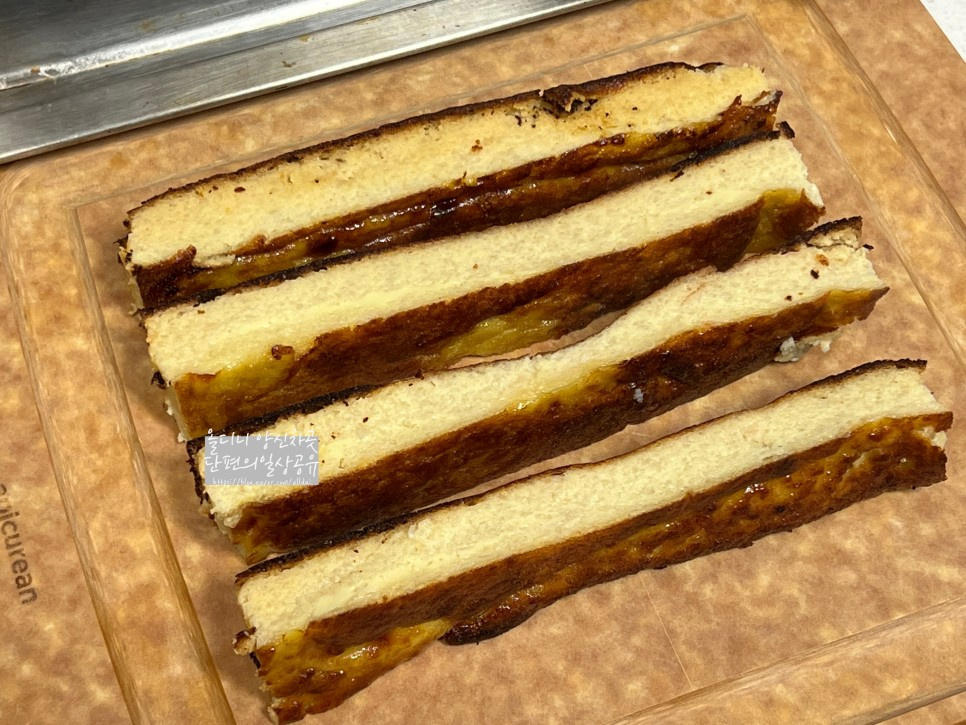 STEP 13/13After cutting off the burnt part, it looked weak compared to the effort, but it was delicious.
I know why you buy it, but it was fun.
Try it! It's the best snack!
Enjoy your meal today!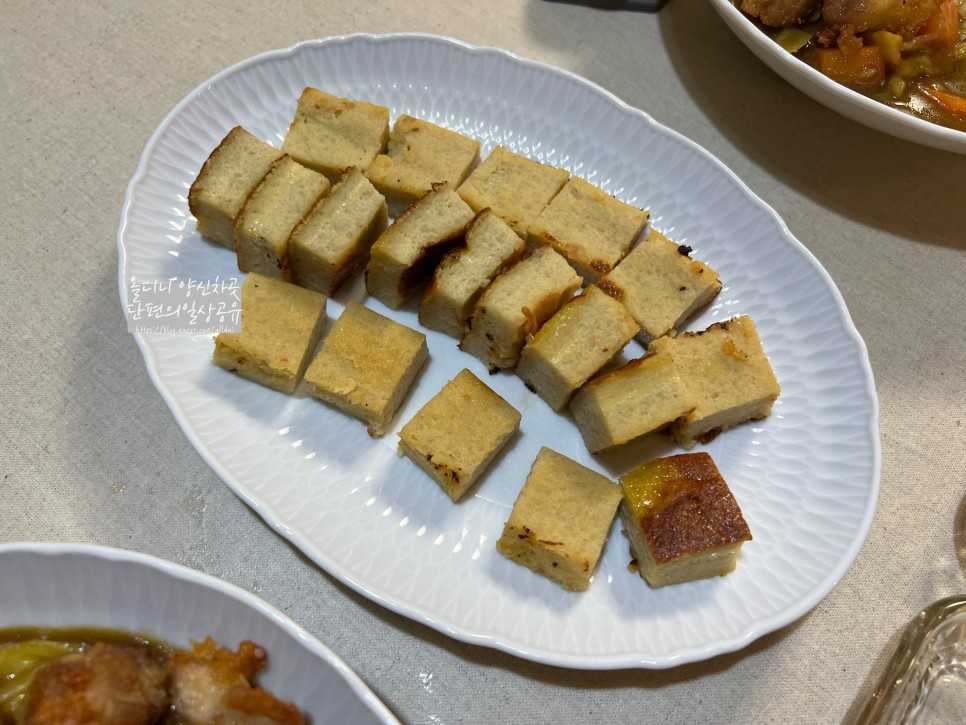
- Kimchi Recommended recipe
-
-
1
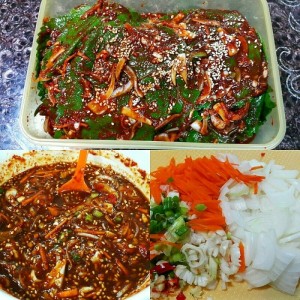
 Making fried kimchi with side dishes! It's simple, but it's tota4.87(54)
 -
2
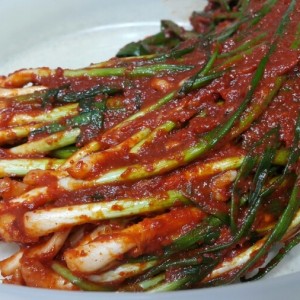
 Rice thief. It's not hard to make perilla leaf kimchi^^4.97(788)
 -
3
 Making homemade Jongwon Baek and green onion kimchi4.85(89)
 -
4
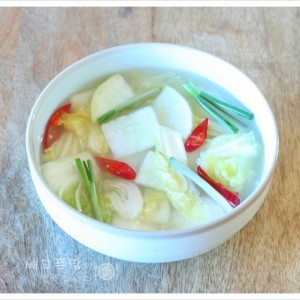 Cabbage water kimchi with sweet radish, which is perfect for swe4.91(43)
-
- chicken Recommended recipe
-
-
1
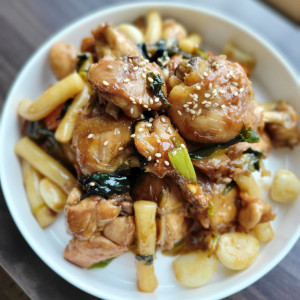 Ryu Soo-young Galbi Chicken Pyeon-storang 25 minutes Complete Eo5.00(10)
 -
2
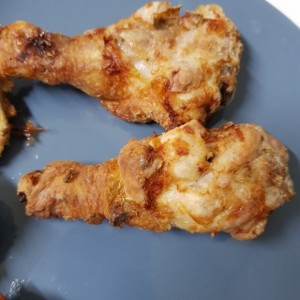 Using Air Fryer: Making Chicken4.83(6)
 -
3
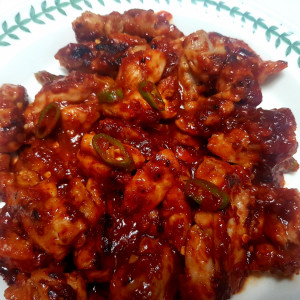 Imitating Zikova Chicken4.78(9)
 -
4
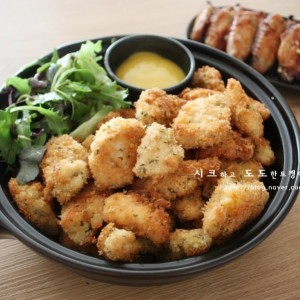 (G)I-DLE's vacation snack - boneless chicken5.00(6)
-