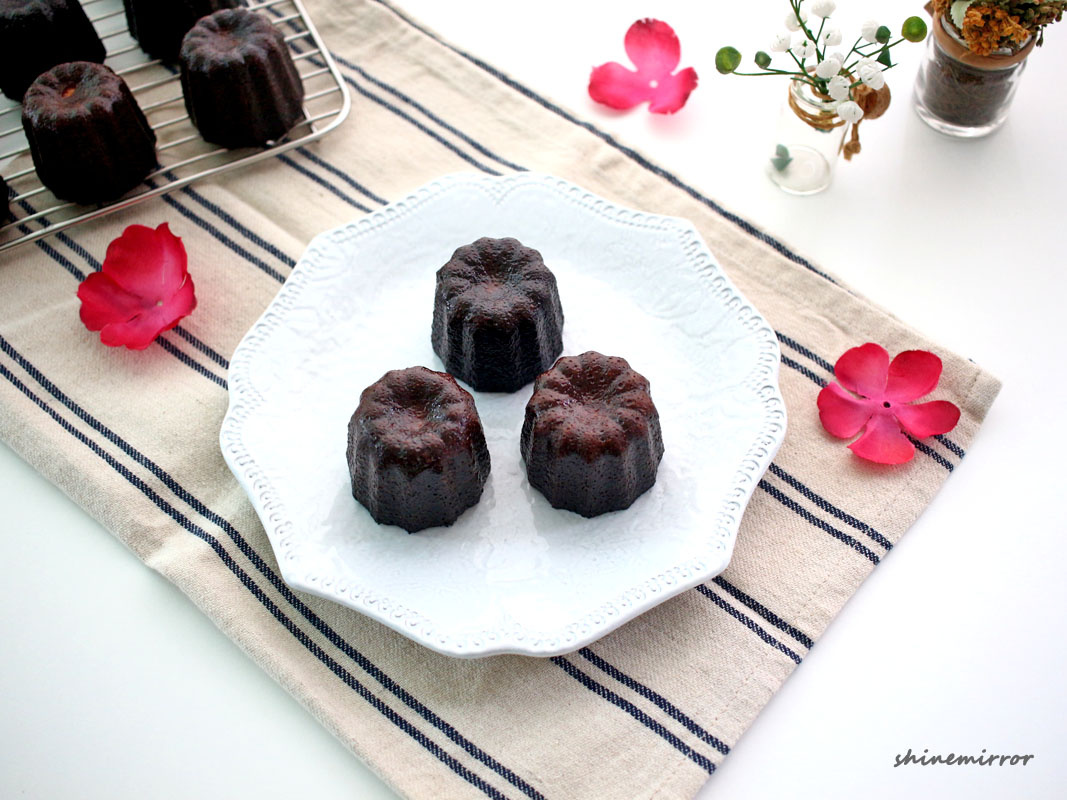
Vanilla canule
I bought a cannule mold with a tool the other day. I bought a frame, so I'll make a canule. I knew that making cannules is a little tricky, and I made this cannule with only knowing that it's not easy to bake. The finished vanilla canure comes out quickly and it's so good when you eat it cold. But my experience of eating commercial cannule as a frozen product is that I don't know if it's cooked well.. I don't know..First of all, I think it was overbaked in taste, and I wish the inside was a little more holey, but referring to another cannule, I wonder if the cross-section is not bad enough. Anyway, I don't know. That's how I stammered and made vanilla canule. Let's make it
4 serving
Within 999 minutes

초록바람N
- Ingredients
-
-
Milk400g
-
Butter21g
-
Vanilla bean1ea
-
egg48g
-
egg48g
-
Sugar200g
-
Soft flour107g
-
rum33g
-
Buttersuitably
-
- Cooking Steps
-
STEP 1/12In a saucepan, melt the butter, milk, butter, scrambled vanilla bean seeds and vanilla bean peel over low heat, stirring.
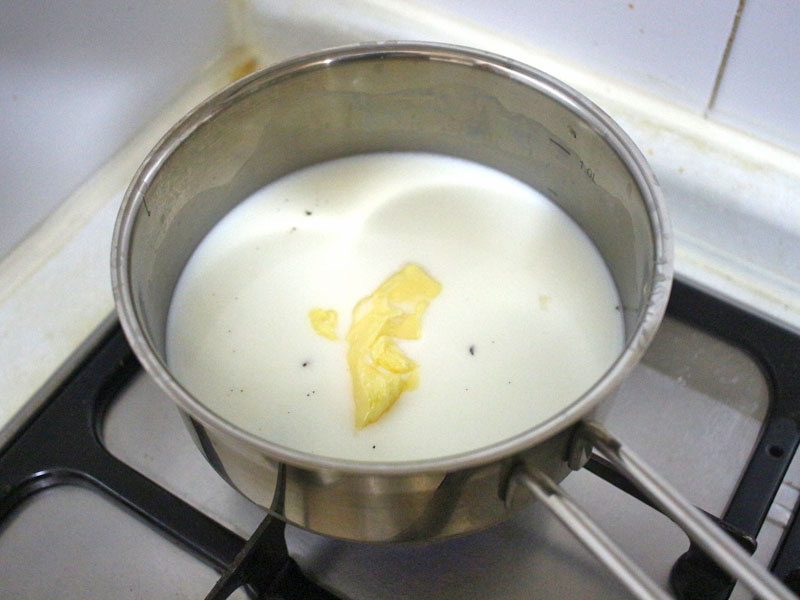 STEP 2/12Heat the milk until the edge of the saucepan boils. If the temperature is about 80 degrees, it's appropriate. Turn off the heat and let it cool for about 5 minutes.
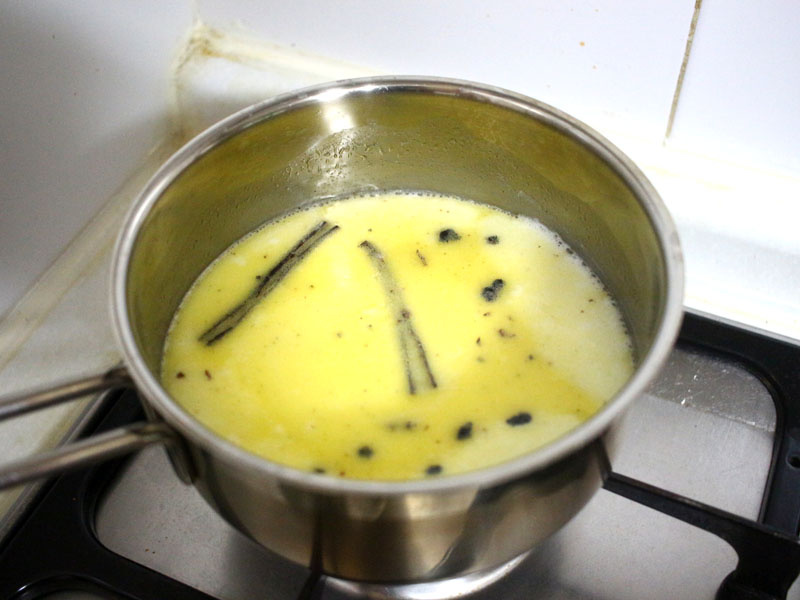 STEP 3/12While the milk mixture is cooling, beat the eggs and yolks well, add sugar, carefully to prevent frothing, but mix with a whisk to allow the sugar to melt to some extent
 STEP 4/12Add half the milk mixture to the egg mixture, which is somewhat cold, and carefully mix with a whisk.
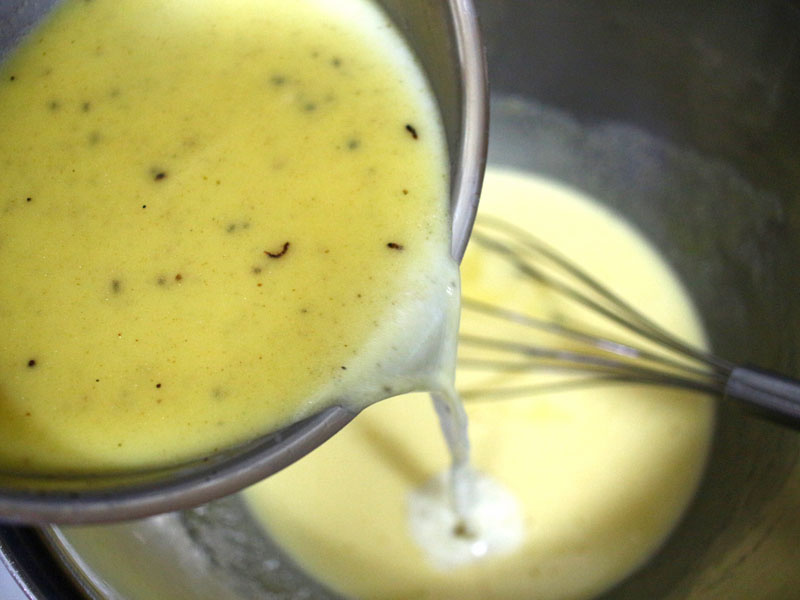 STEP 5/12Then sift the flour and mix well with a whisk. Be careful not to mix too much after adding flour. If you mix too much to form gluten, it causes excessive swelling in the oven. Mix as carefully as possible to prevent excessive gluten formation
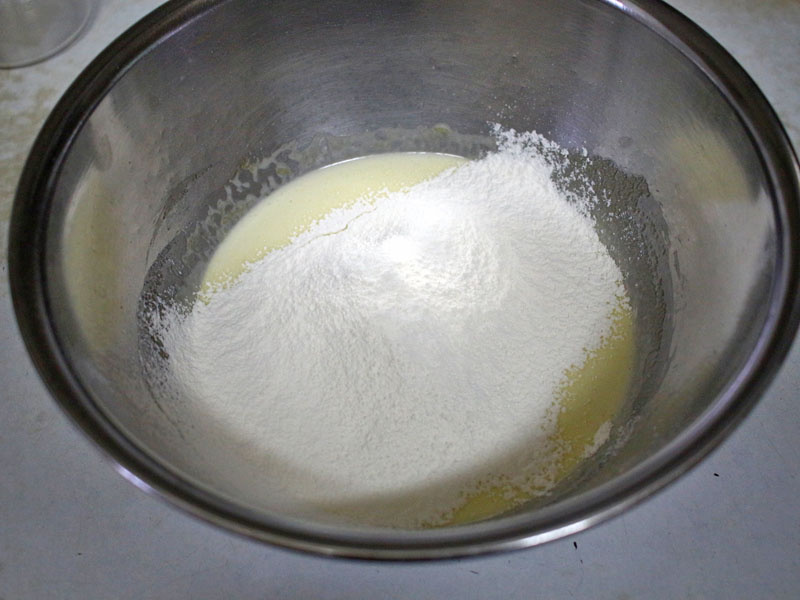 STEP 6/12Mix the other half of the milk mixture in the flour mixture..
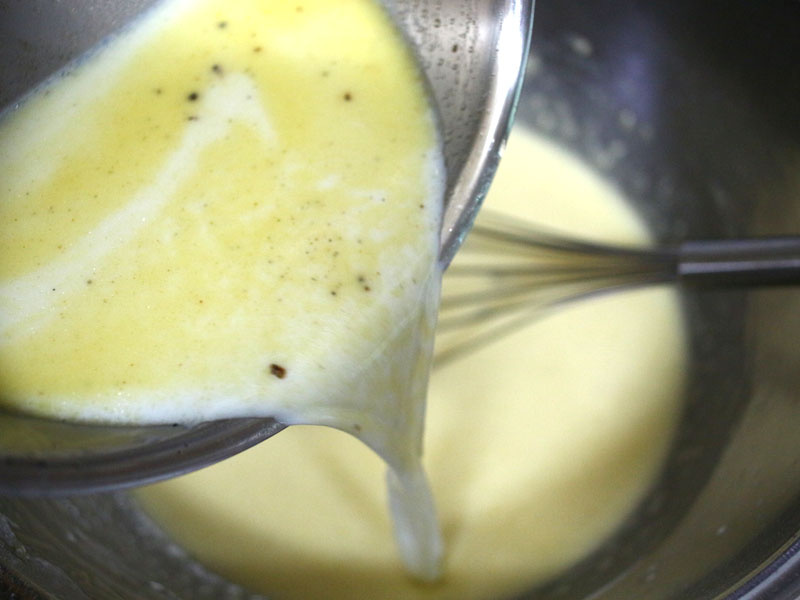 STEP 7/12Add the gold drum and mix carefully.
 STEP 8/12The flour won't mix smoothly because it has a lot of moisture. There will be lumps and lumps. Please strain it through a sieve. Until then, the vanilla bean peel is not removed and the whole process is carried out.
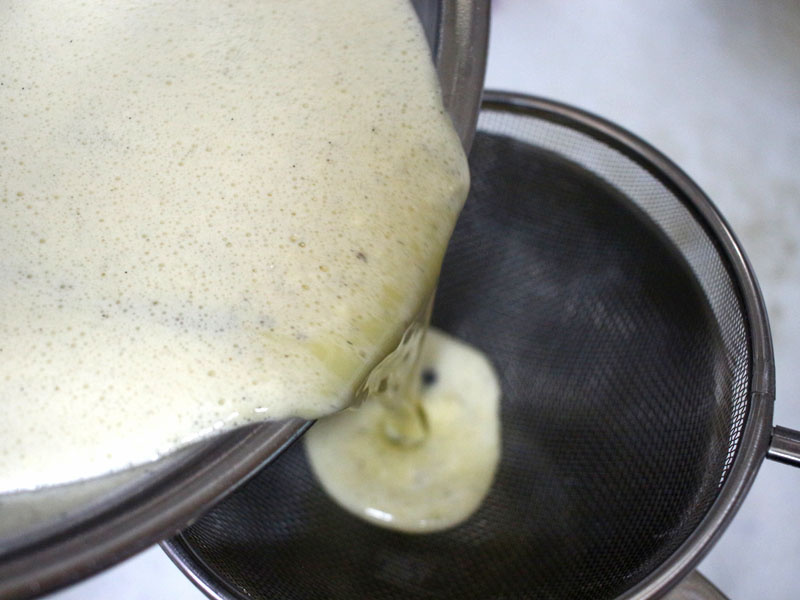 STEP 9/12The smooth dough is covered with plastic wrap and refrigerated in the refrigerator for 12 to 24 hours. Refrigeration aging is a must-go process. During refrigeration ripening, the dough mixes well with the ingredients, and the excess gluten goes through stabilization. It is said that if you don't refrigerate, it may swell too much, taste less, or your pores may not be stable. <UNT_PHL> I forgot to take a picture of the chilled dough, but the butter will harden on the top and float. Don't panic and mix it well with a spatula to the bottom before using it.
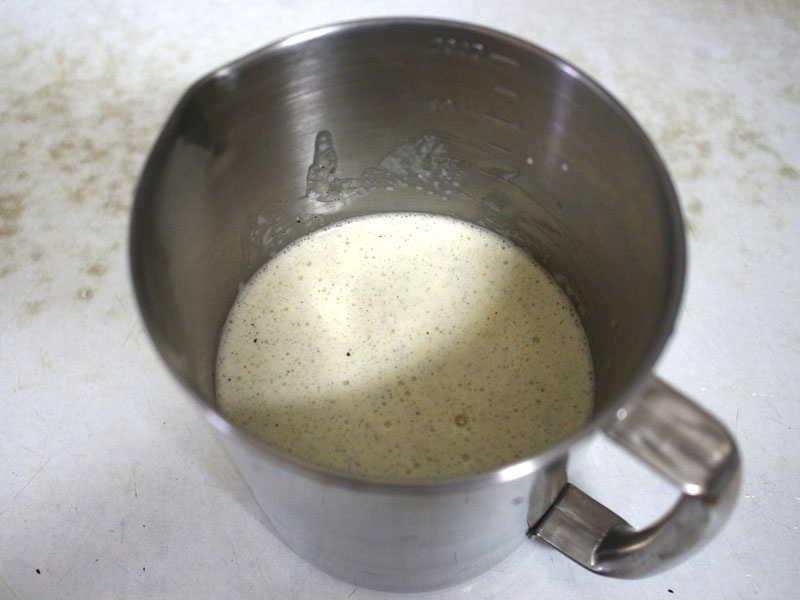 STEP 10/12This is the baking process. Cannules are usually baked in a copper mold with a wax coating. But if you buy it according to the number of daybreaks, it will be empty. It's not easy to get smuggled out, and even if I did, it would be a job to coat the copper mold one by one. So I simply used a coating frame. If you can afford it, I think it would be orthodox to use trafficking in the winter solstice.
I will explain the baking process based on the coating frame.
Apply an appropriate amount of room temperature butter to the coating mold. STEP 11/12Then, divide the finished dough by about 80%.
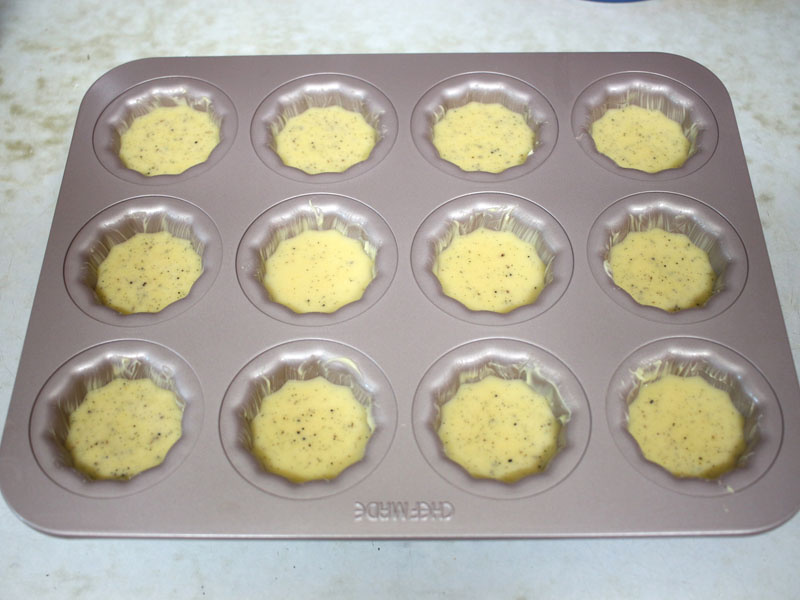 STEP 12/12Preheat to 250 degrees Celsius for about 30 minutes, lower it to 220 degrees Celsius, and bake it for about 20 minutes. Then I took it out and hit the mold a few times on the floor, lowered it to 200 degrees, and baked it for another 25 to 30 minutes. If you take it out in the middle and drop it on the floor, the dough will sink and the color will be evenly distributed. When it's cooked, separate it from the mold and cool it completely in the cooling net!
The preservation period is about one day. Until a day, the outer skin is crispy and delicious, but after a day, the overall moisture turns and becomes soft. It tastes much worse. If you want to preserve the original taste, it was okay to cool it down, store it frozen, defrost it at room temperature, or microwave it for 10 to 20 seconds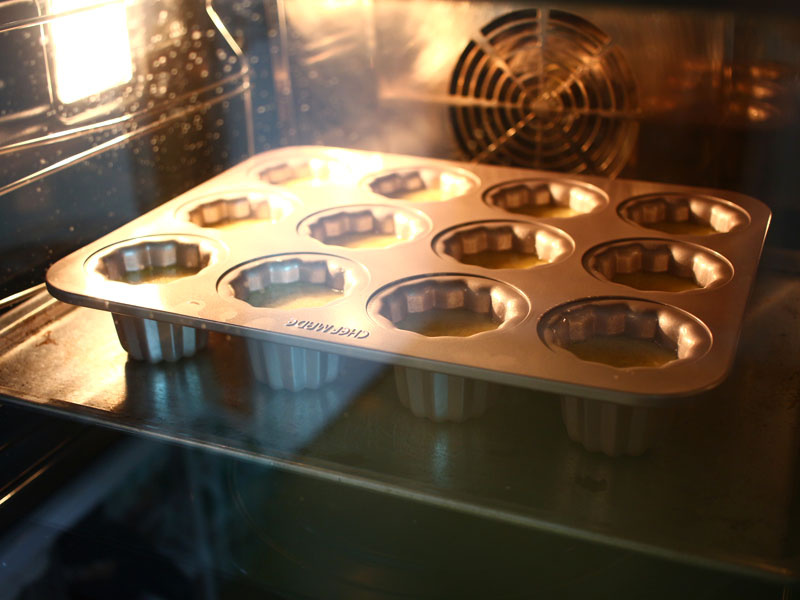
- stir-fried Rice Cake Recommended recipe
-
-
1
 Making Baekjubu tteokbokki4.96(80)
 -
2
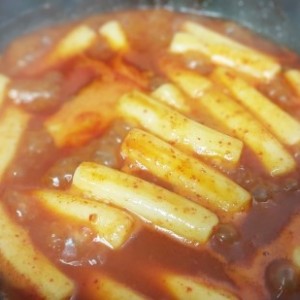
 This is the Rose of Korea! Soft and spicy red pepper paste cream4.90(31)
 -
3
 Delicious Dongdaemun Yupgi Tteokbokki Golden Recipe4.87(86)
 -
4
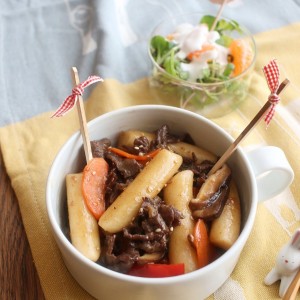 Royal Stir-fried Rice Cake4.96(141)
-
- chicken Recommended recipe
-
-
1
 Goobne chicken style without failure to make soy sauce chicken!!5.00(6)
 -
2
 How to make soy sauce chicken at home. How to make soy sauce chi4.83(40)
 -
3
 Sweet and salty, sweet and salty chicken! Making Mokwoochon Chic5.00(10)
 -
4
 boneless Kyochon chicken5.00(6)
-