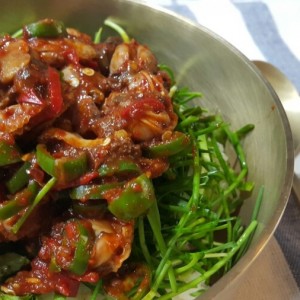
Making Chicken Tteokbokki with Cheese Chicken Tteokbokki Golden
I made chicken tteokbokki because I had leftover chicken on the weekend.
I think the sauce tastes more savory with chicken in it.
It's delicious, so it's great as a beer snack.
It's so delicious that I want to recommend chicken tteokbokki 10 times!!
Here is the recipe for chicken tteokbokki.
2 serving
Within 20 minutes

별바라기쿡방
- Ingredients
-
-
Chicken meat267g
-
Tteokbokki and rice cake300g
-
fish cake240g
-
mozzarella cheese100g
-
onion1/2ea
-
leeklittle
-
parsleylittle
-
Salt2little
-
ground pepperlittle
-
red pepper paste1.5TS
-
Soy sauce2TS
-
Sugar2TS
-
Water2.5cup
-
crushed garlic1TS
-
Oligosaccharide1TS
-
Chicken stock1TS
-
- Cooking Steps
-
STEP 1/12Soak hard rice cakes in water for more than 10 minutes.
Thaw the rice cake from the freezer in advance.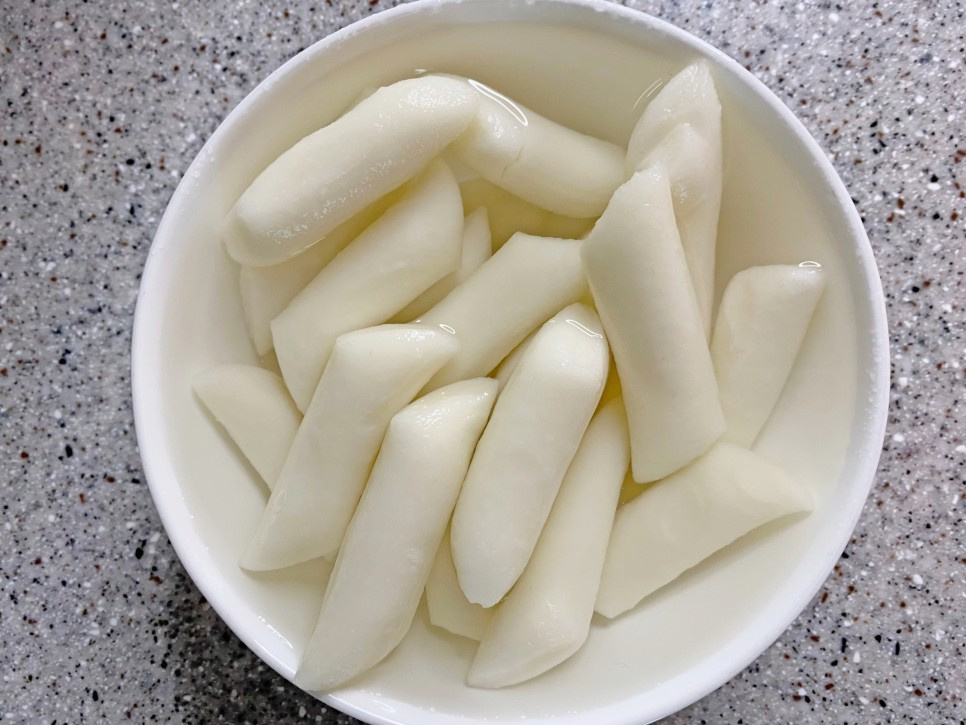 STEP 2/12When I trimmed the bone of the fifth chicken, the total weight came out to be 267g.
Prepare about 300g of chicken in your favorite part (boneless part).
Wash, drain and sprinkle with 2 pinch of salt and pepper.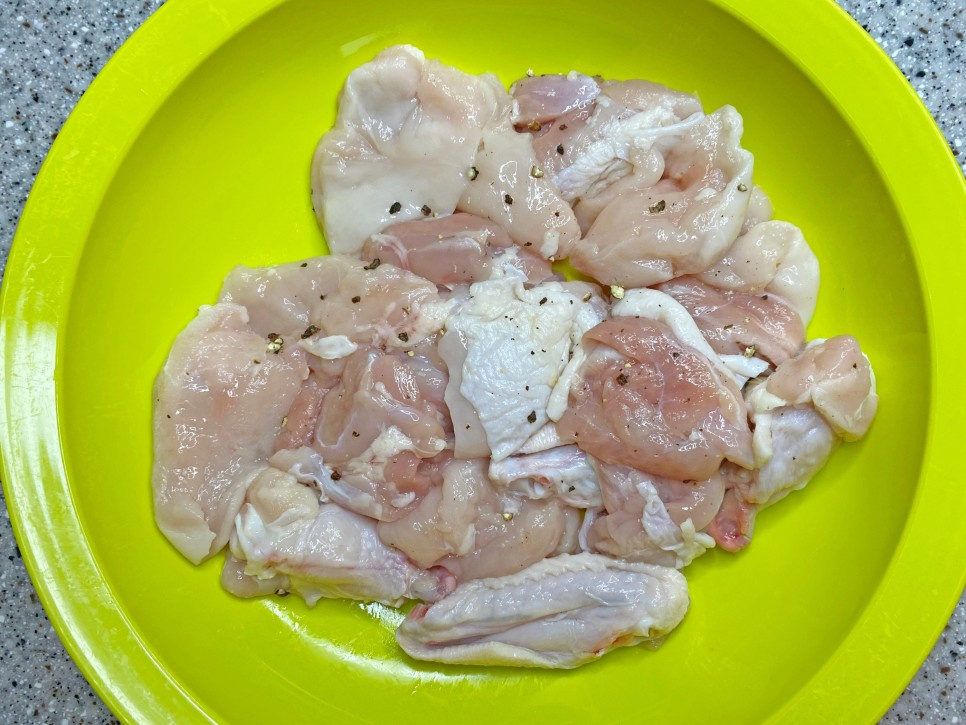 STEP 3/12Cut the fish cake into bite-size pieces.
 STEP 4/12Chop the onions.
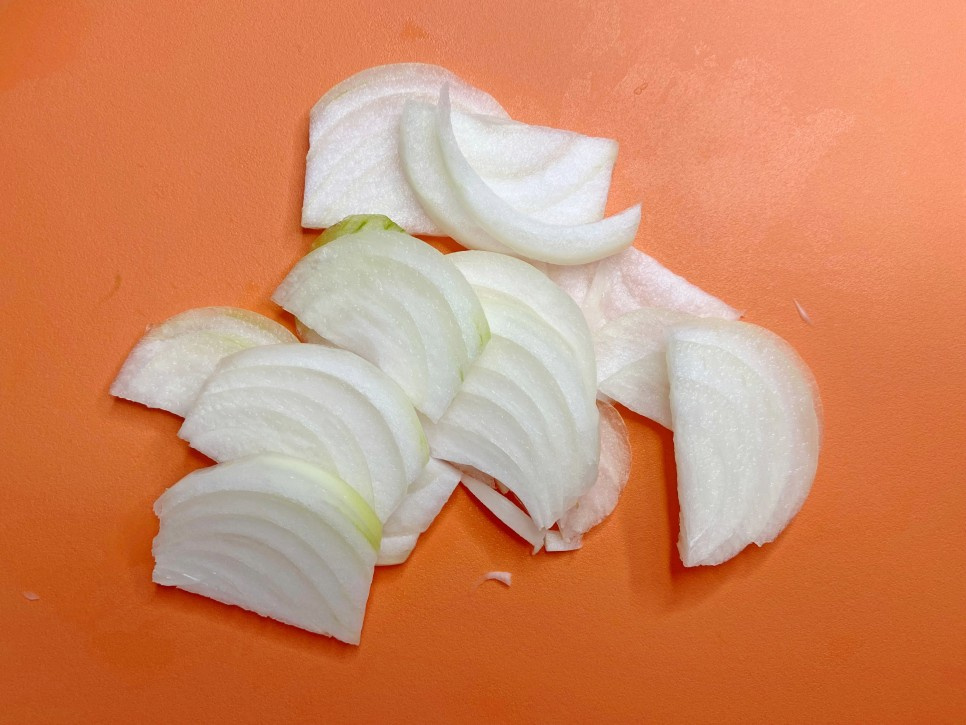 STEP 5/12Grease the preheated frying pan slightly and bake the chicken.
Bake until browned evenly back and forth.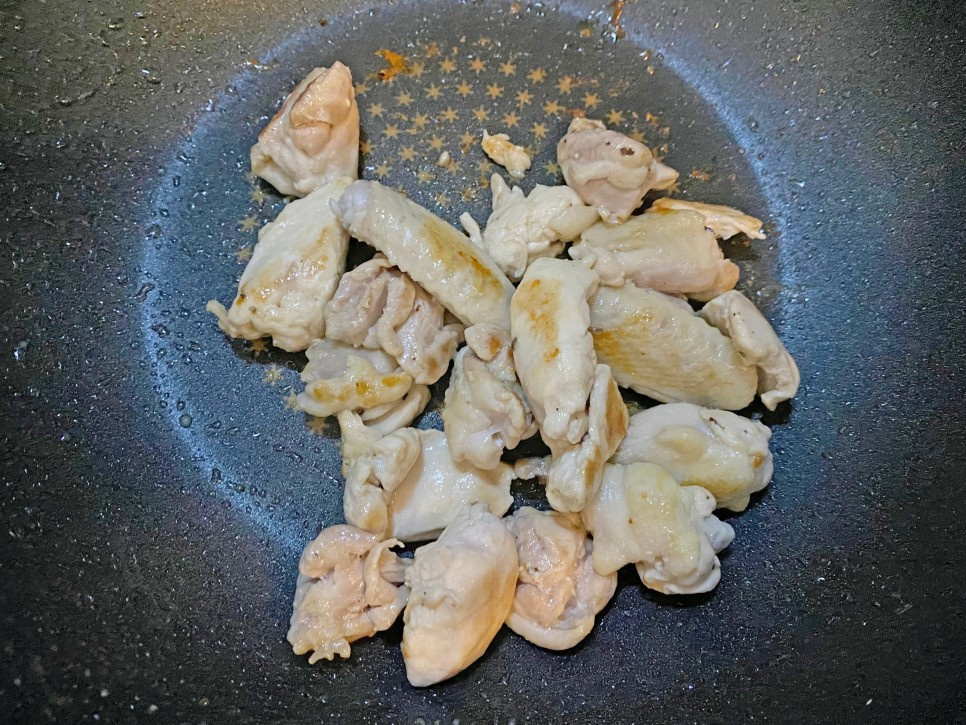 STEP 6/12If the chicken is brownish on the outside, add 1.5 tablespoons of red pepper paste and stir-fry it once.
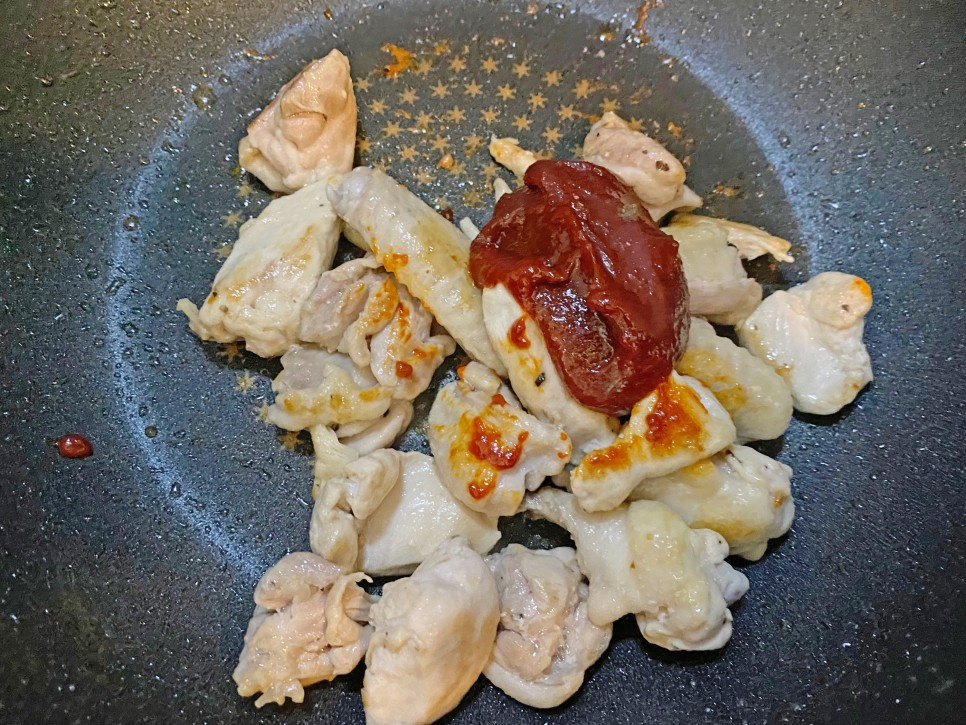 STEP 7/12Add 2.5 cups of water, 1 tablespoon of minced garlic, 2 tablespoon of soy sauce, 2 tablespoon of sugar, and 1 tablespoon of chicken stock and boil.
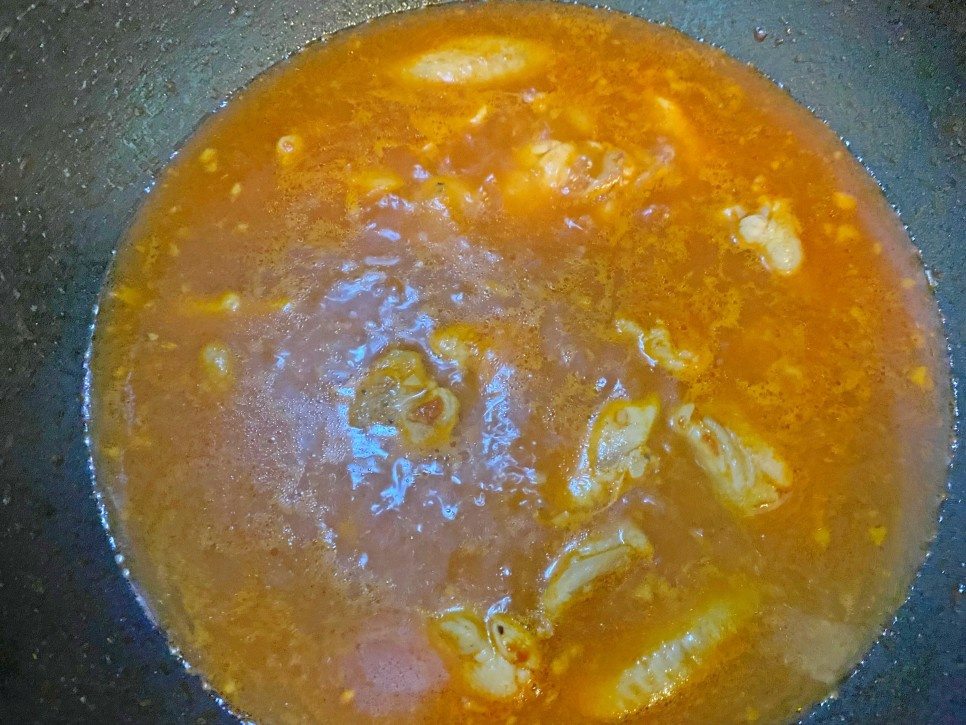 STEP 8/12When the broth boils, add rice cake, onion, and 1 tablespoon of oligosaccharide and boil it over medium heat.
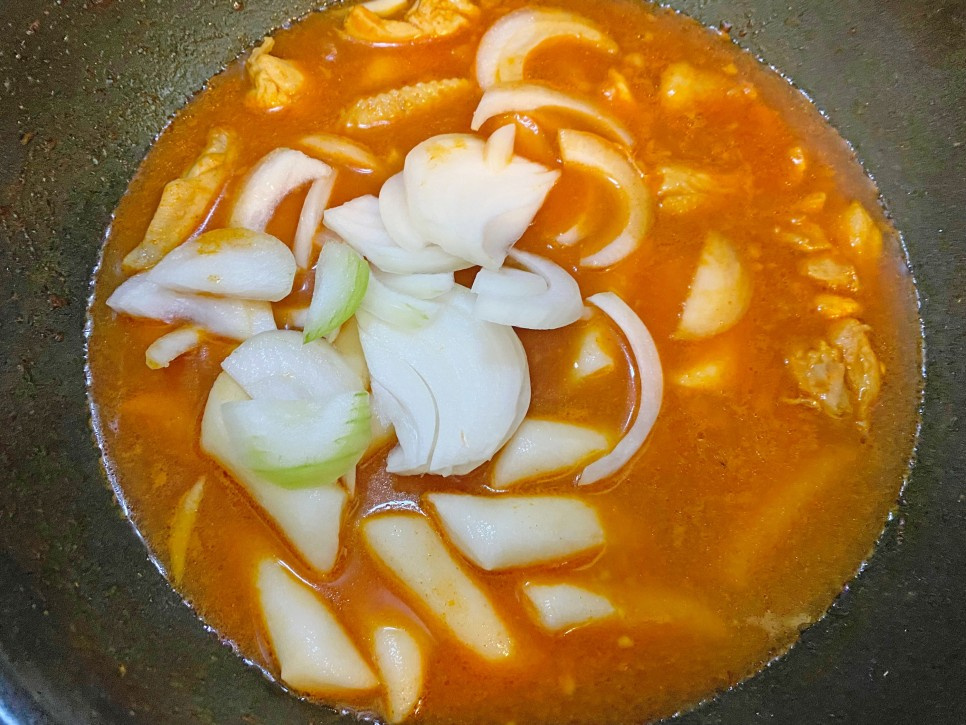 STEP 9/12When the rice cake is cooked, add the fish cake and boil for another 2 minutes.
 STEP 10/12Lastly, add green onions and mix them.
 STEP 11/12It's chicken tteokbokki that's good enough to eat as it is.
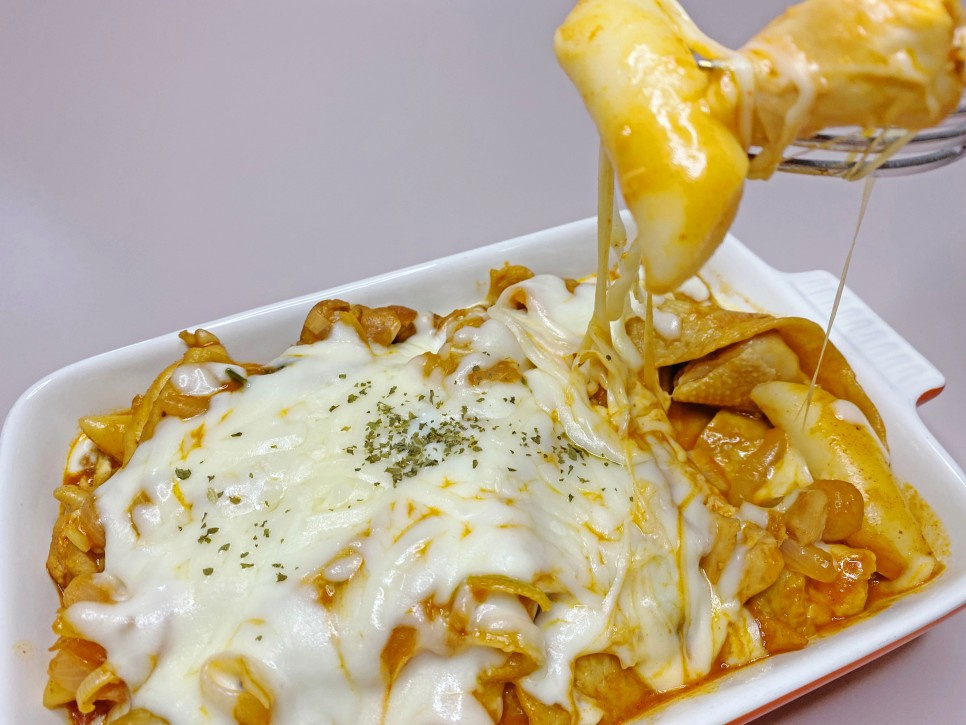
Transfer tteokbokki to a microwaveable container and spread mozzarella cheese on top of it and microwave it for 2 minutes.
And let the cheese spread naturally in the microwave for 30 seconds and take it out.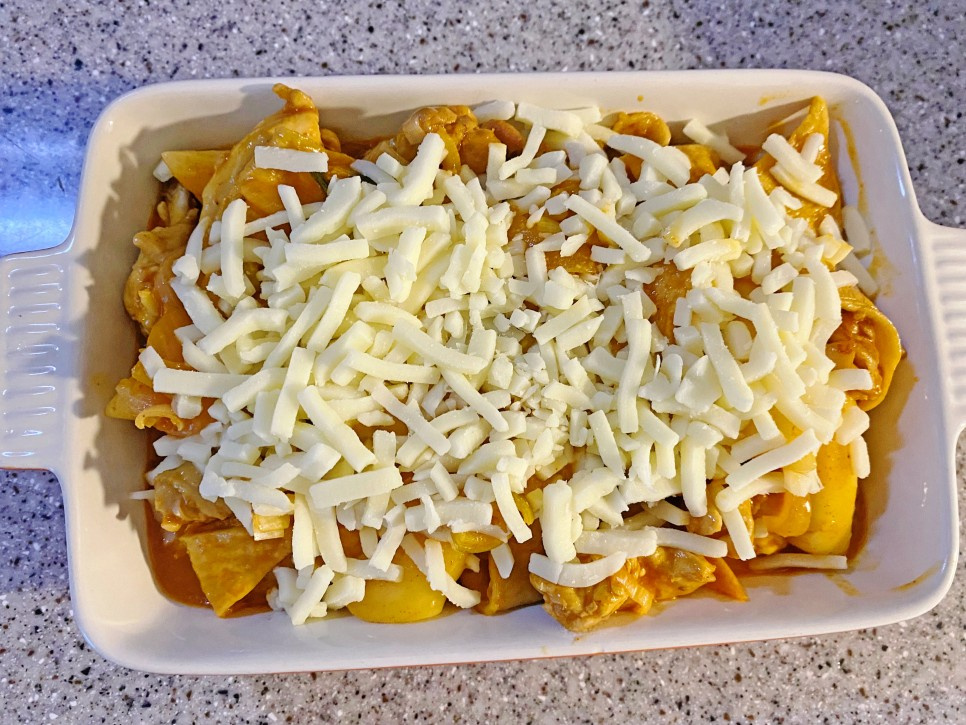 STEP 12/12Sprinkle parsley on top of the cheese and it's done.
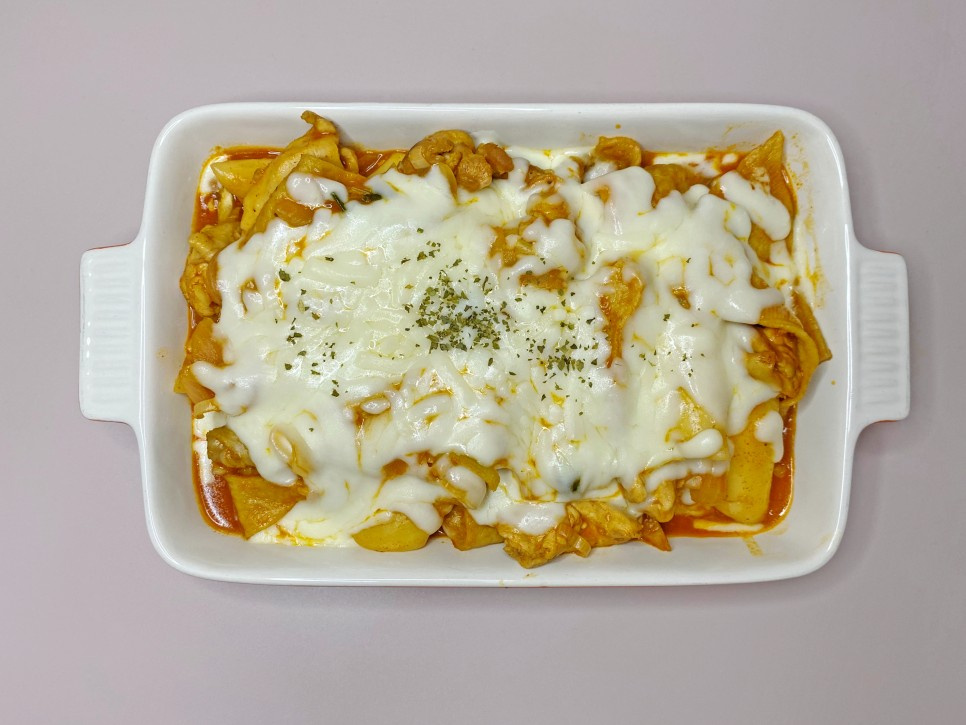
- Kimchi Recommended recipe
-
-
1
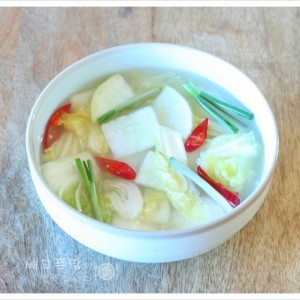 Cabbage water kimchi with sweet radish, which is perfect for swe4.91(43)
 -
2
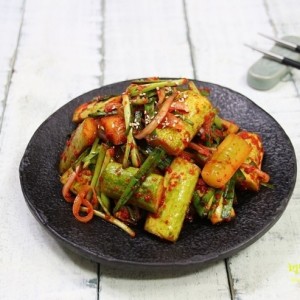 It's nice because it's simple Simple cucumber kimchi4.91(125)
 -
3
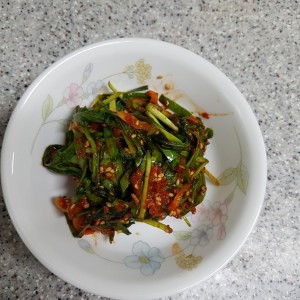 Rice thief chives kimchi! (Gyeongsang Province)4.93(73)
 -
4
 Making Tofu Kimchi with Pork Belly4.97(352)
-
- Bibimbap Recommended recipe
-
-
1
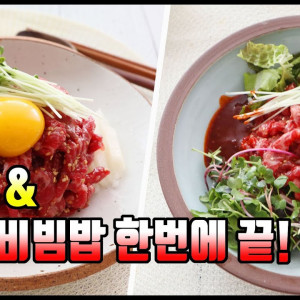 Making raw beef and raw beef bibimbap. I like the clean taste.5.00(10)
 -
2
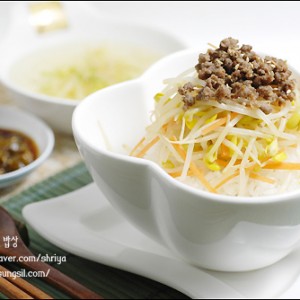 Beef bean sprout bibimbap5.00(19)
 -
3
 Cockle bibimbap is so good4.93(42)
 -
4
 [Honbab Menu] How to make simple young radish bibimbap, how to m4.88(98)
-