
How to make pickled garlic with vinegar and soy sauce
It is one of the four major vegetables in Korea, and it is a ingredient that does not fall into seasonings!! It's garlic with a pungent taste and scent. Today, I will tell you how to make pickled garlic and the ratio of soy sauce and vinegar in detail. If you make a container of pickled garlic now, it will be full all year round. It was planted in October and June is the harvest season, so it's in season now.
Let's start making pickled garlic. I'll tell you the ratio of pickled garlic soy sauce and vinegar. It's not hard at all. You just need to wait to enjoy it.
5 serving
Within 60 minutes

텐션응미
- Ingredients
-
-
Garlic50ea
-
Bottled water2cup
-
Vinegar1cup
-
Salt1spoon
-
Bottled water4cup
-
Sugar2cup
-
Vinegar2cup
-
Soy sauce1/2cup
-
Salt1spoon
-
- Cooking Steps
-
STEP 1/10Cut the garlic using scissors, leaving about 1 centimeter of the stem.
 STEP 2/10Cut off the earthy roots and peel them. The skin should be covered so that no kernel can be seen. Thinly peel off one or two layers.
 STEP 3/10Rinse lightly under running water and drain from basket. Can I use a kitchen towel to wipe it off?
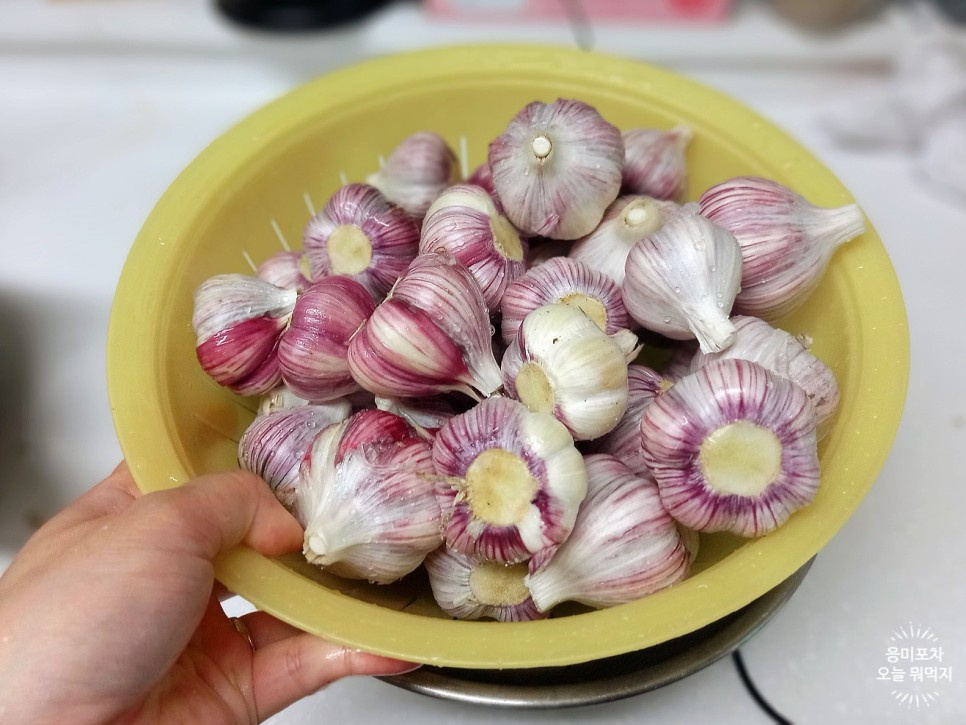 STEP 4/10First time pickled garlic. Soaked water!!
Mineral water: vinegar + salt
2: 1 + 1 spoonful of salt
Instead of boiling it separately, mix it like this and melt the salt. STEP 5/10Pour it with whole garlic and leave it for a week.
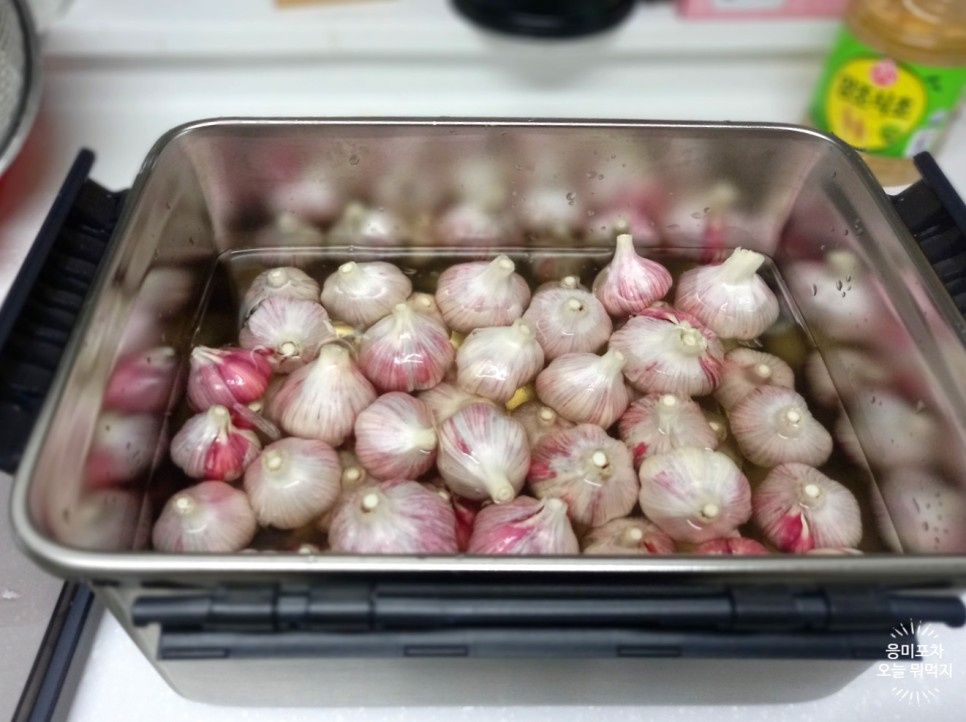 STEP 6/10The first day was transparent, but you see the color changed a week later, right?
Don't throw away vinegar water, but we will use it to make the second whole garlic pickle. If you don't want to use it, you can throw it away and create a new one.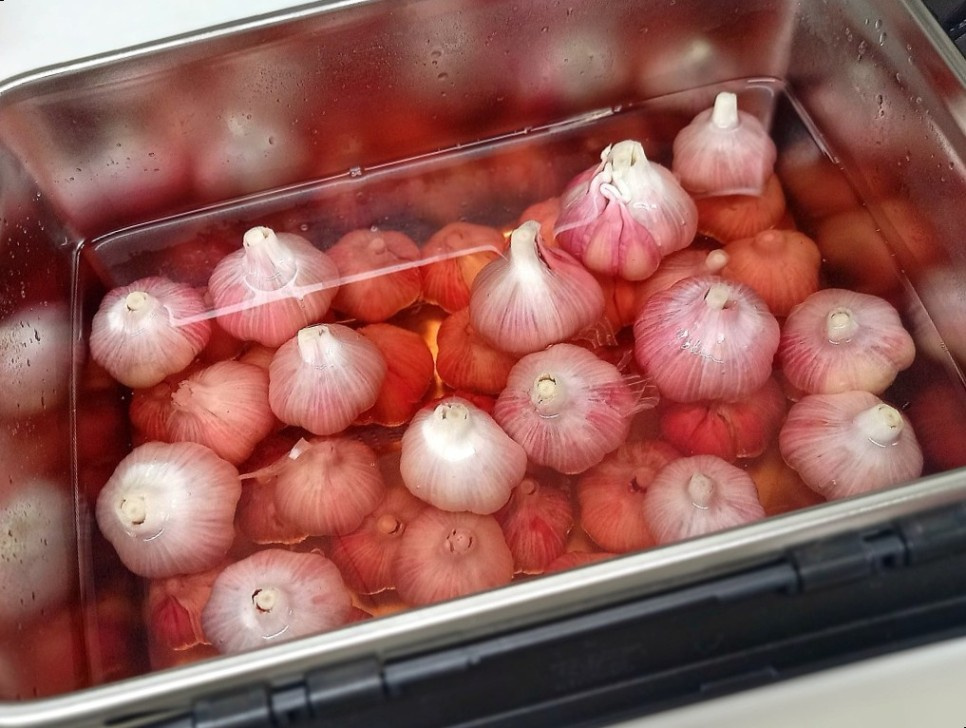 STEP 7/104 cups of water, 2 cups of sugar, 2 cups of vinegar, half a cup of soy sauce, salt
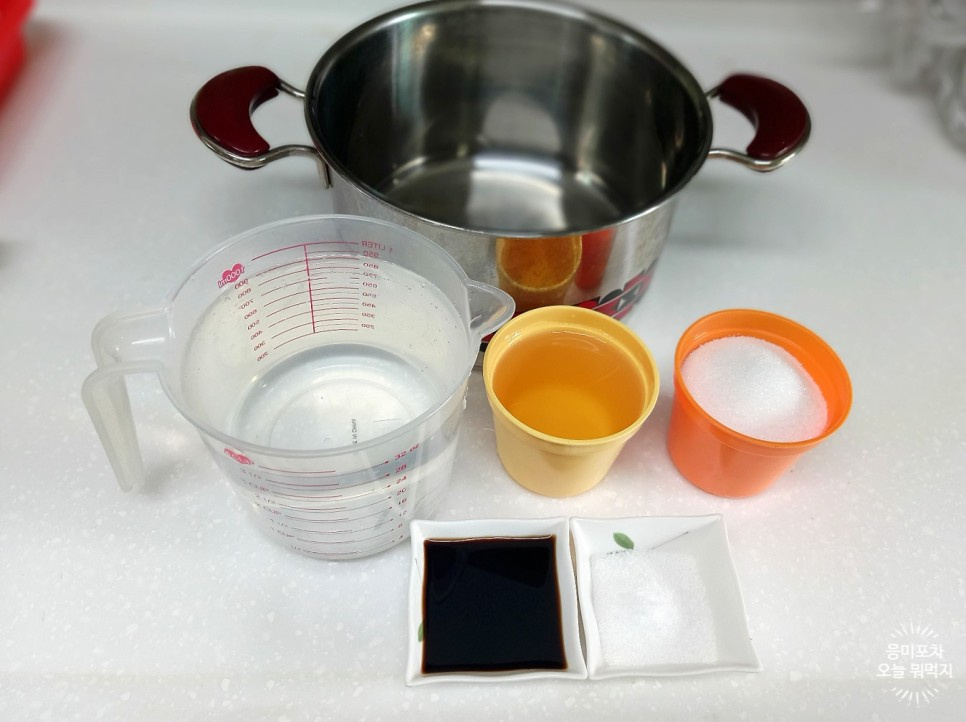 STEP 8/10You can put it in according to the amount, taste it, and add more flavors. Instead of making it dark, I reduced the amount of soy sauce and added salt for the lack of liver.
 STEP 9/10This time, I'm going to make you a bubble wrap. When it starts to boil, cool it down and pour it in.
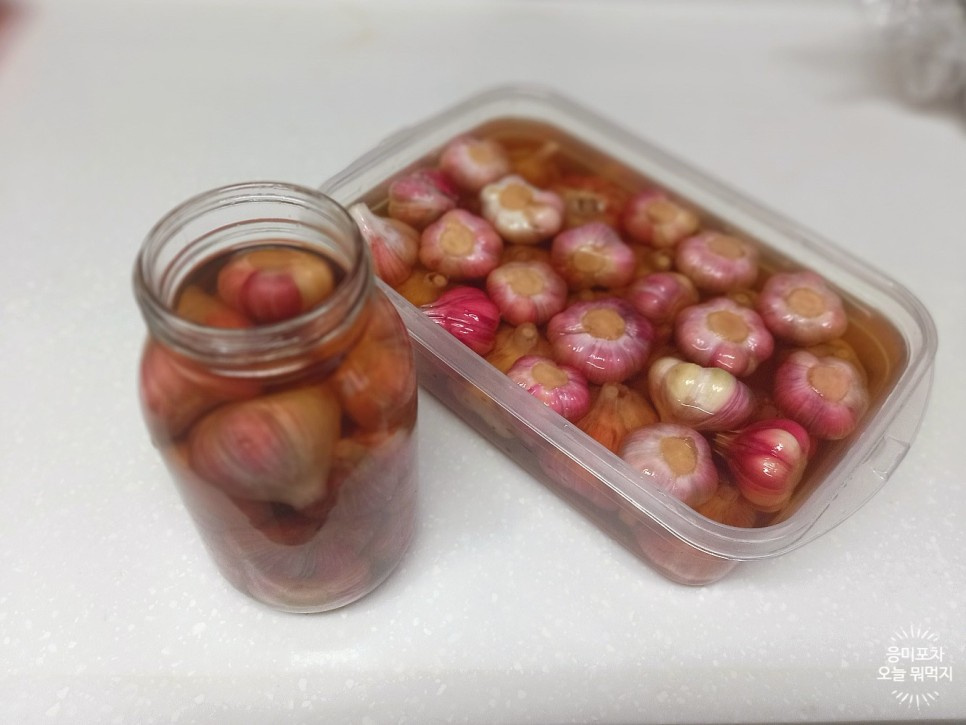 STEP 10/10The last garlic pickle I made last year!! It's really pretty because it's light and not dark, right??
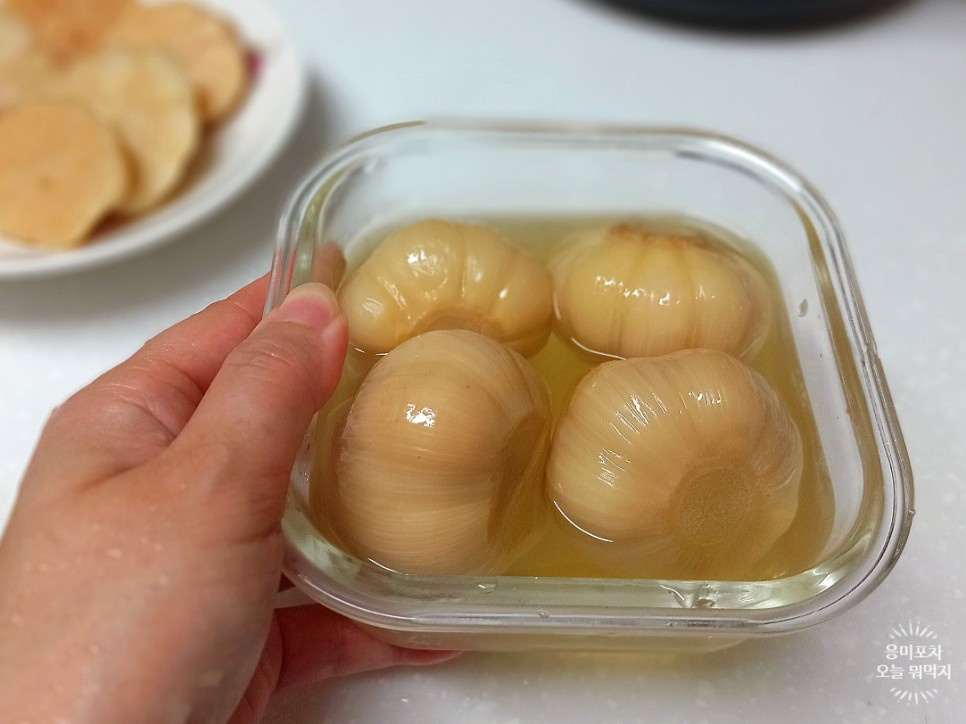 However, it can turn green in the sun, so keep it in the shade. Another important thing is once a week, three times a week!! Pour the pickled water out, boil it, cool it down, and pour it again!! That way, you can taste the pickled garlic that doesn't change all year round. Now keep the whole garlic pickles in the refrigerator after a month.
- Bibimbap Recommended recipe
-
-
1
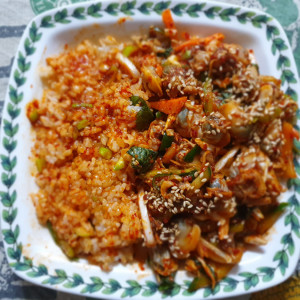
 Healthy + Honey Taste + Simple Eating Alone! Salted pollack avoc5.00(9)
 -
2
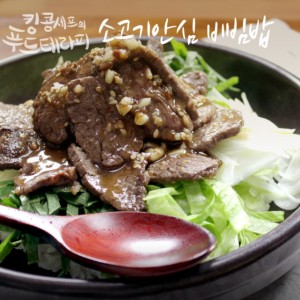 A bowl of rice will restore your energy. Beef tenderloin bibimba5.00(9)
 -
3
 Cockle bibimbap5.00(8)
 -
4
 Super simple bean sprout bibimbap4.95(20)
-
- chicken Recommended recipe
-
-
1
 Fried and seasoned chicken4.86(7)
 -
2
 [Crispy fried chicken] You can make homemade fried chicken at ho4.50(6)
 -
3
 Grilled garlic chicken. Mom's garlic chicken4.83(35)
 -
4
 Healthy Chicken Made with Air Fryer Garlic soy sauce chicken4.83(6)
-