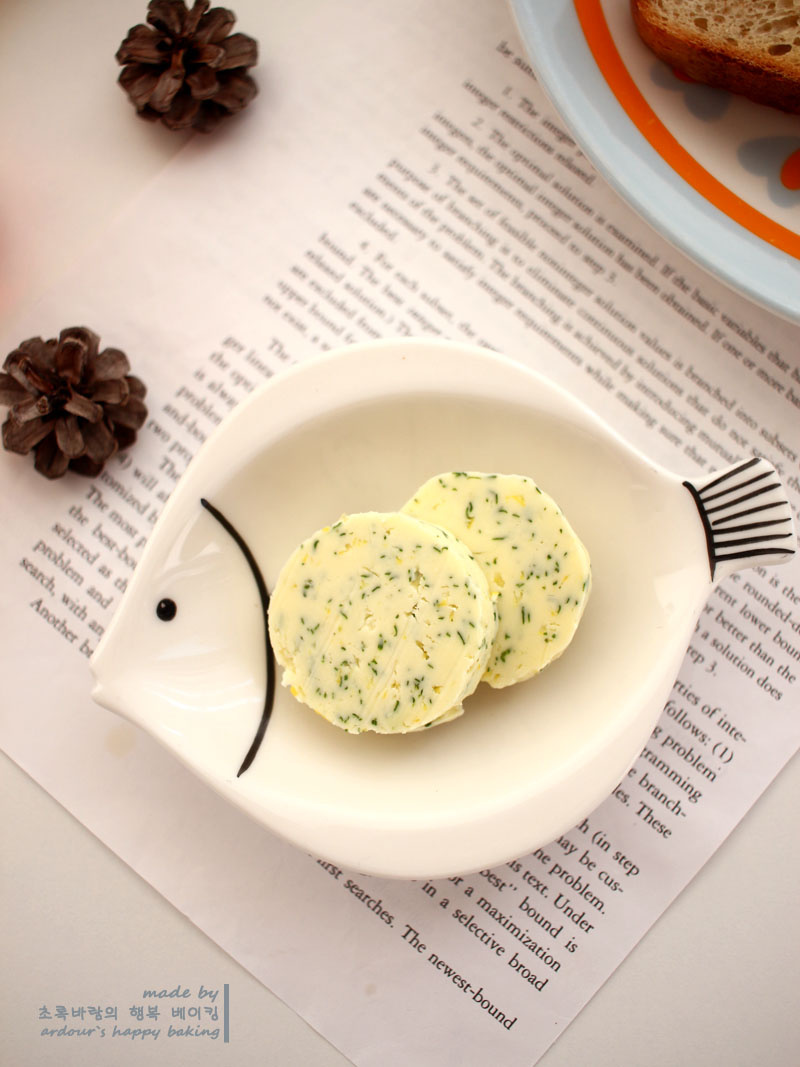
From making lemon butter to storing
Making lemon-dil butter, which was popular for a while, made by Key in Nahon Mountain recently. I wanted to make it too, but it's not easy to get ingredients one by one. So I got the ingredients delivered online and made it. Fresh lemon butter! Let's make it
4 serving
Within 60 minutes
초록바람N
- Ingredients
-
-
lemon zest1ea
-
Butter200g
-
lemon juice1TS
-
Deal10g
-
- Cooking Steps
-
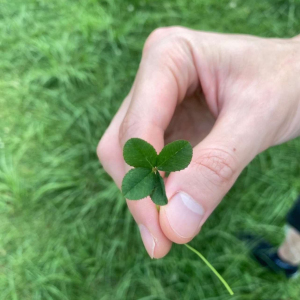
STEP 1/20First, since lemons use the skin, clean them cleanly. It's good to wash it with water first, then with baking soda, then with salt. You can roll it in hot water once, but if the rolling time is exceeded, the lemon may ripen, so roll it at an appropriate time and wash it again before using it.
 STEP 2/20Grind only the skin of the lemon. When you make a zest, if the white part goes in, it will taste bitter, so be careful and make a zest.
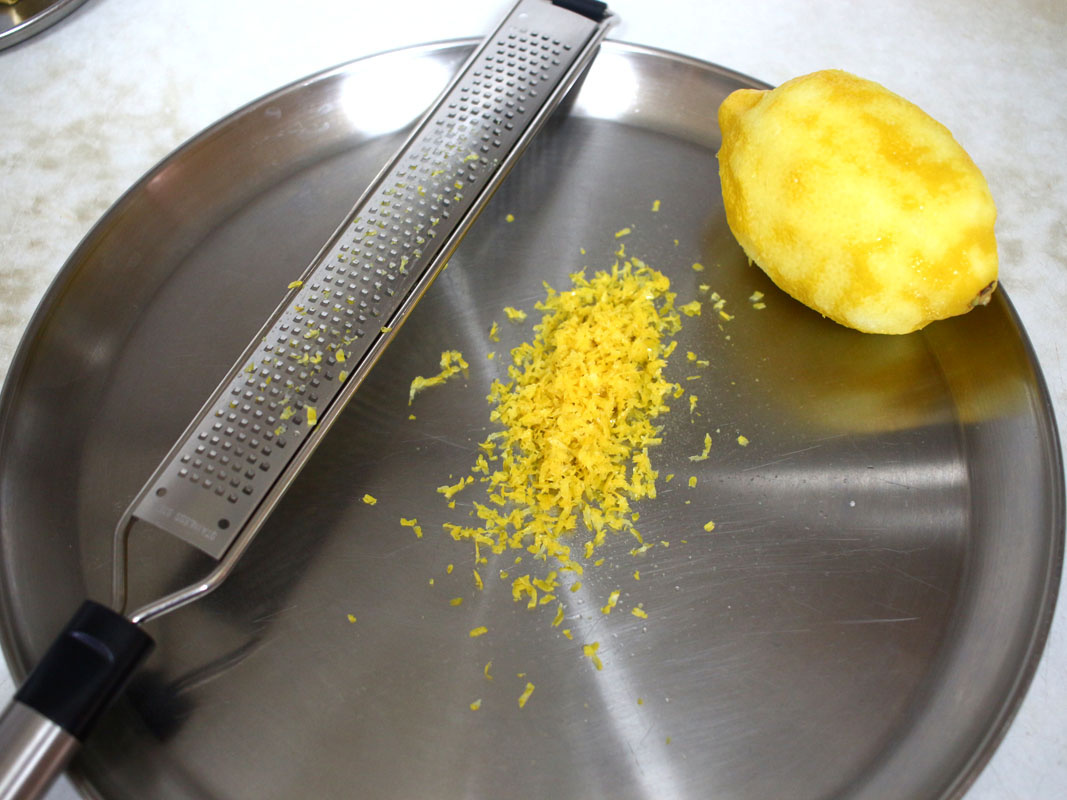 STEP 3/20Squeeze the lemon juice.
 STEP 4/20I'm going to add a tablespoon of lemon juice for a refreshing taste, so I sifted the salty lemon juice through a sieve. This way, you can remove the seeds and unnecessary inner skin.
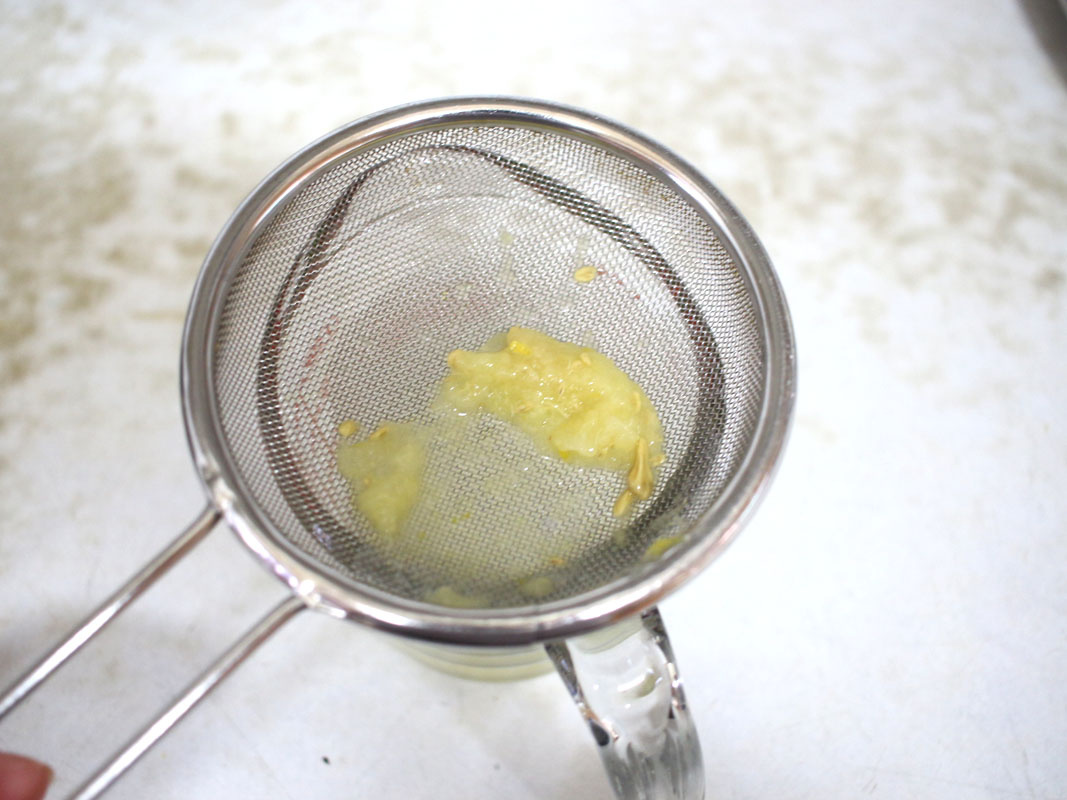 STEP 5/20Dill was lightly washed in running water and then immersed in vinegar water for a while.
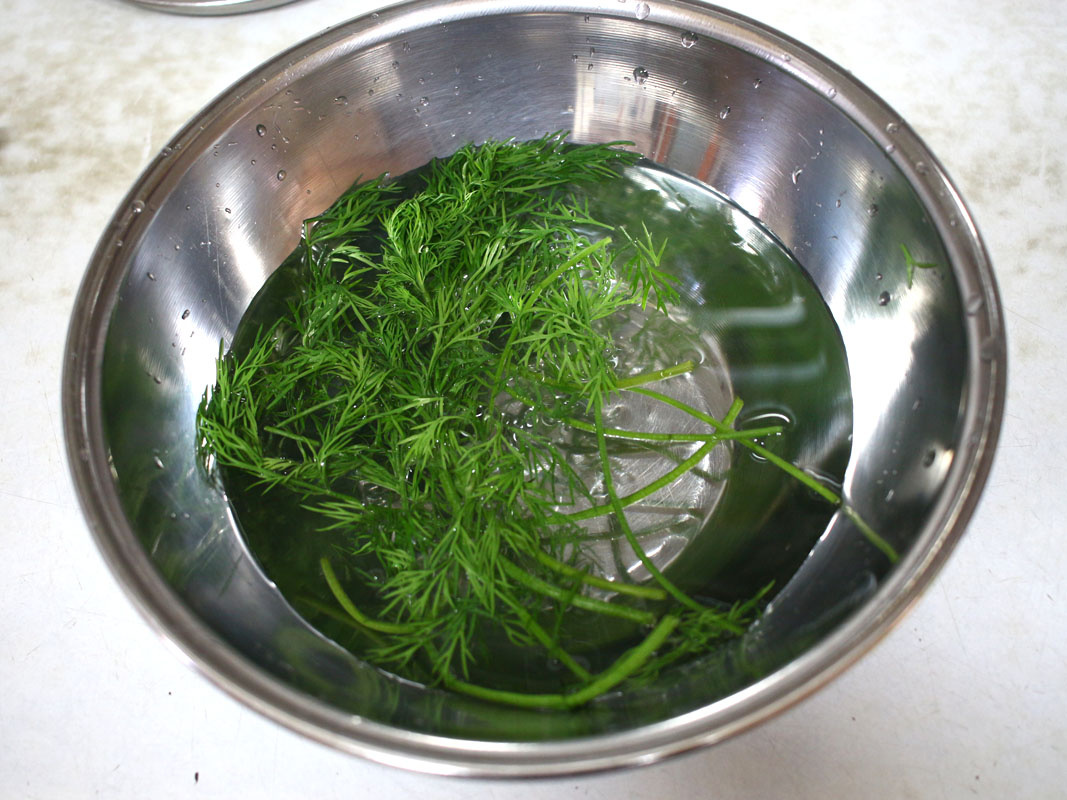 STEP 6/20Then drain thoroughly with a kitchen towel..
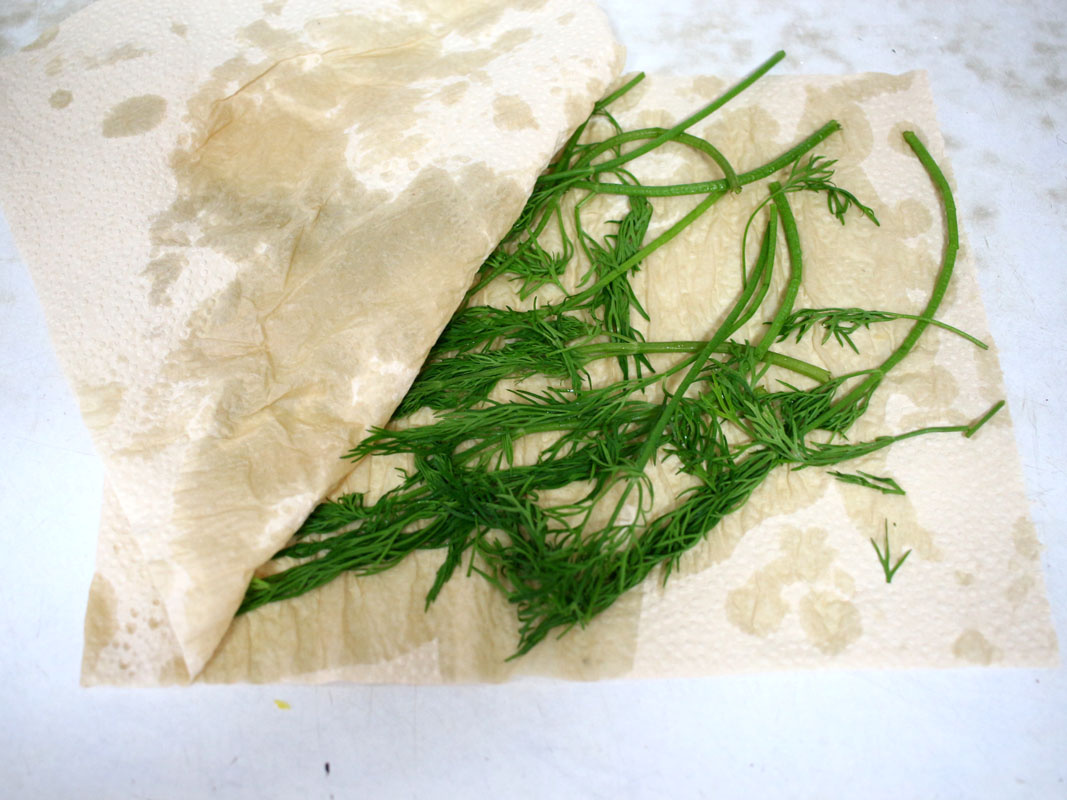 STEP 7/20After separating the stem from the leaf,
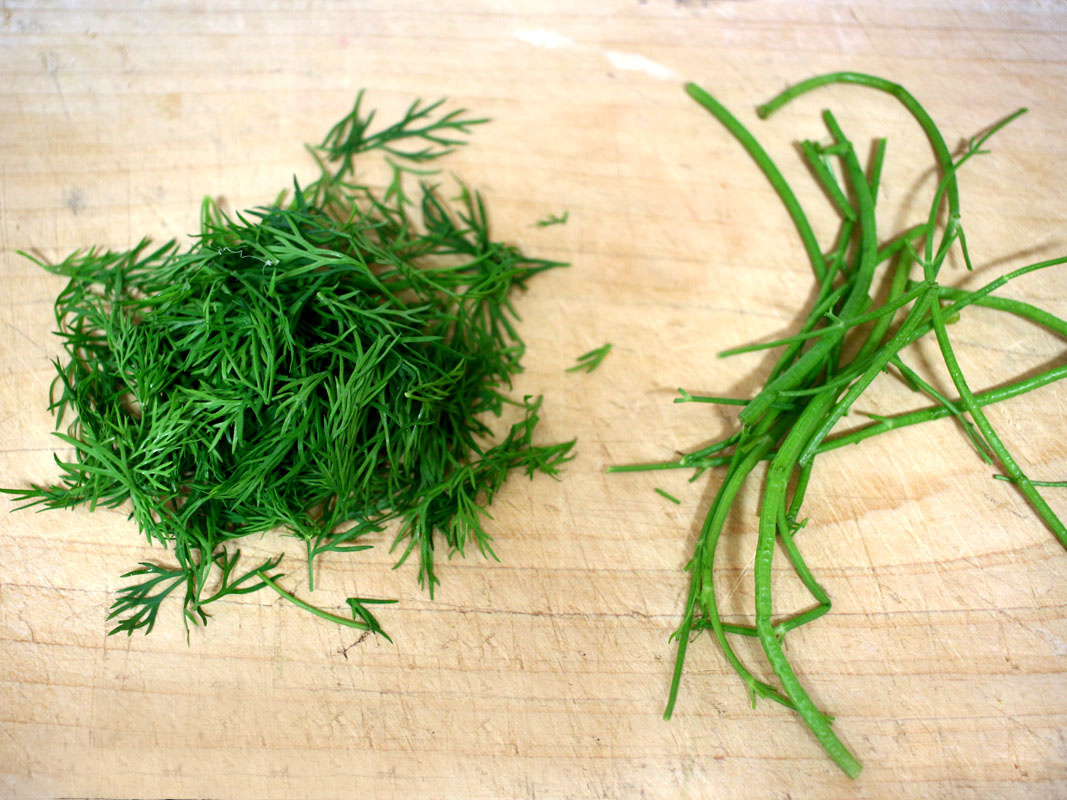 STEP 8/20Finely chop only the leaves.
 STEP 9/20And prepare the butter. Butter was taken out of the refrigerator the night before making and left at room temperature. Even if it melts too much, it's not easy to shape it, and I think it's an easy way to shape it these days (mid-November) by taking it out at room temperature. It's good to have a clear handprint when the butter is pressed with your finger like a picture.
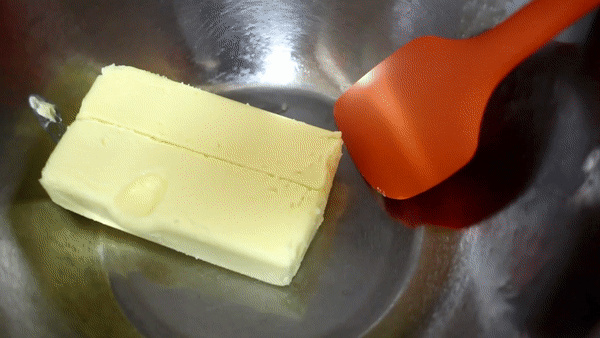 STEP 10/20Gently whisk the butter away with a spatula,
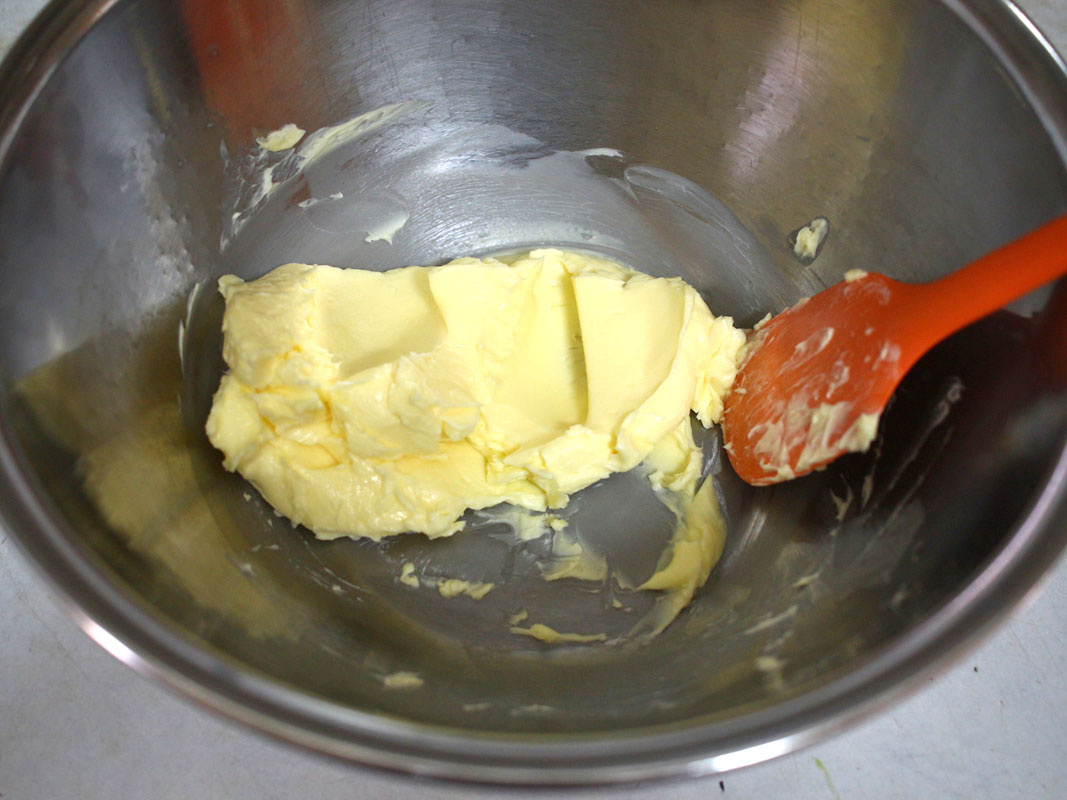 STEP 11/20Add lemon juice first and mix thoroughly. Butter is fat and lemon juice is liquid, so it may not mix well, but mix as hard as you can.
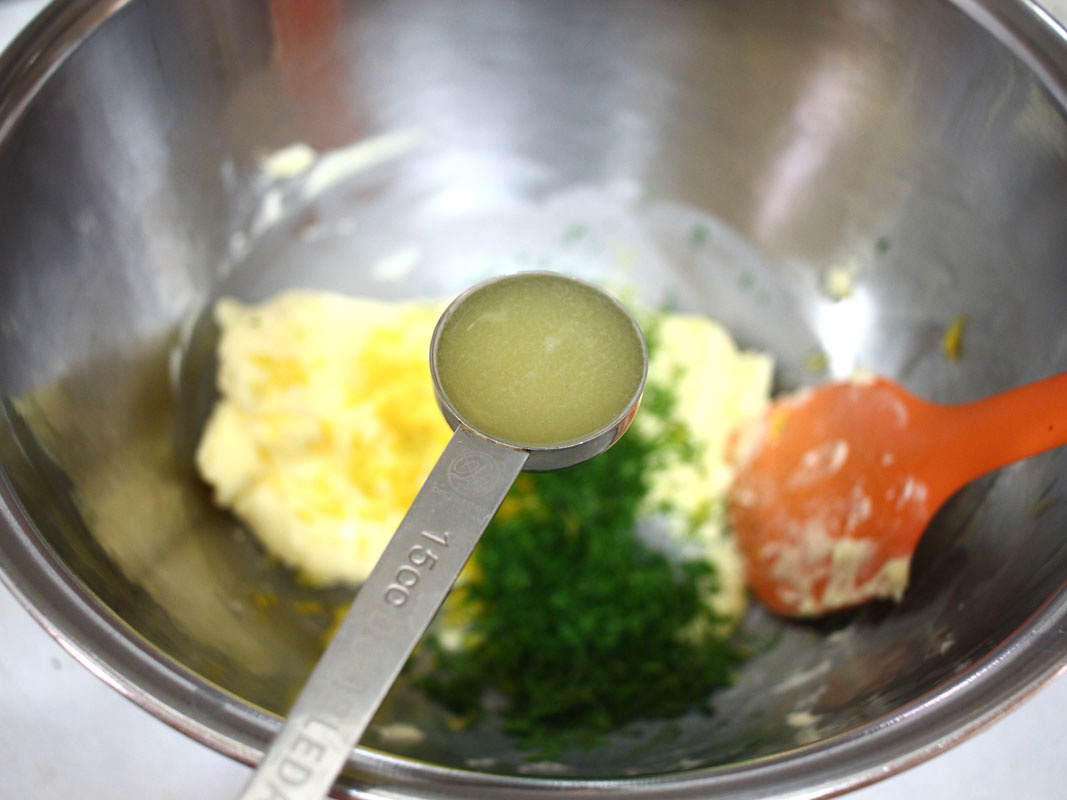 STEP 12/20Then add lemon zest and chopped dill..
 STEP 13/20Mix well with a spatula.
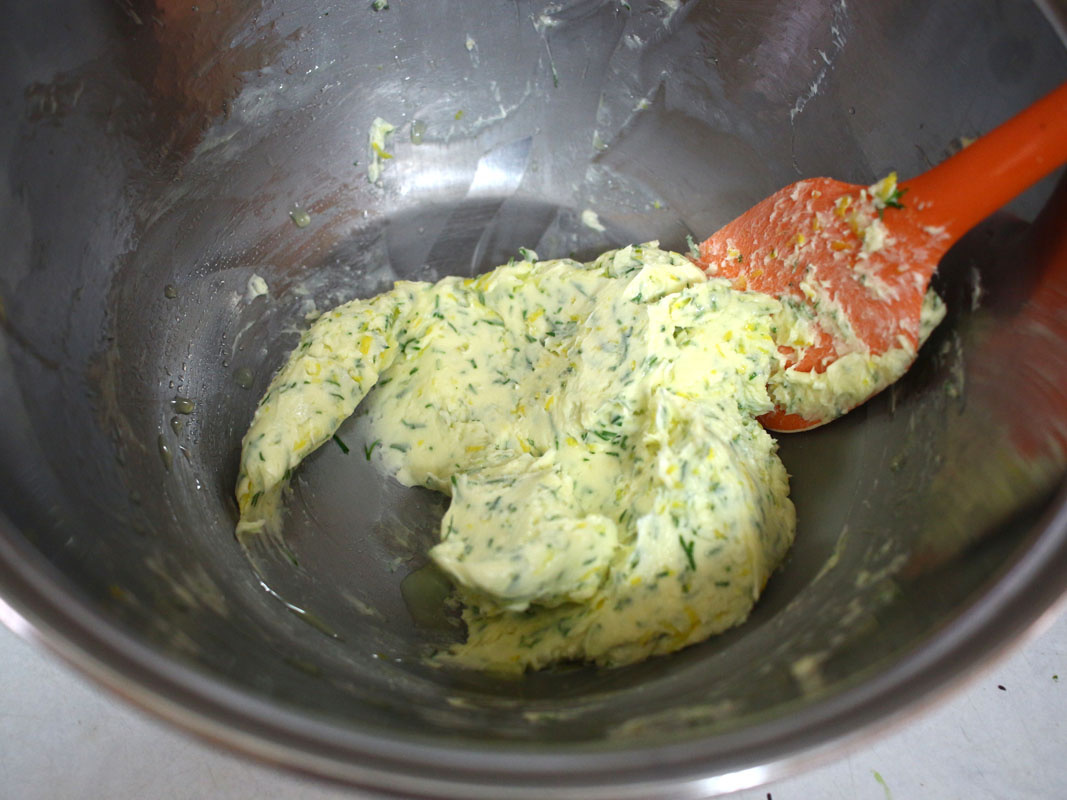 STEP 14/20Spread the parchment paper and shape the lemon-dil butter dough properly. It's easy if you wear plastic gloves.
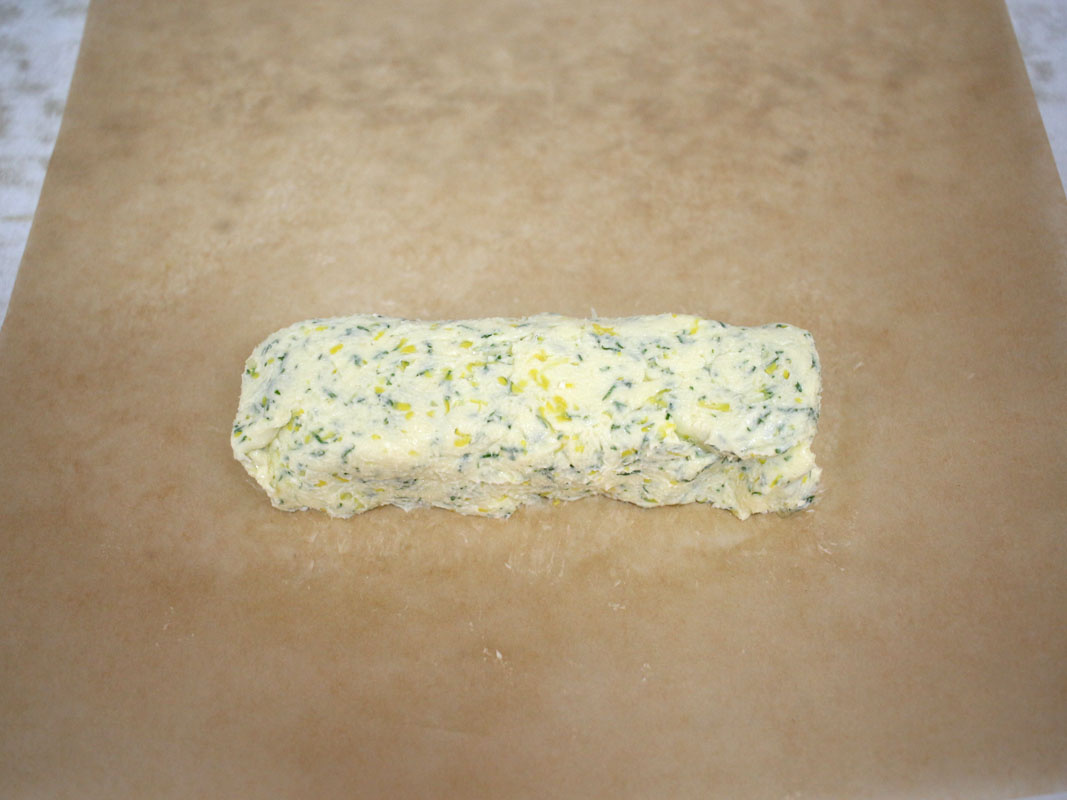 STEP 15/20Then, as shown in the picture, you can easily make a cylindrical shape by placing a ruler on the parchment paper covering the dough, sticking it to the butter dough, pressing it downward, and pulling the parchment paper under the dough upward. This method is very convenient to use when making sabre cookies or making cylindrical shapes of other doughs.
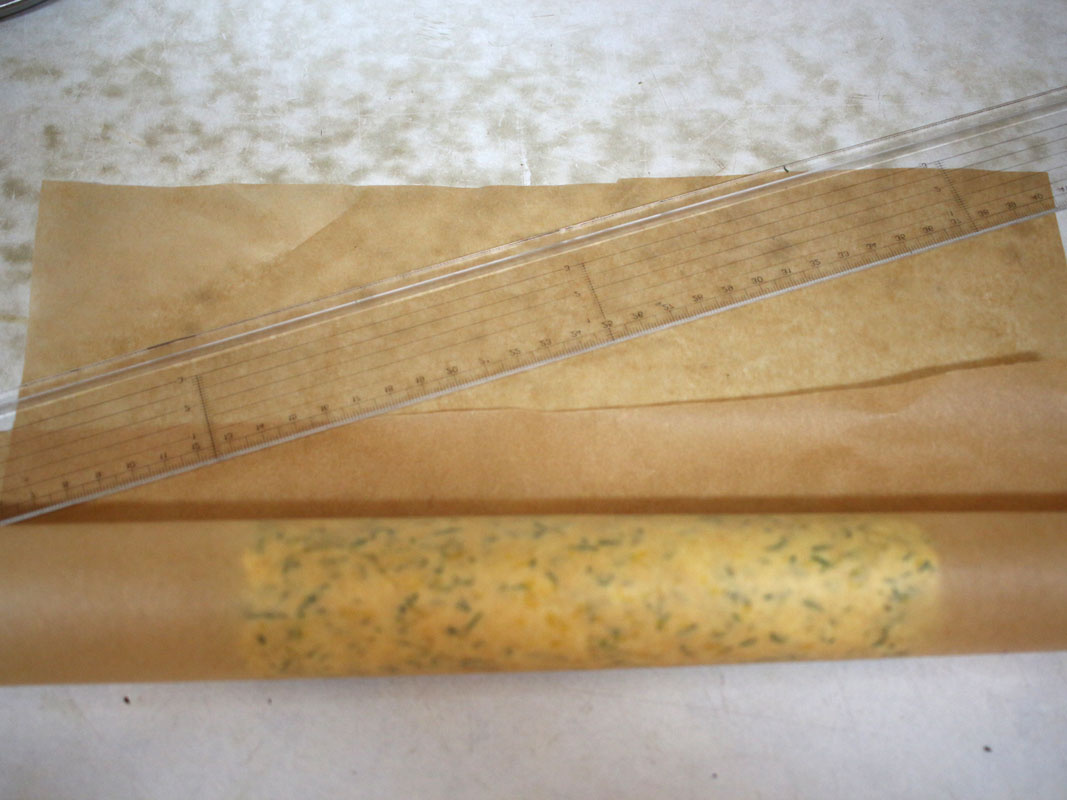 STEP 16/20Then seal it in a candy shape and leave it in the freezer for about 30 minutes..
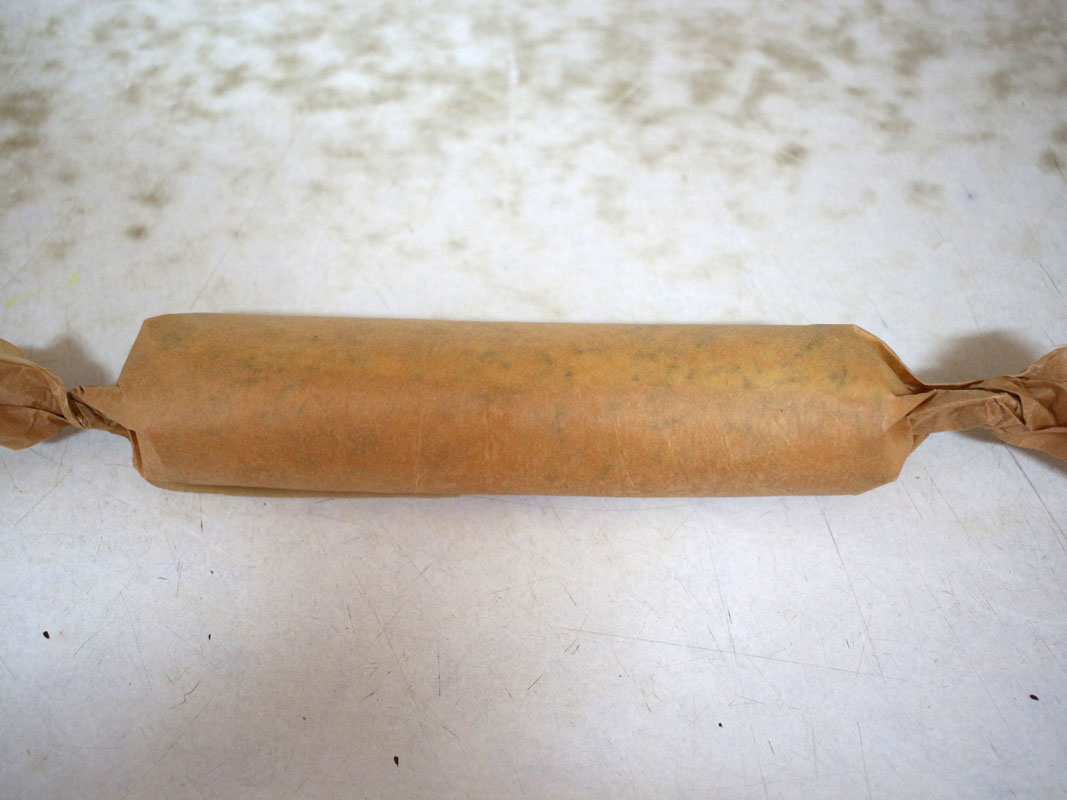 STEP 17/20It hardens just enough to use. Then you can cut it and taste it or use it for cooking.
 STEP 18/20Frozen storage is best when you keep it for a long time or don't eat it right away. In that case, cut it in moderately..
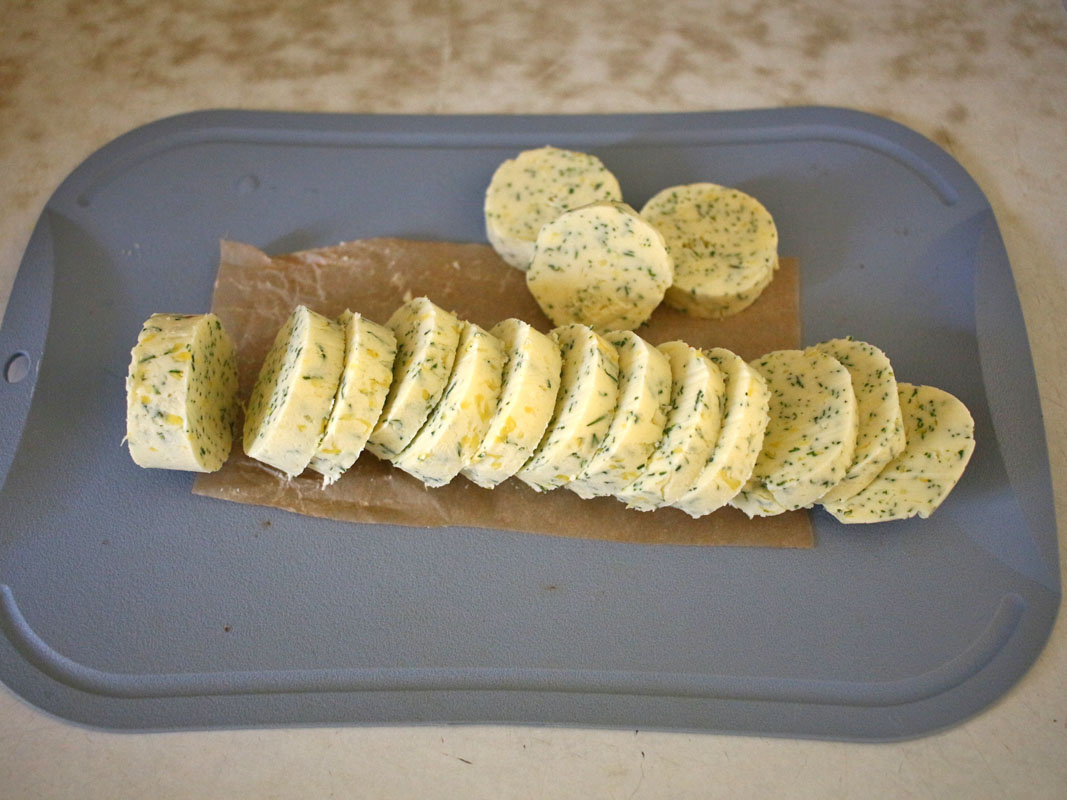 STEP 19/20Wrap it in paper foil.
 STEP 20/20Then, it can be stored for a long time if it is stored in an airtight container or a freezer. And when you use it, if you leave it at room temperature for a while, it will melt enough to use.
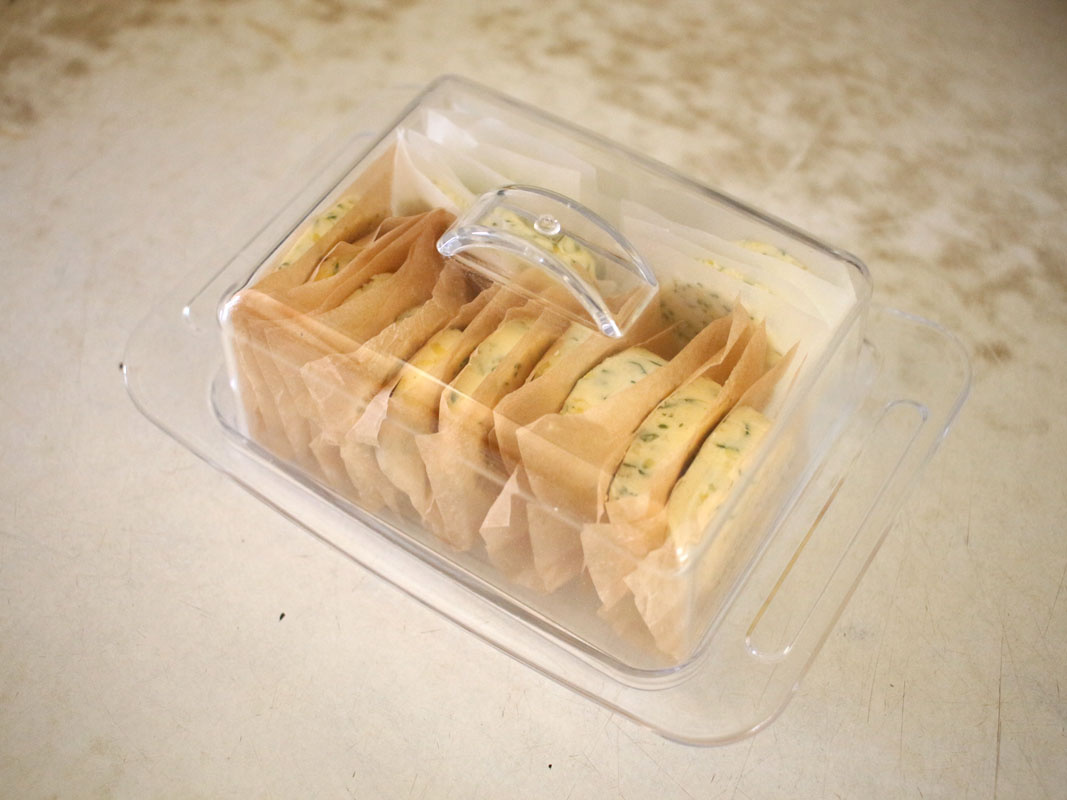
- Bibimbap Recommended recipe
-
-
1
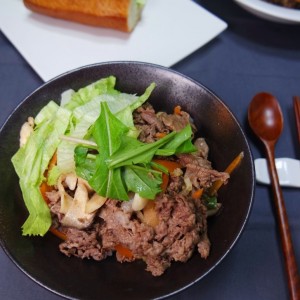
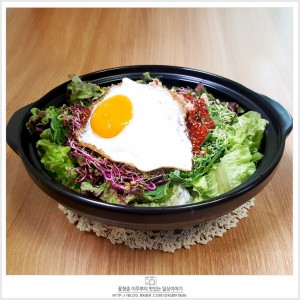 [One bowl recipe] Tuna sprout bibimbap, sprout bibimbap, seasoni4.93(68)
 -
2
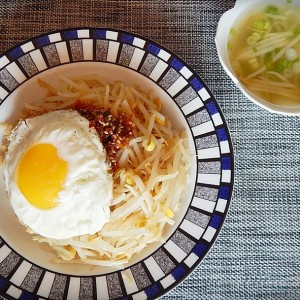 When there are no side dishes, "Bean sprout bibimbap" is the tru4.97(94)
 -
3
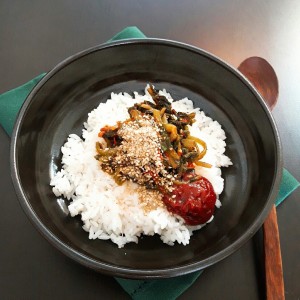
 [Simple home cooking] A splendid transformation of tuna can! Mak4.98(52)
 -
4
 Young radish bibimbap, a simple meal5.00(10)
-
- Bulgogi Recommended recipe
-
-
1
 Yoon's Kitchen Bulgogi Sauce, 3 kinds of bulgogi dishes4.95(40)
 -
2
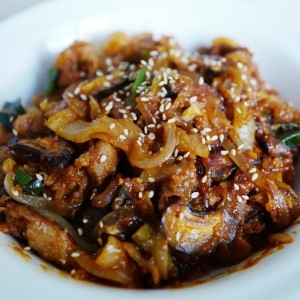 Red pepper paste, pork, bulgogi, golden recipe. The secret of th4.95(41)
 -
3
 [Simple home-cooking] Request chain! Making delicious soybean pa4.97(512)
 -
4
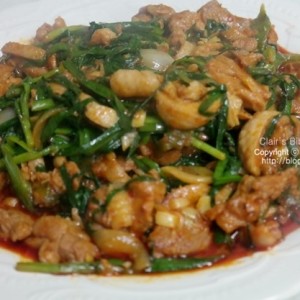 How to season duck bulgogi!4.76(21)
-