
Making nurungji and boiling it without an air fryer
I brought a nurungji recipe that you can cook comfortably if you make it in advance when you feel uncomfortable cooking early in the morning. There was a lot of cold rice left at home, so I made nurungji the night before and cooked it the next morning. I didn't use an air fryer, I used it in a frying pan.
2 serving
Within 30 minutes

요리하나
- Ingredients
-
-
white rice2bowl
-
Watersuitably
-
- Cooking Steps
-
STEP 1/13Making nurungji is simpler than I thought!
First, spray 3-4 spoons of water evenly on the frying pan. STEP 2/13I made about two servings of cold rice. Because the frying pan is not big!
I want to make a thin crust of overcooked rice!
I made nurungji for one person first.
Spread the cold rice on a evenly sprinkled frying pan. At first, I spread it out thinly with some wet disposable gloves on. (At this time, you have to put water on disposable gloves so that the rice doesn't stick.)
And cook over low medium heat so that it doesn't burn.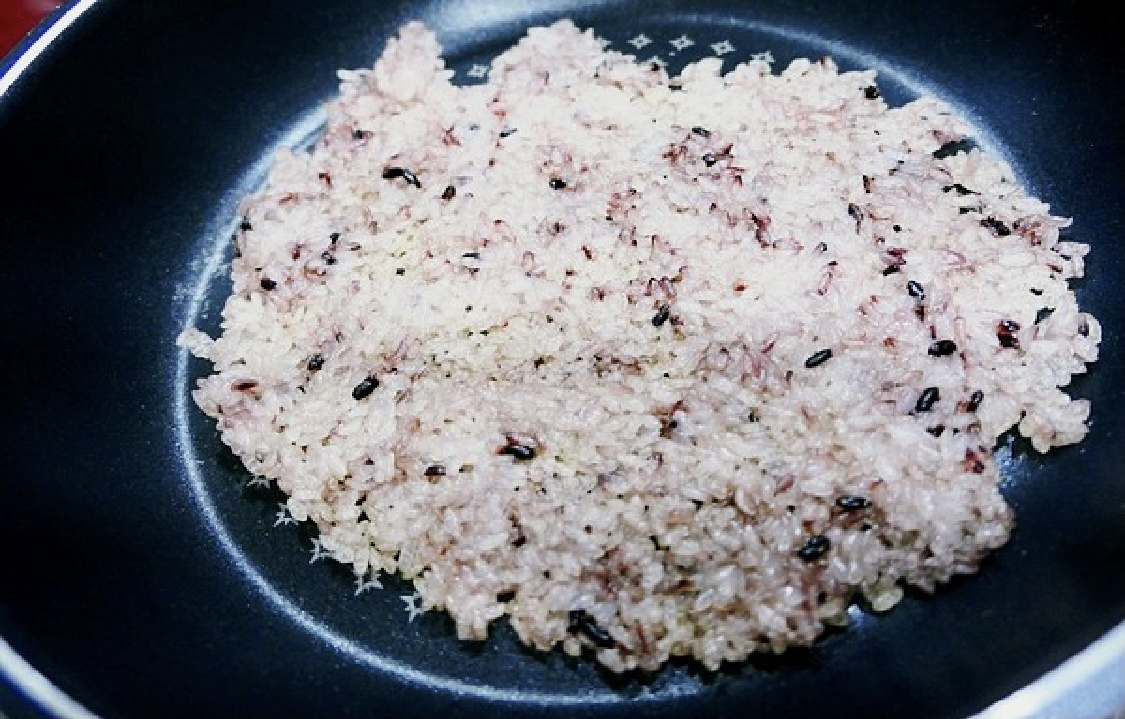 STEP 3/13Even after turning on the heat, I put water on the spoon and pressed it down to spread it out thinly.
I think it's more delicious if you spread it thin and not thickly.
If you don't boil nurungji and eat it as a snack, it has to be thin to make it crispy and more delicious.
Bake well so that it can be crispy even when turned upside down.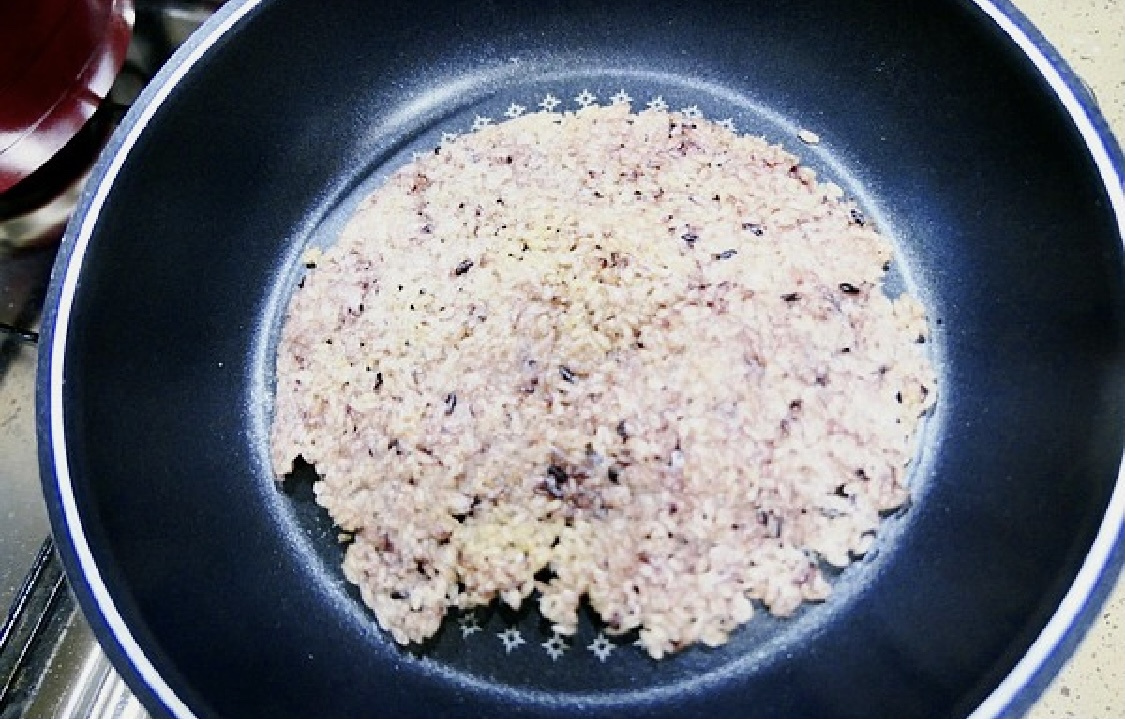 STEP 4/13You can't really see it in the picture, but the nurungji is rolling up with a crispy feeling.
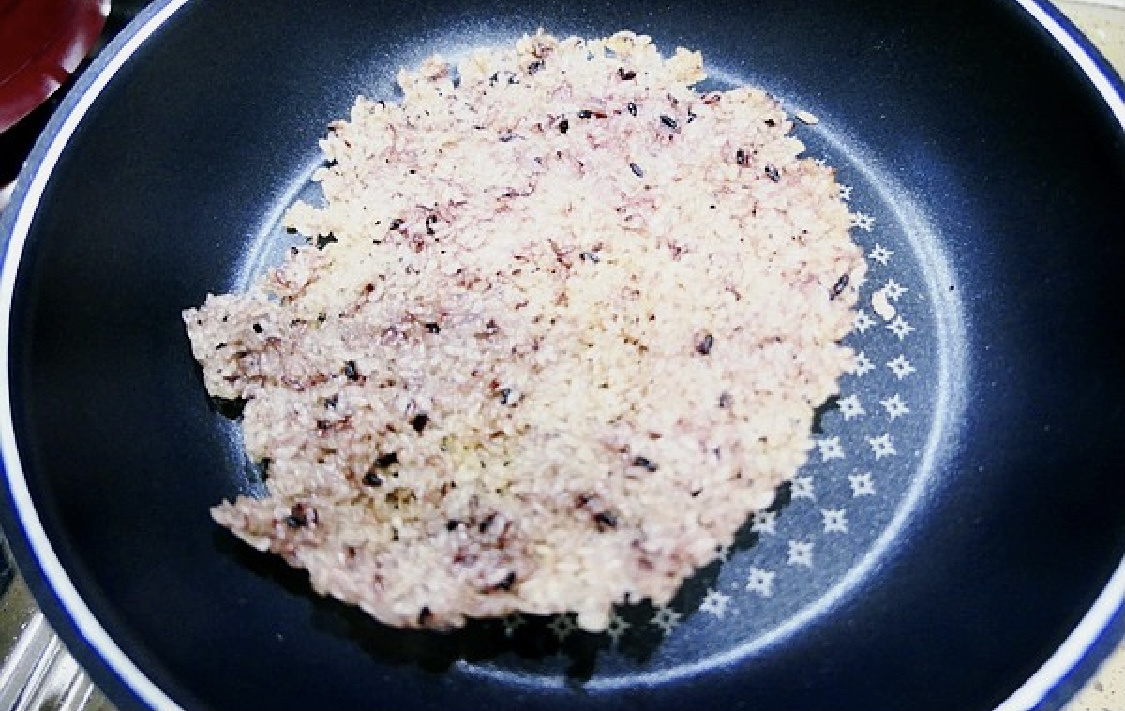 STEP 5/13The thin and crispy nurungji is done. I was thinking about making scorched rice with a bit more burnt(?) color, but I was going to make one more serving of cold rice, so the first scorched rice was grilled only like this.
I didn't take a picture of it separately, but I cooked another serving of cold rice in the same way.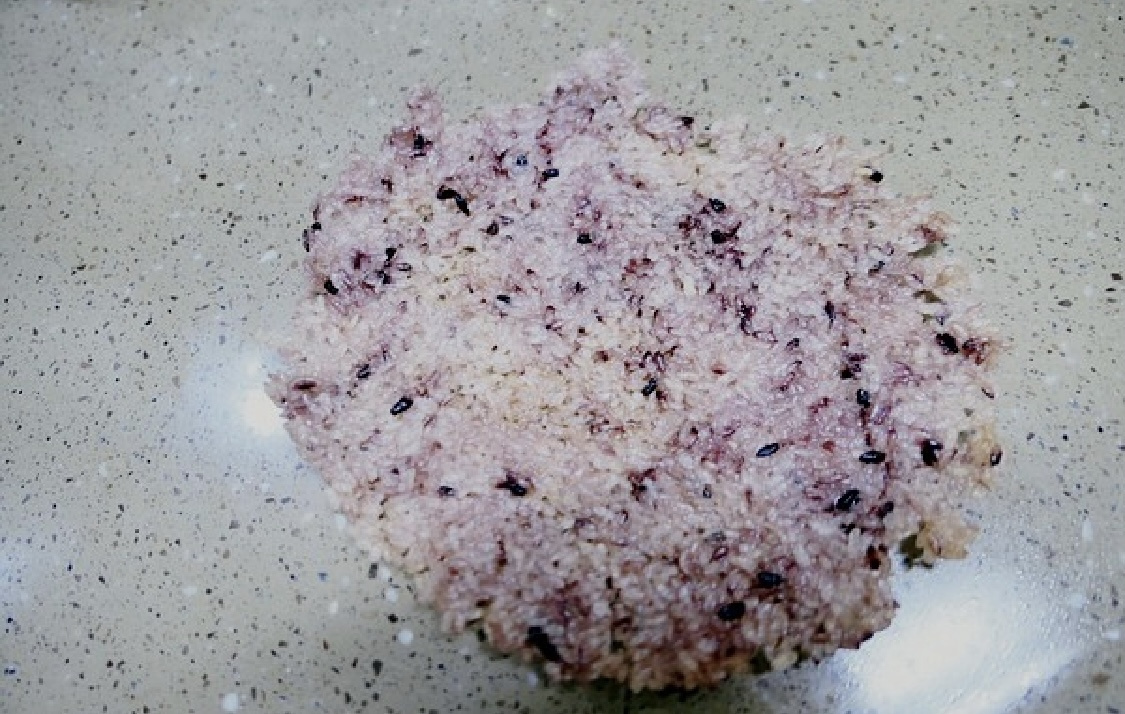 STEP 6/13If you made all the nurungji, let it cool a little, break it into bite-size pieces, and put it in a plastic bag.
If you add sugar and mix it well, it becomes a delicious snack if you eat it with nurungji.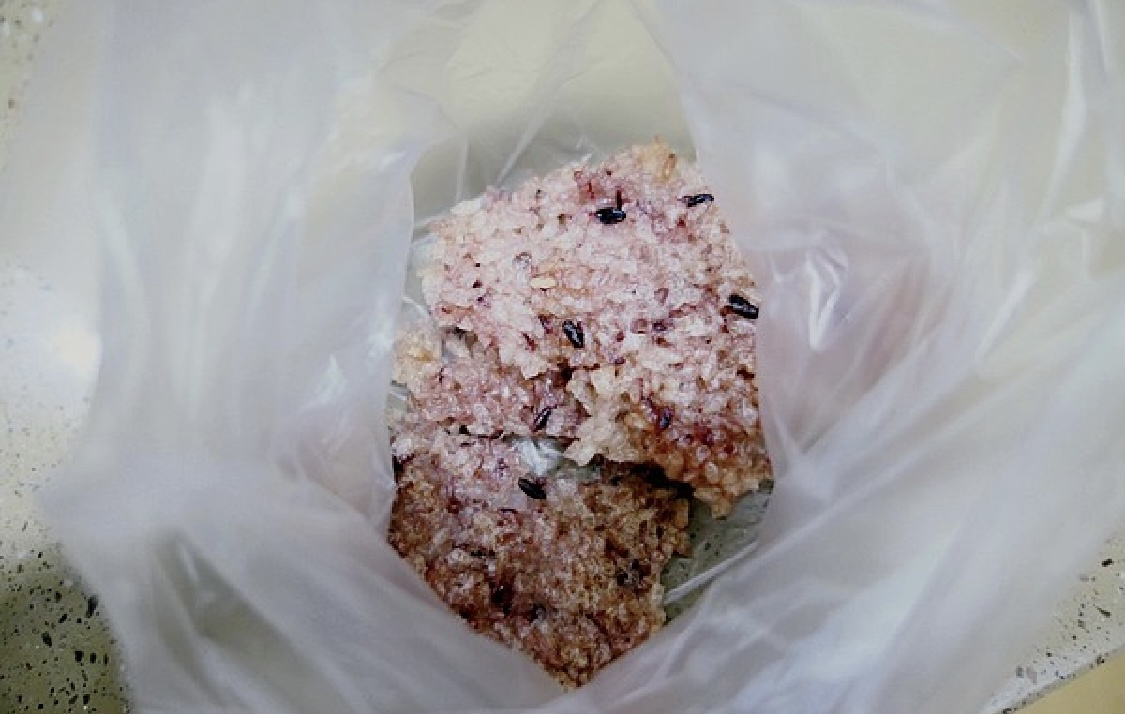 STEP 7/13I couldn't hold it in and took a bite. I couldn't stop eating crispy nurungji.
 STEP 8/13It's a shame that the thin and crispy nurungji doesn't capture well in the picture.
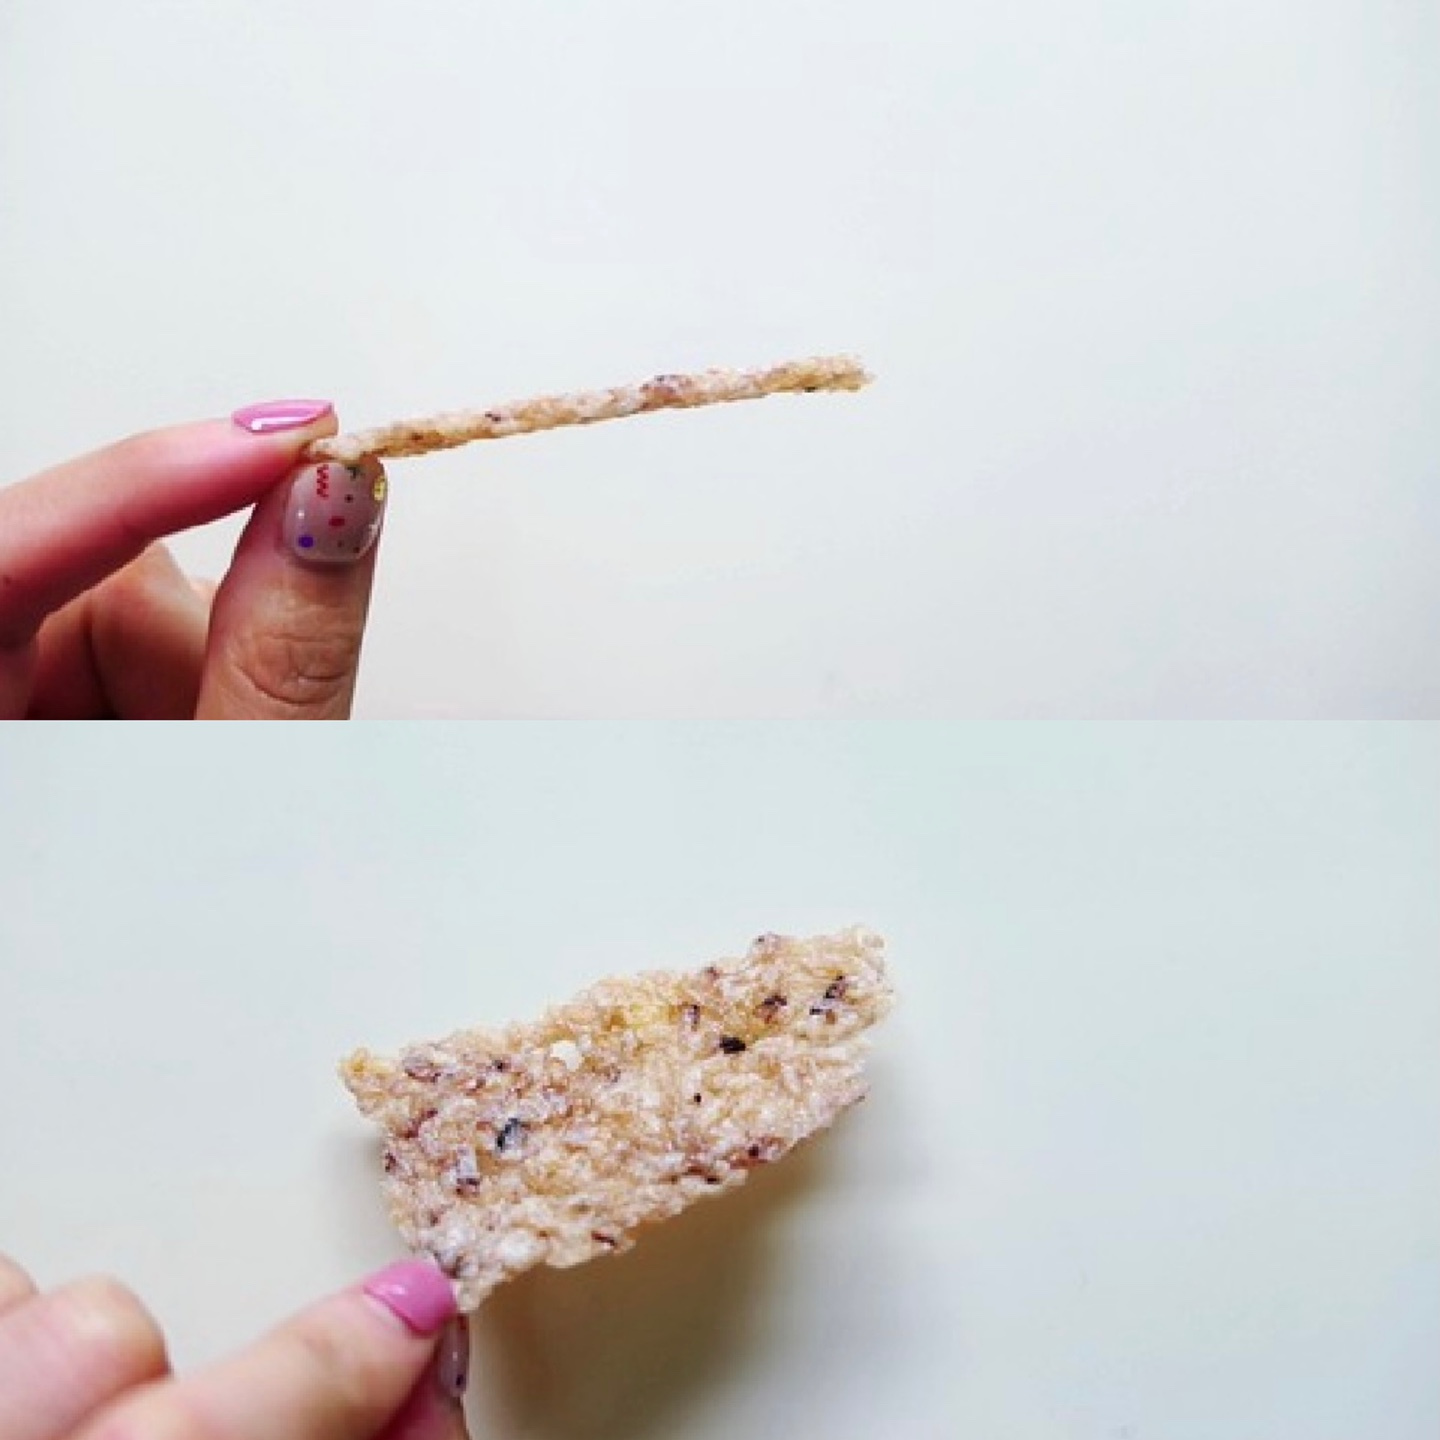 STEP 9/13And the next morning!
I took out the nurungji that I made the day before.
I'm going to make one serving of nurungji.
First, I put water in the pot and nurungji. STEP 10/13When the nurungji boils, check the nurungji.
You need to boil it more if the rice grains are still attached.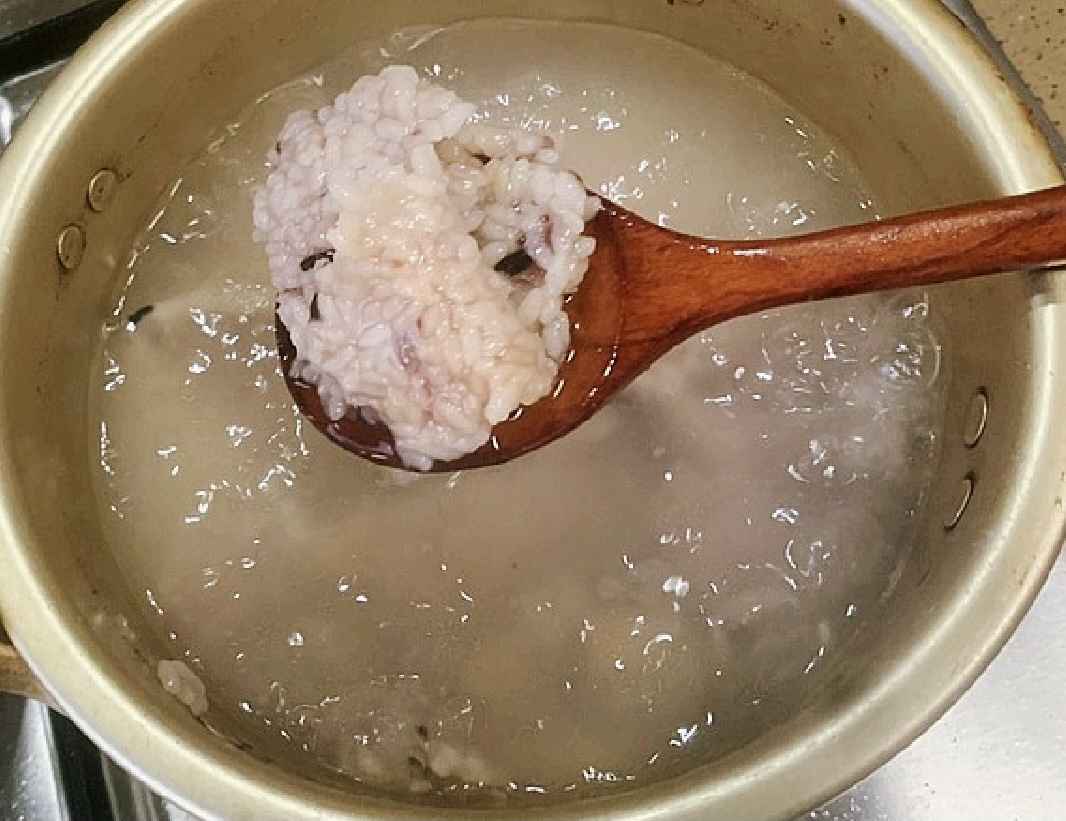 STEP 11/13As you can see in the picture, the rice grains are not clumped together, but loosened, right? Then you can eat nurungji.
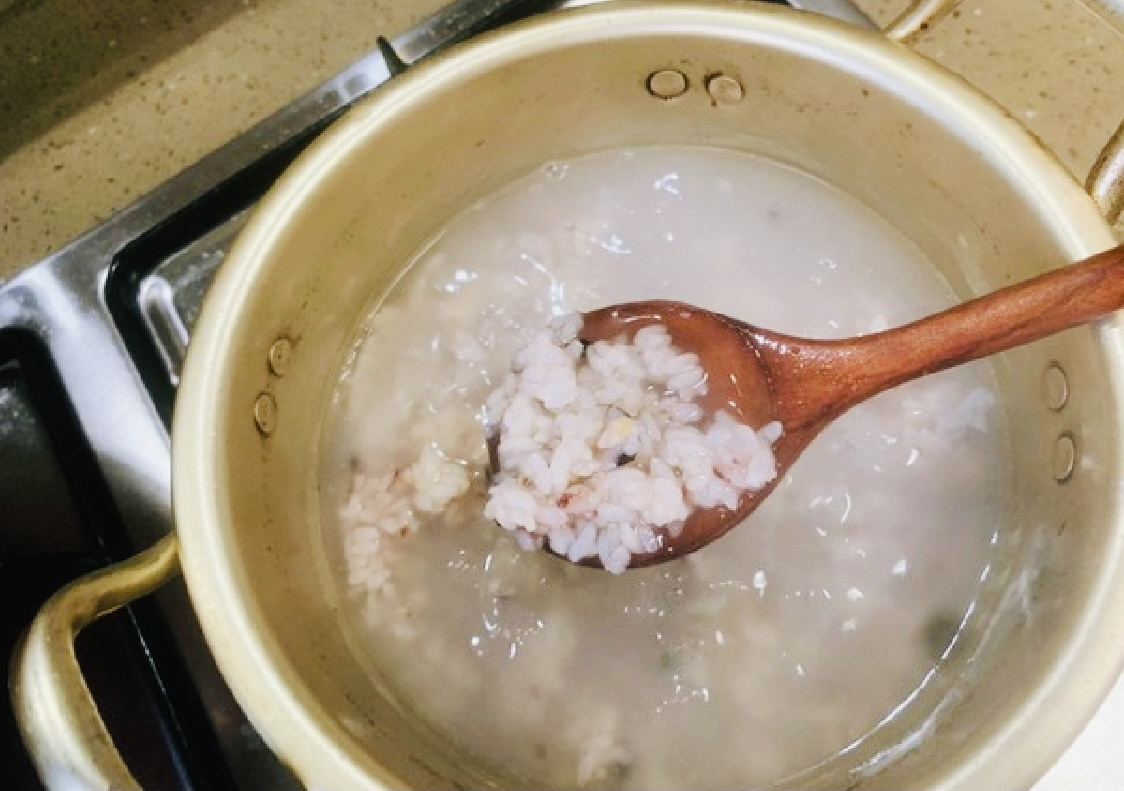 STEP 12/13In fact, after boiling nurungji, I thought the taste of nurungji would be weak because the soup of the desired color was not served, but I was glad that the nurungji's savory taste came out well.
 STEP 13/13It's good to put perilla leaf kimchi on nurungji, and it's good to put green onion kimchi on top.
Nurungji is easy to digest and fills your stomach quickly, so I think it's good to eat simply.
I made nurungji and ate it deliciously.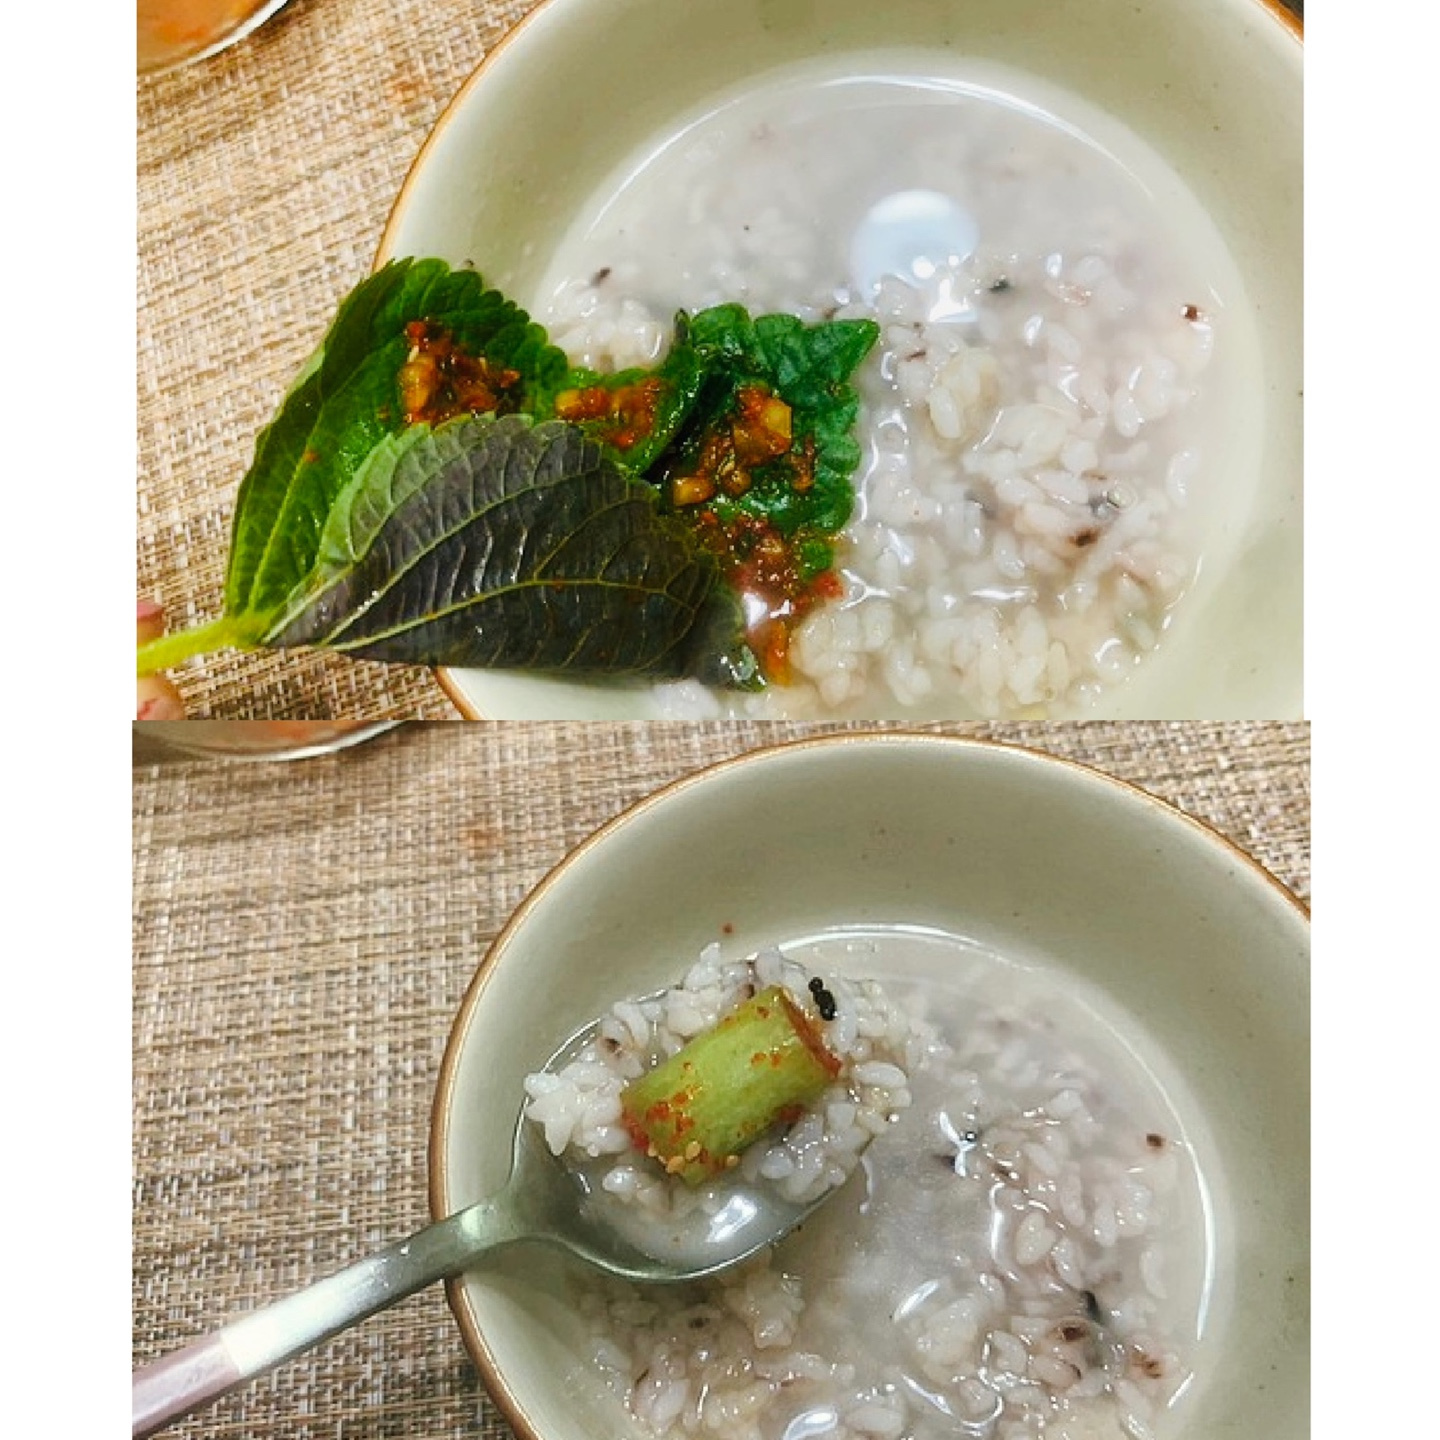 - If you make it in advance, it's easy and fast! And it's nurungji that you can eat well.
- Bibimbap Recommended recipe
-
-
1
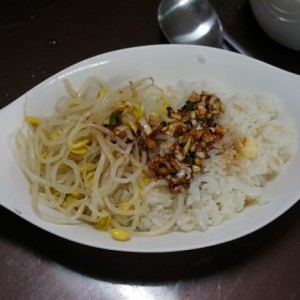 Savory and crunchy bean sprout bibimbap - imitating Jongwon Baek4.87(15)
 -
2
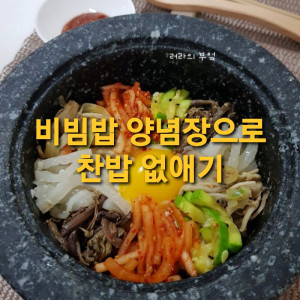 Make a hot pot bibimbap and bibimbap sauce to get rid of cold ri5.00(8)
 -
3
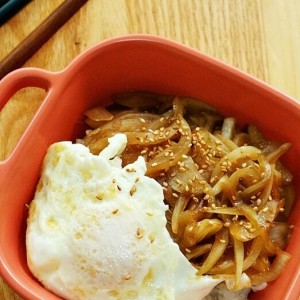 Stir-fried onion bibimbap4.96(55)
 -
4
 It's the season! A delicious bowl of cockle bibimbap4.56(16)
-
- stir-fried Rice Cake Recommended recipe
-
-
1
 Ketchup tteokbokki. Making spicy tteokbokki. Eye snacks4.91(57)
 -
2
 Tteokbokki with soup made according to the TV recipe4.79(43)
 -
3
 [Simple home cooking] 90% synchro rate, making Shinjeon tteokbok4.73(171)
 -
4
 Making oil tteokbokki with amazing sauce! *Easy to difficulty* E4.84(51)
-