
Making homemade apple jam easily with leftover apples and fruit
I'm going to make apple jam for my home mate using leftover apples and fruit syrup that I don't eat during the holidays
It's inefficient compared to the cost of viewing and paying, but it's a waste to throw away health and apples, so it's good to try making them
You can make about 2kg of jam with 12 apples (medium)
6 serving
Within 120 minutes
김몽이튜브
- Ingredients
-
-
apple12ea
-
Fruit300~500g
-
Sugar200~400g
-
- Video
-
- Cooking Steps
-
STEP 1/18If you make a jam with 12 apple cores, you can make about 2kg of jam. Peel off and cut the apple. It's ready
 STEP 2/18You can prepare 300g of fruit syrup. (If you eat jam for a long time or like sweet things, you can add 500g.)
 STEP 3/18Before making jam, you have to sterilize the glass bottle with hot water and remove the water completely so that the jam can be stored without spoiling.
Boil it in boiling water for 2 minutes STEP 4/18Cut 3 apples into 2cm x 2cm and 0.5cm thick pieces for the texture of the jam
 STEP 5/18To make apple jam easily and reduce the time to make it, grind 9 pieces in a blender. If you put a cup of water in the blender, it's easier to grind
 STEP 6/18Divide 9 apples into 3-4 times and grind them.
Add 1/3 of the fruit syrup and grind it.
(You don't have to improve it by 1/3 because it's going to be combined at the end.)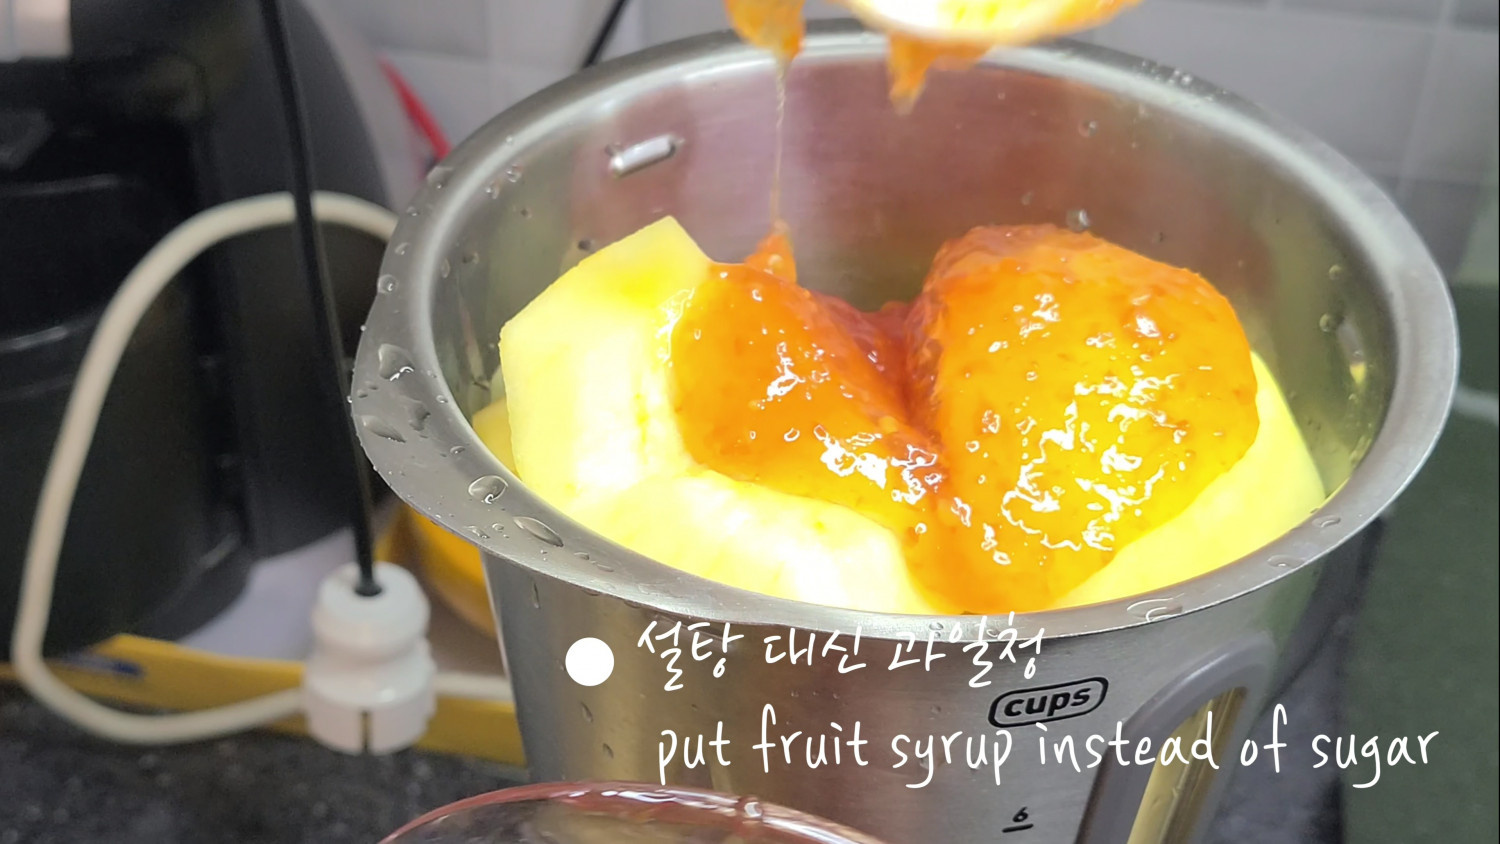 STEP 7/18It's good to blend it until it becomes liquid like in the picture
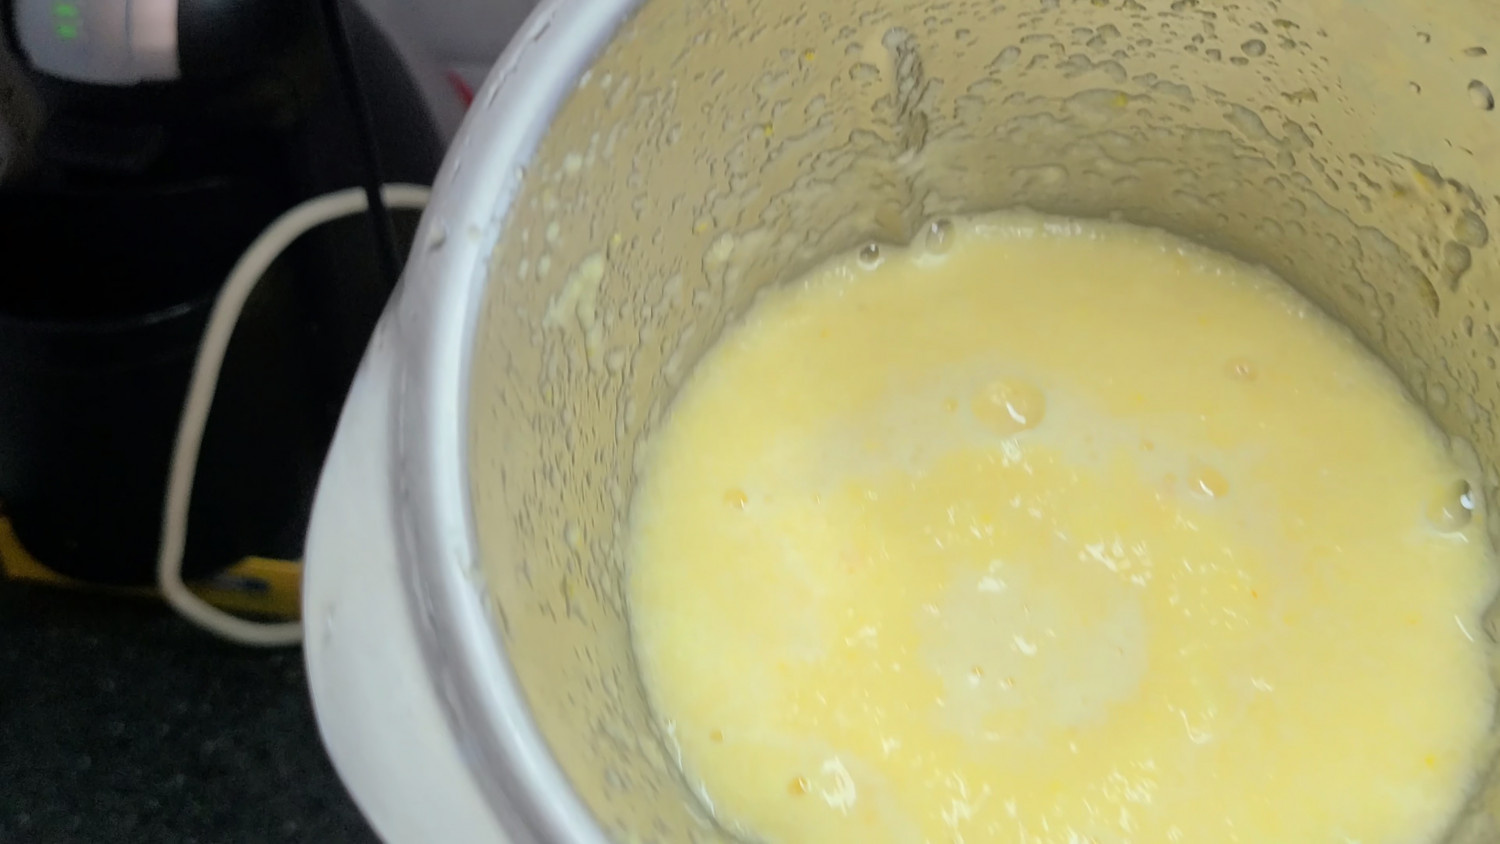 STEP 8/18Put 9 apples ground in a blender into a pot and boil over low heat for about 20 minutes. (You don't have to stir it because it's on low heat.)
 STEP 9/18After about 20 minutes, bubbles start to rise as shown in the picture. When the bubbles come up, turn it up on high heat
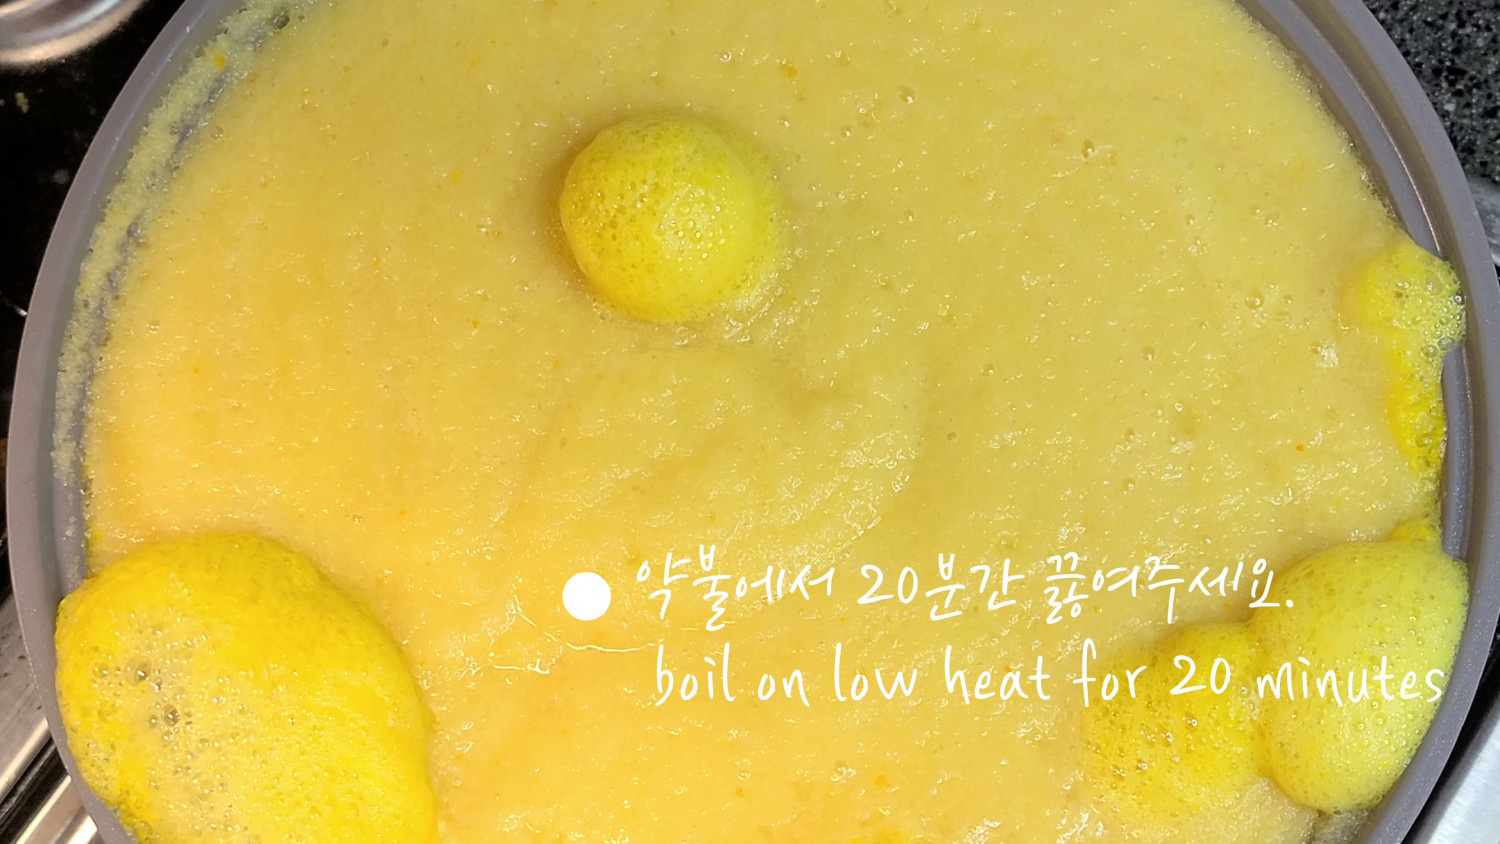 STEP 10/18Raise the heat to high and add the first apple slices (three apples). Add 200g of sugar.
(If you want to eat it sweetly or for a long time, add 400g of sugar.)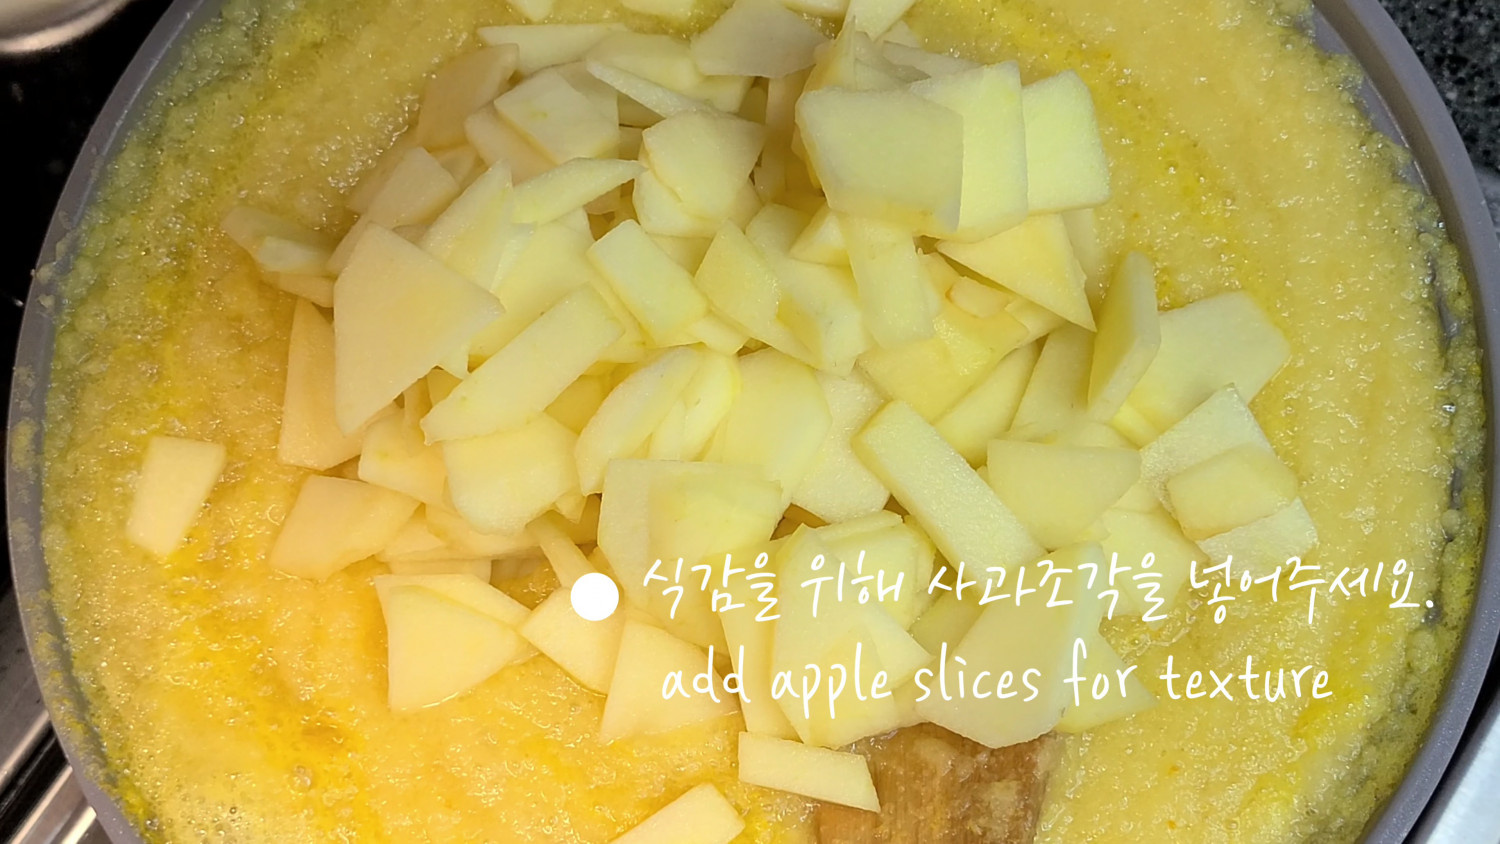 STEP 11/18Stir well for 40 minutes to complete the jam without sticking to the floor.
(You can adjust the time according to the amount of apples. 40 minutes based on 12 pieces) STEP 12/18As time goes by, you can see that the color gets darker and the apple slices get mushy
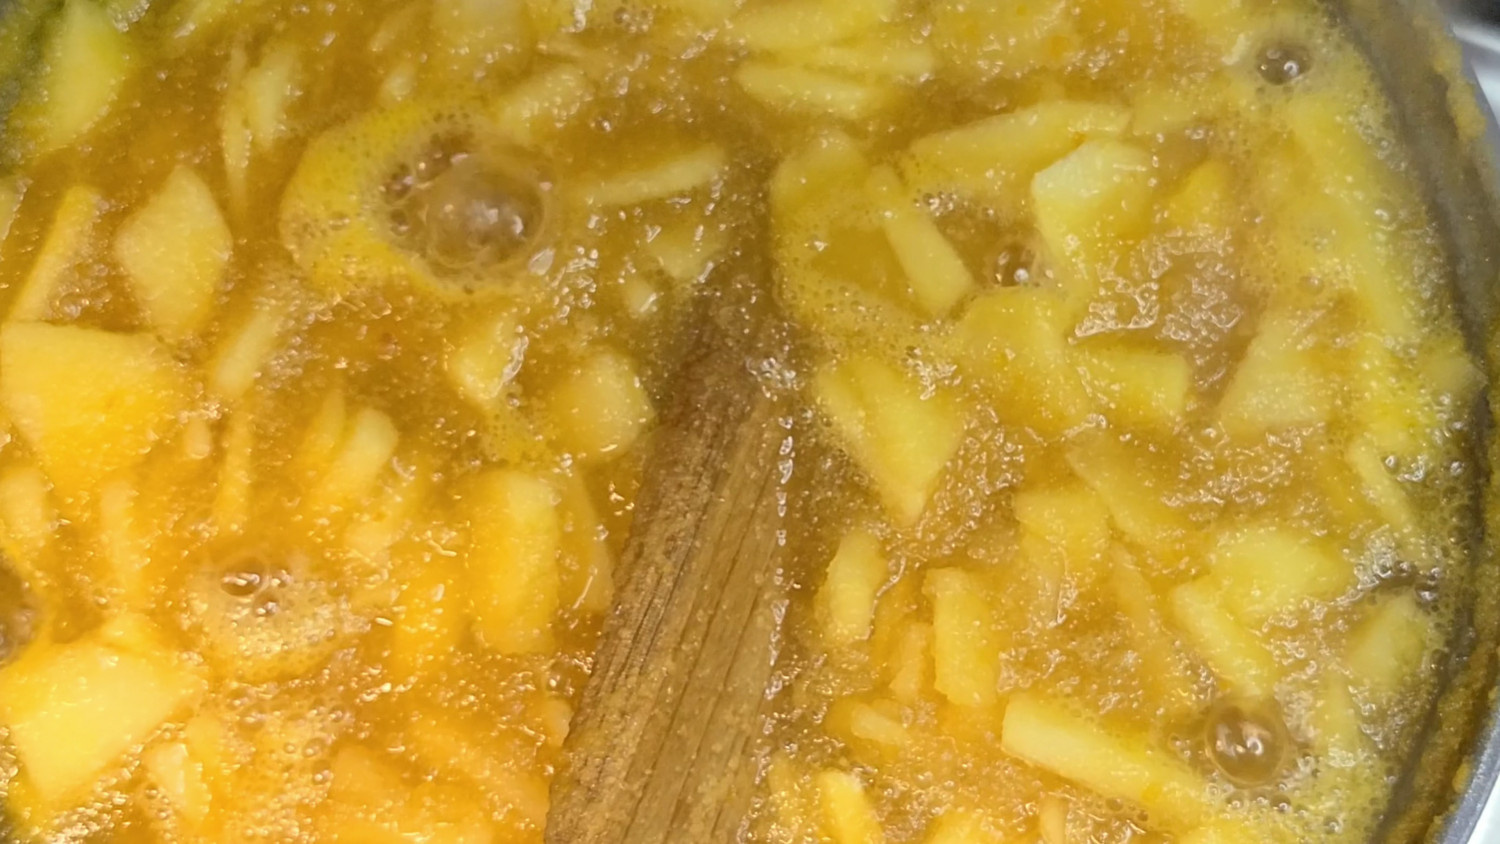 STEP 13/18After about 40 minutes on high heat, you can see that the amount is halved compared to the first time. (If the amount is halved, it's complete.)
 STEP 14/18You have to put it in a dry glass bottle so that the apple jam doesn't go bad
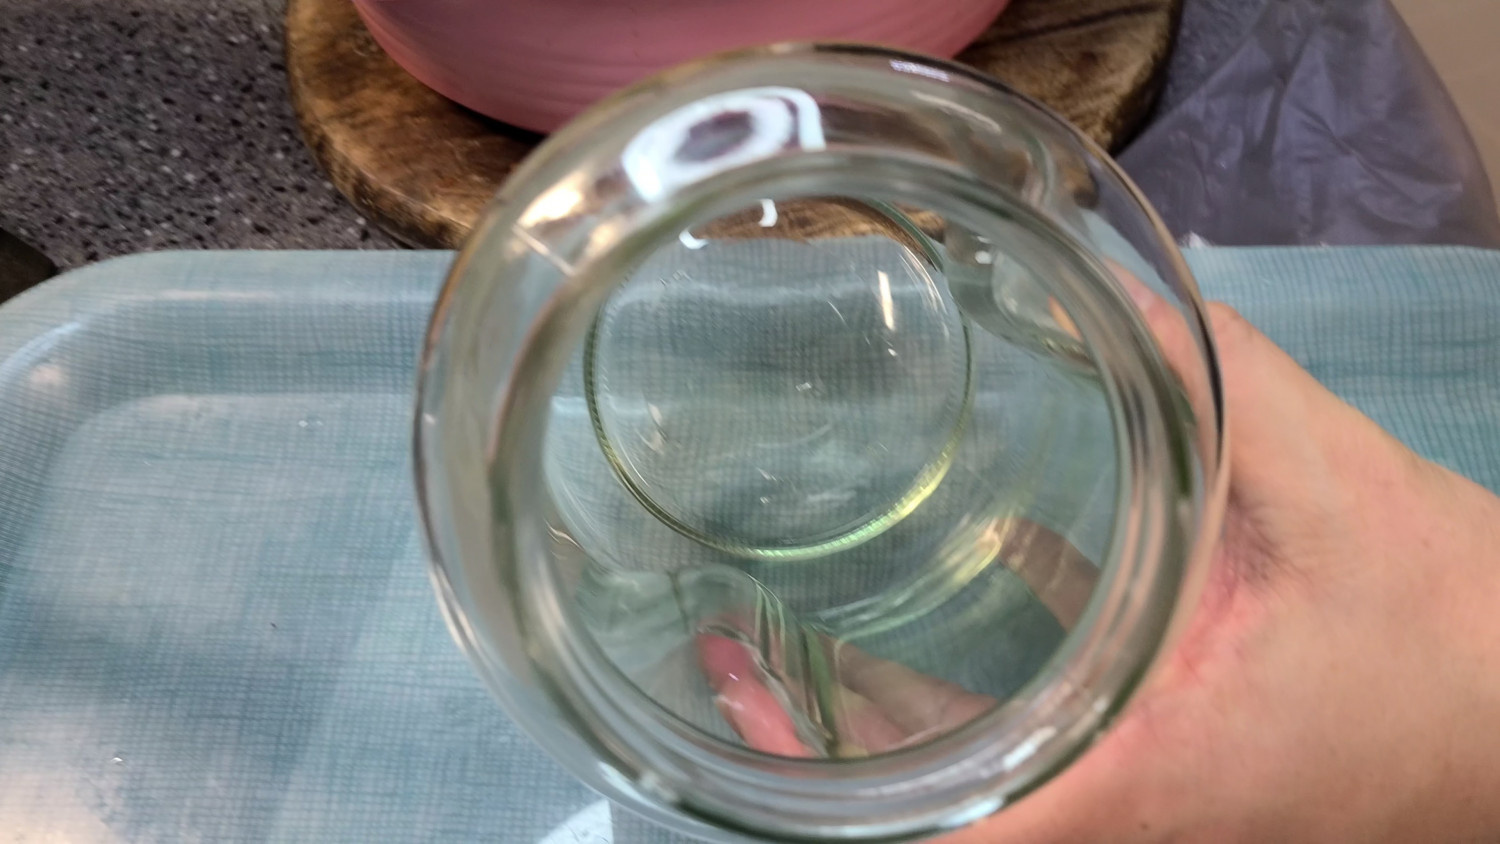 STEP 15/18Turn off the apple jam, cool it for 5 minutes, put it in a bottle, and seal the lid right away the lid
 STEP 16/18When you make 12 apples, 300g of fruit syrup, and 200g of sugar, you can see the 2kg bottle filled with fruit syrup
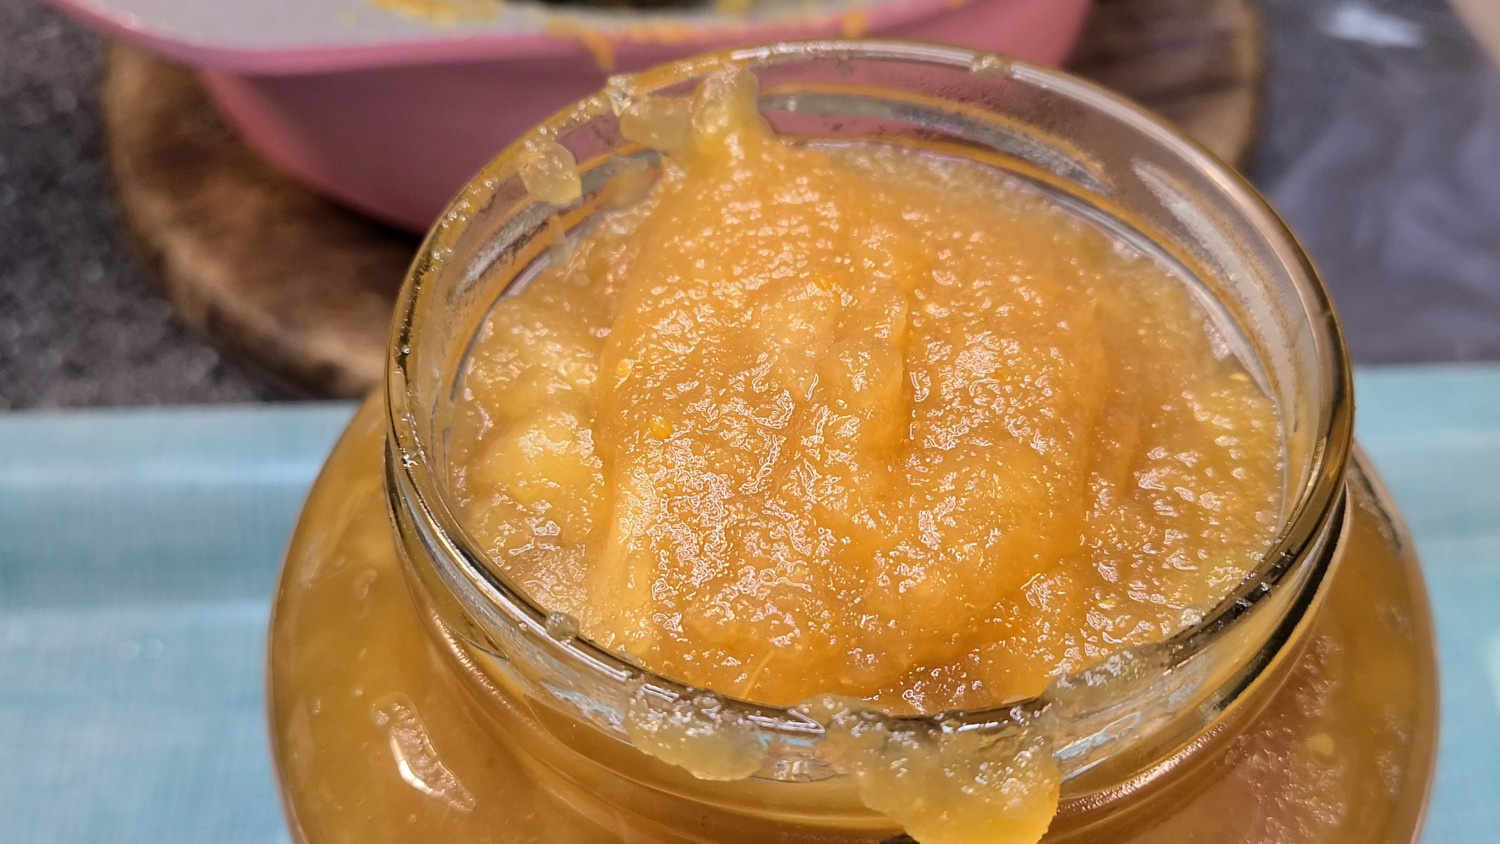 STEP 17/18Cool the jam at room temperature for 3 hours, put it in the refrigerator, and let it ripen for 3 days
 STEP 18/18This is the apple jam
When you open the lid, you can see it successfully if you make a sound.
(Please note that the taste does not change even if you eat it for a month when you add 200g of sugar.)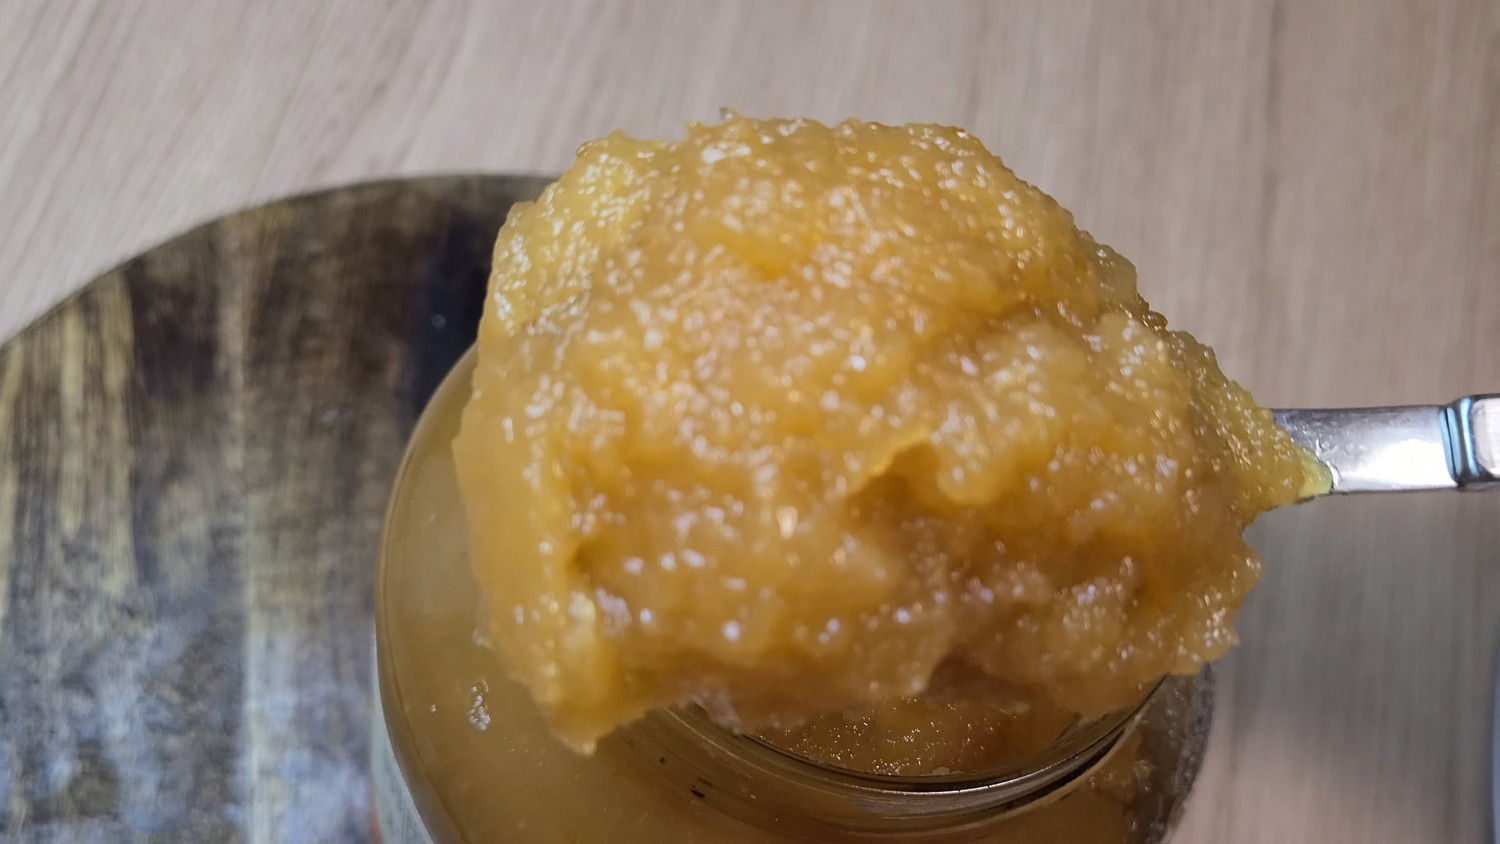 You need to make it with a well-coated pot to save the trouble of getting wet. The more sugar you put in, the longer you can keep it and eat it. (You can adjust the amount according to the storage period.) If you add 200g of sugar, you can eat it for at least a month without spoiling. Costco Omija Cheong is not delicious. If you grind apples with a blender, you can reduce time and make jam easily.
- Kimchi Recommended recipe
-
-
1
 How to make young radish kimchi deliciously4.96(125)
 -
2
 Make sure to make Lee Youngjapa Kimchi during "Omniscient Interf5.00(44)
 -
3
 Making Yeolmu Kimchi with Live Information Box4.83(144)
 -
4
 Cold noodles radish kimchi4.79(38)
-
- Bulgogi Recommended recipe
-
-
1
 Seasonal Jusam Bulgogi4.98(41)
 -
2
 You know the famous dish, right! Bulgogi with bean sprouts4.93(43)
 -
3
 You can succeed without failing the golden recipe for beef bulgo4.87(30)
 -
4
 Home-cooked meal Baek's recipe for bean sprout bulgogi with Jong4.76(21)
-