Banana cake baked in a frying pan / Making frying pan bread (+vi
Hello! This is Mia.
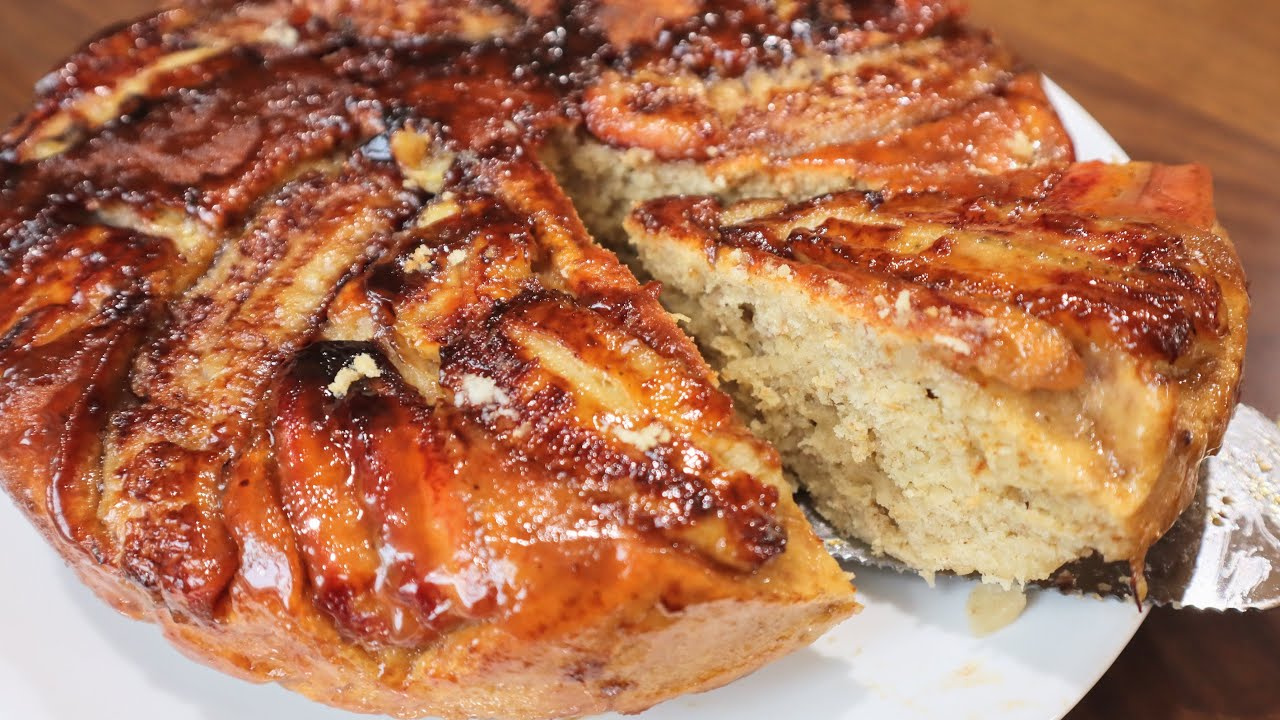
Today, I'm going to introduce the recipe for banana bread baked in a frying pan.
I use 4~5 bananas
Don't freeze it for a ripe banana smoothie
Try making this no oven banana cake!
6 serving
Within 60 minutes

미국아줌마Mia
- Ingredients
-
-
Banana150g
-
Gravity powder200g
-
Salt3g
-
Baking powder2g
-
baking soda2g
-
peanut butter70g
-
Cooking oil30g
-
Sugar135g
-
Eggs2ea
-
Vanilla4g
-
Milk100g
-
Banana2.5-3ea
-
Butter25g
-
Sugar30g
-
- Video
-
- Cooking Steps
-
STEP 1/26First, mash 150g of bananas with a fork!
It's about 1.5.
You can cut the rest into toppings.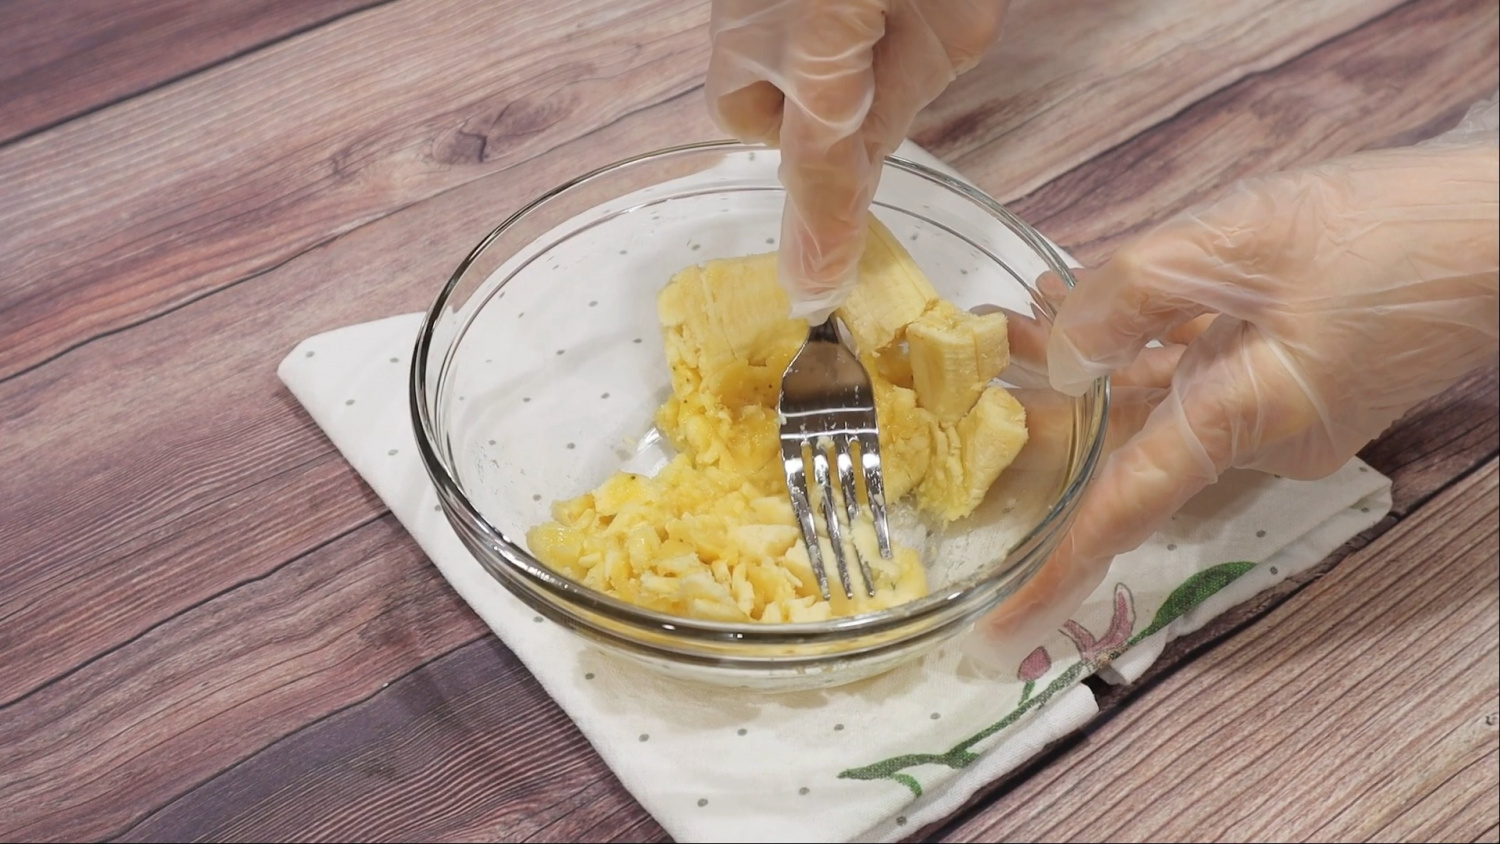 STEP 2/26I crushed it like this.
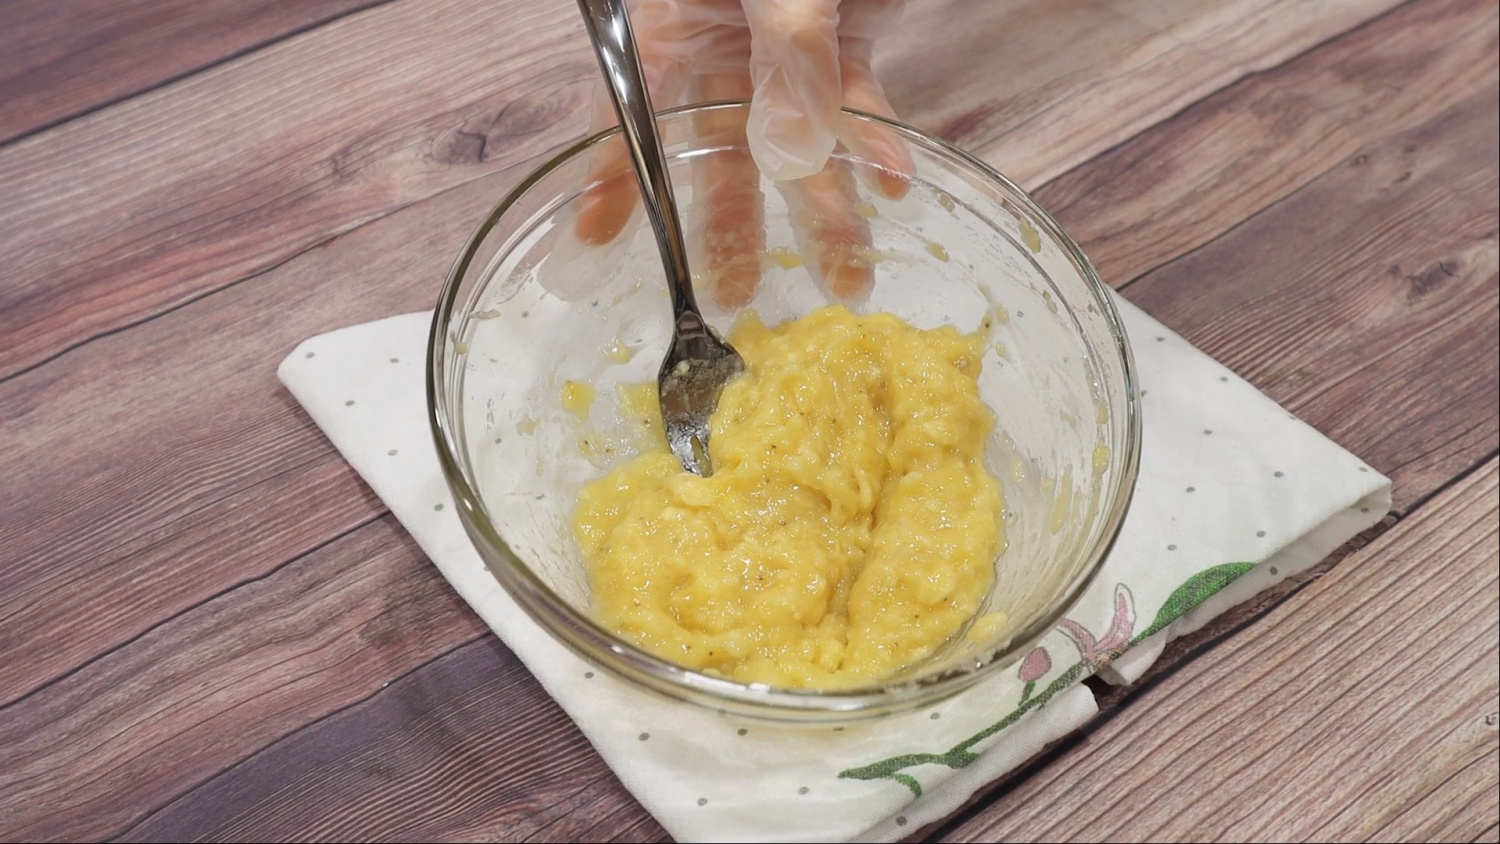 STEP 3/26Add gravitational flour (or soft flour), baking powder, baking soda, and salt and mix with a whisk.
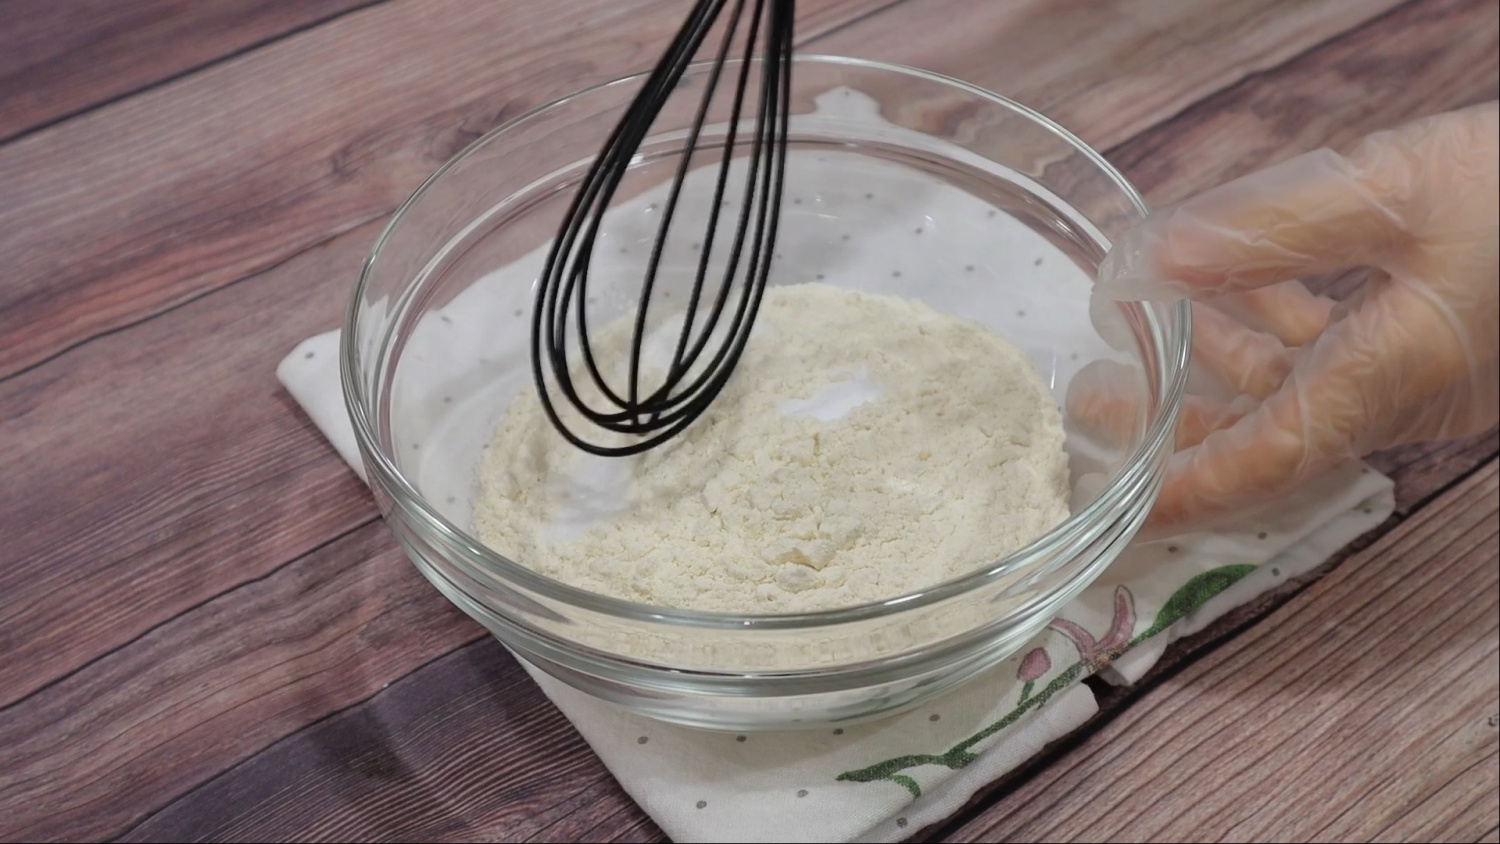 STEP 4/26Now I'm going to put them all together in a big bowl and make a dough!
First, add peanut butter, unscented cooking oil, and sugar.
Recipe amount peanut butter + cooking oil can be replaced with 80g melted butter!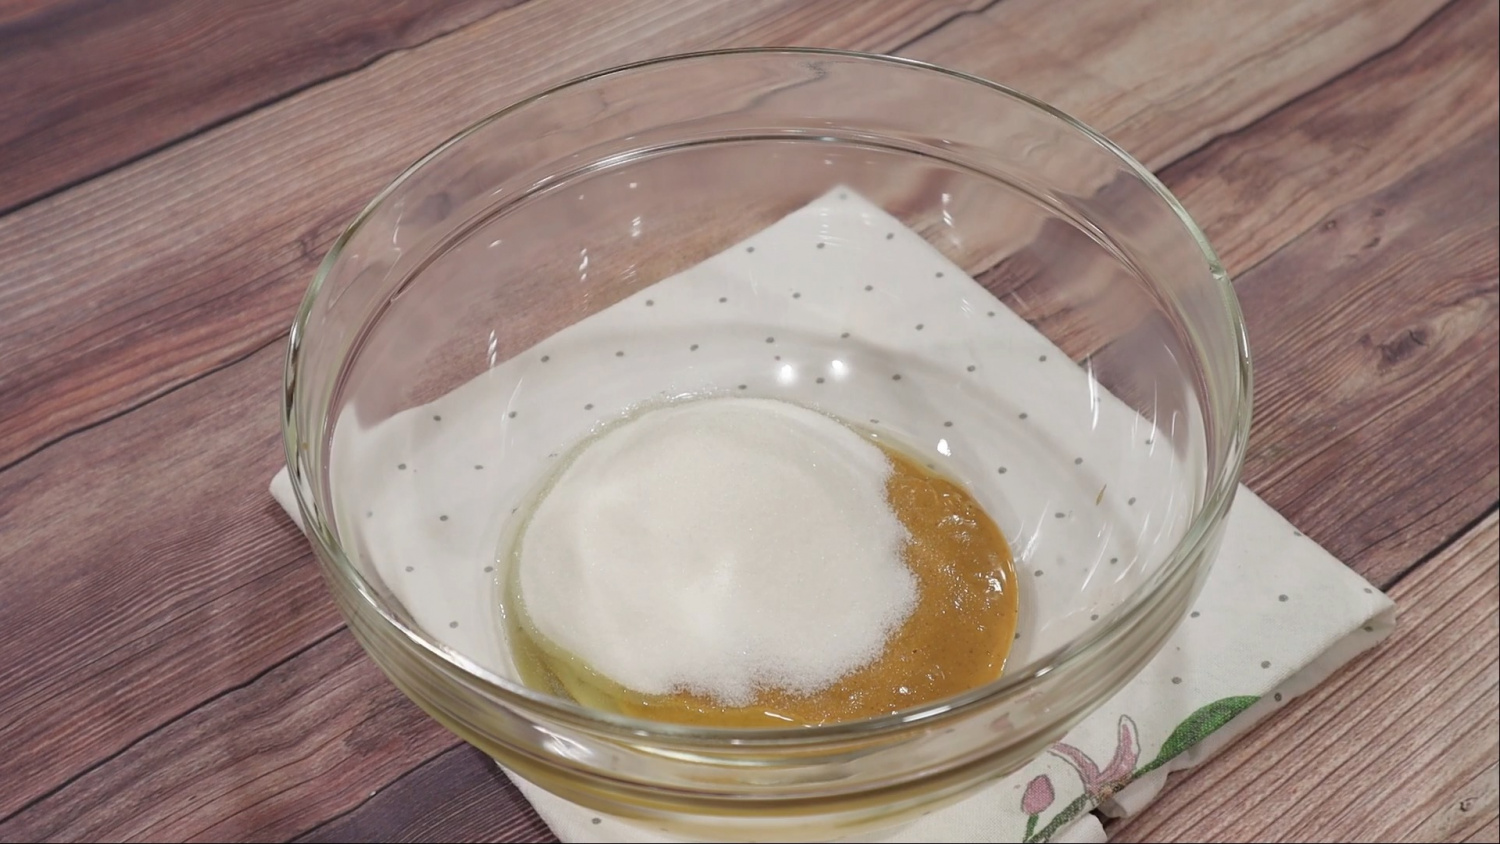 STEP 5/26Mix sugar particles well with a whisk until they are gone.
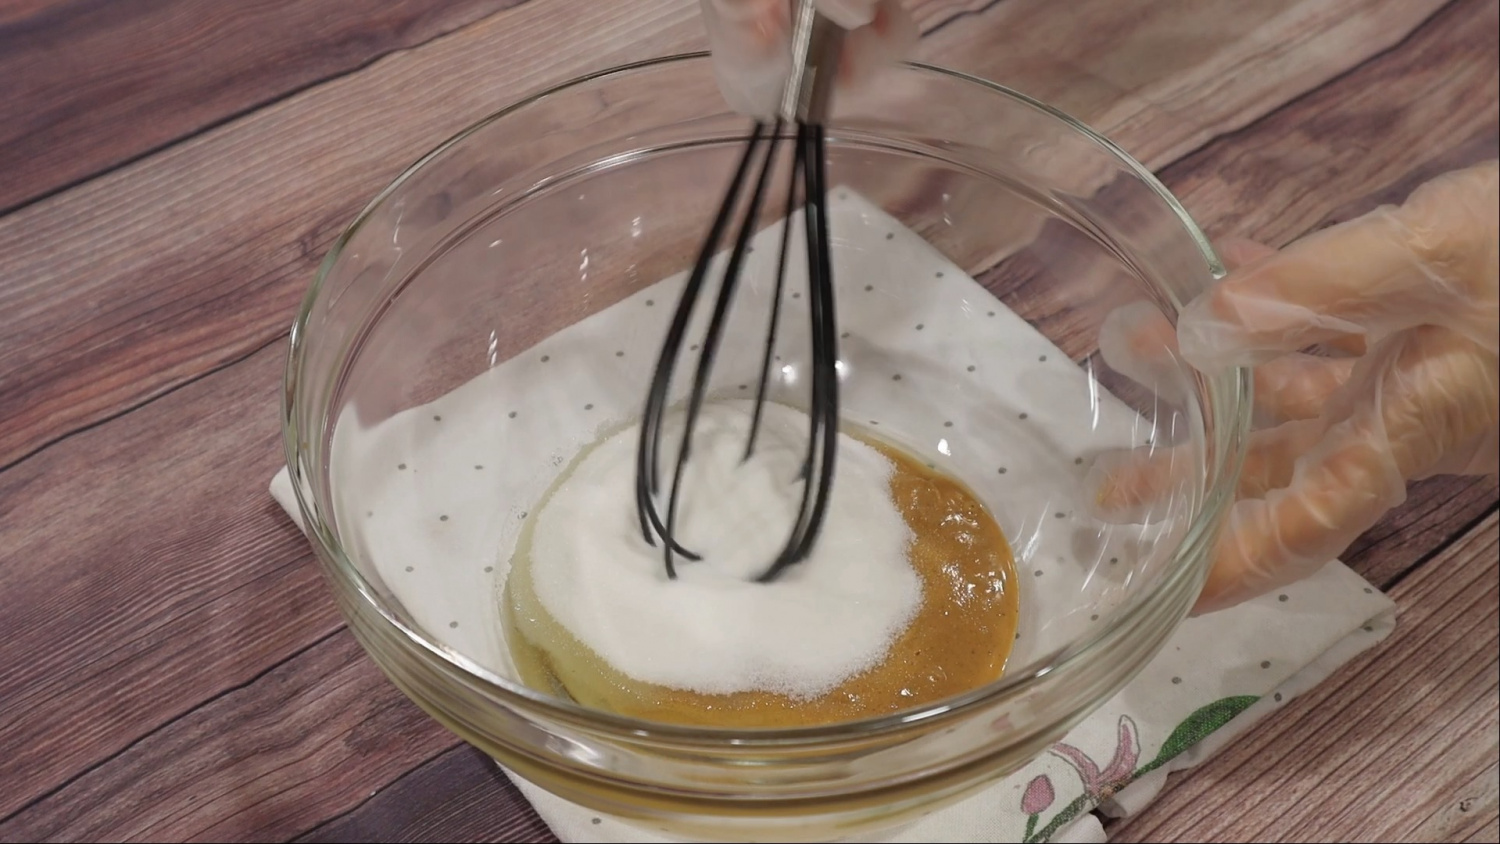 STEP 6/26I mixed it like this.
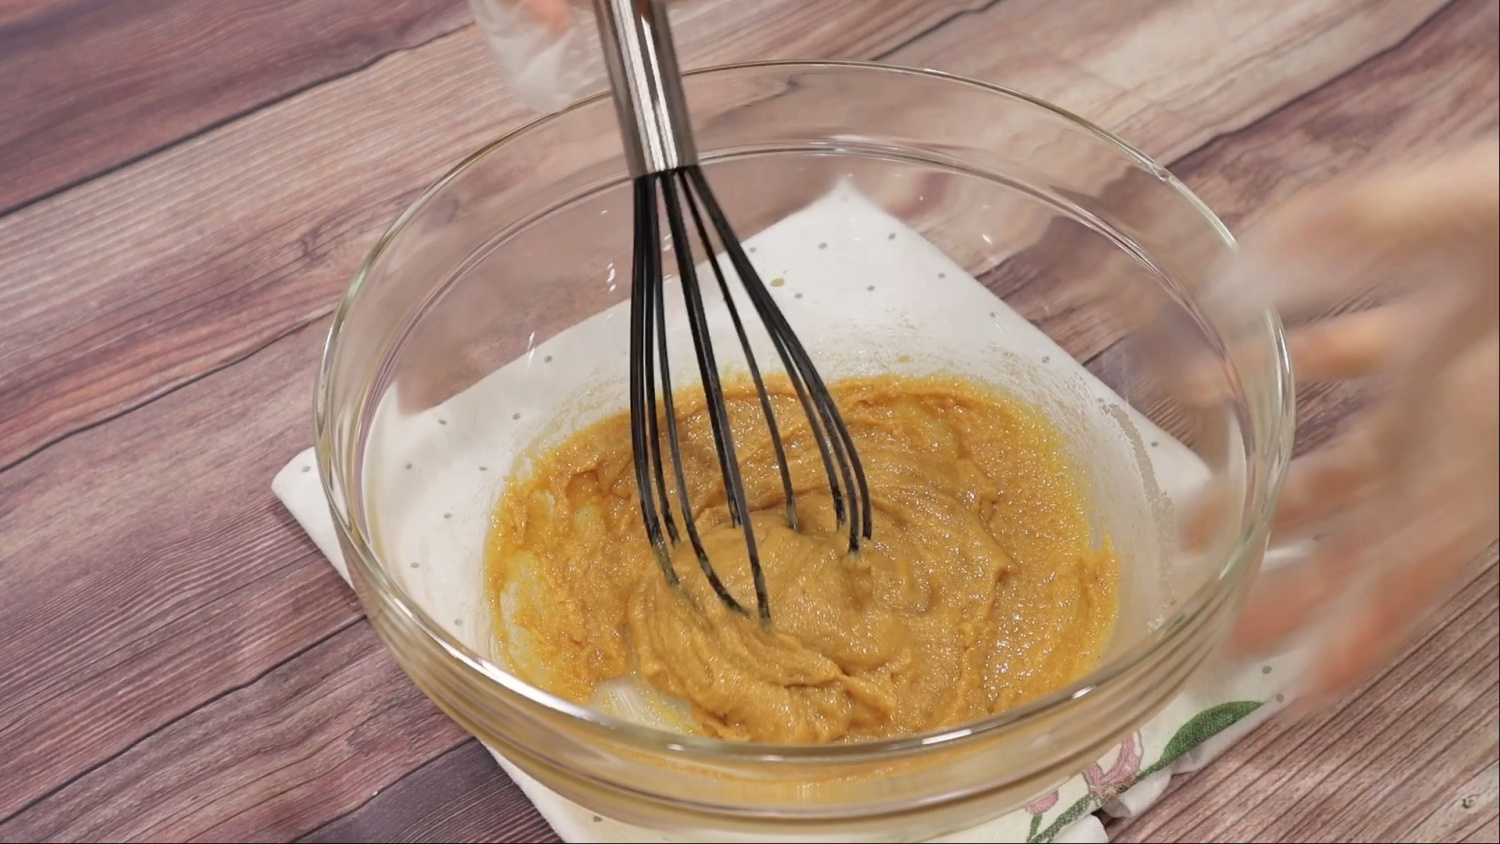 STEP 7/26Add eggs and vanilla and mix.
Vanilla helps with the smell of eggs!
If you don't have it, you don't have to put it in.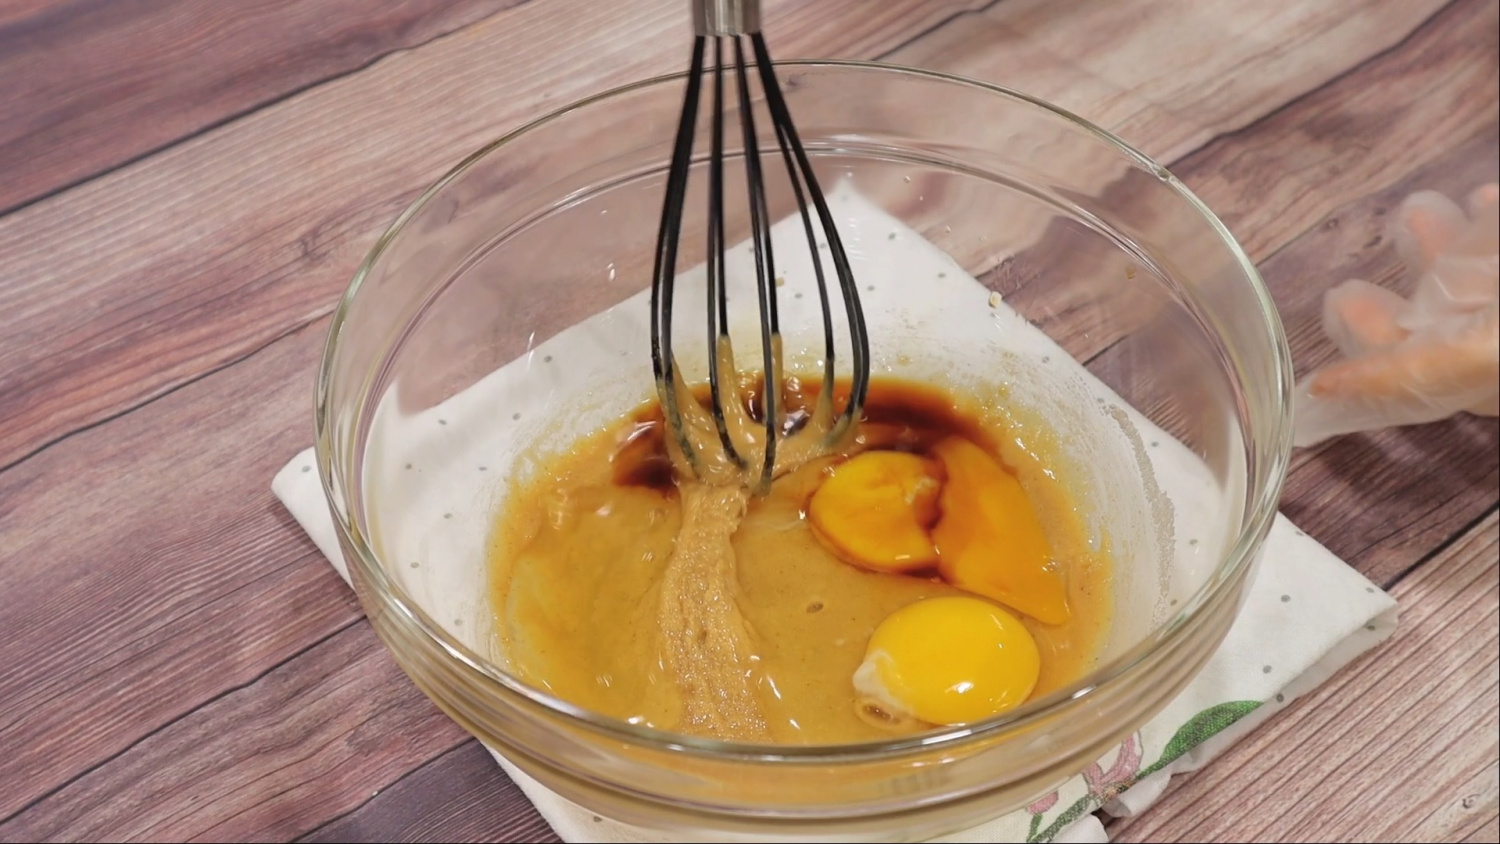 STEP 8/26Pop the yolk and mix it.
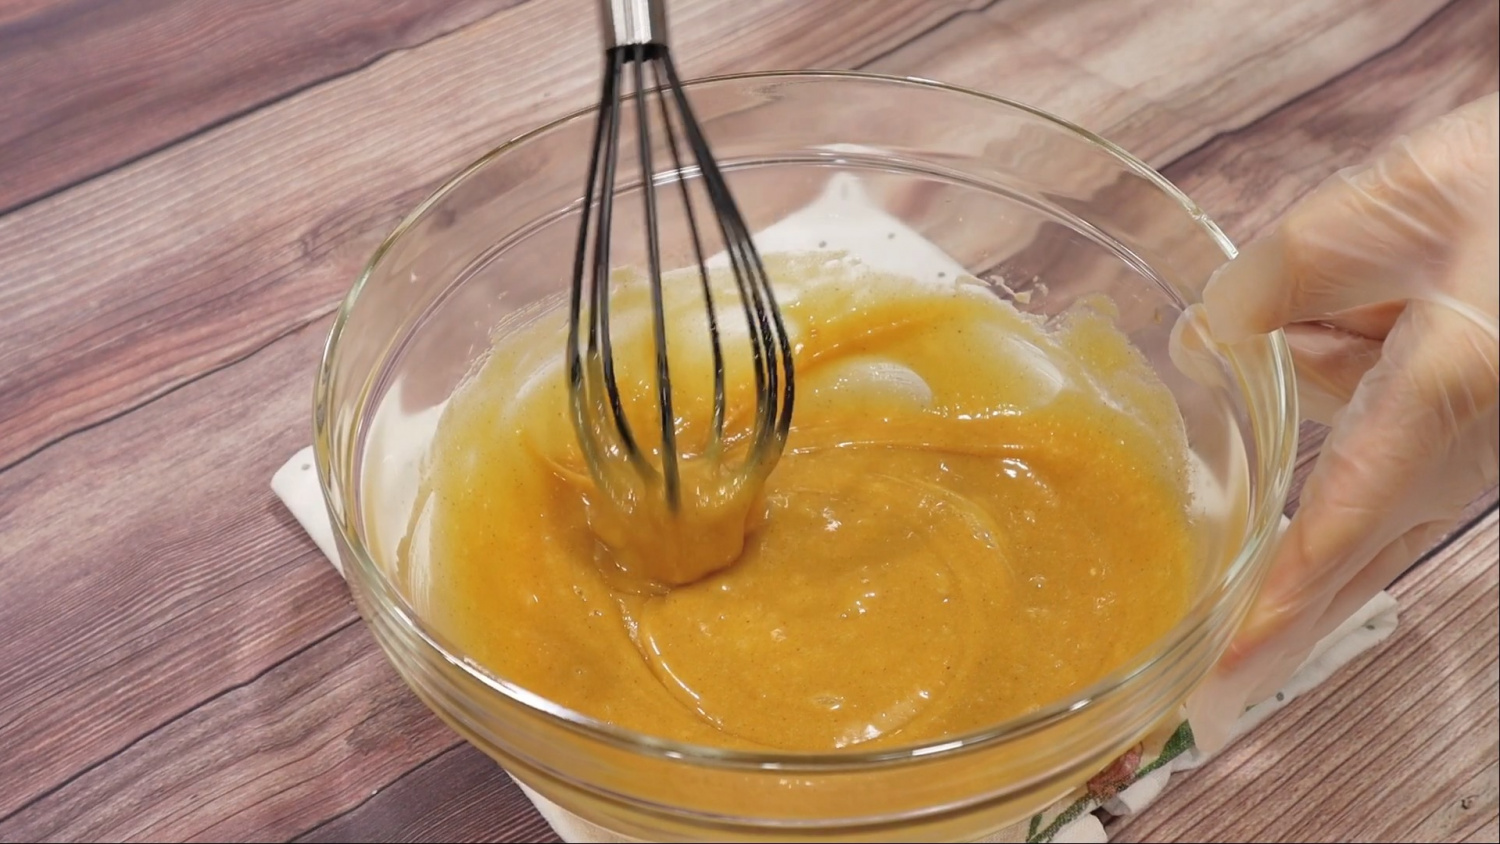 STEP 9/26Add the mixed powders.
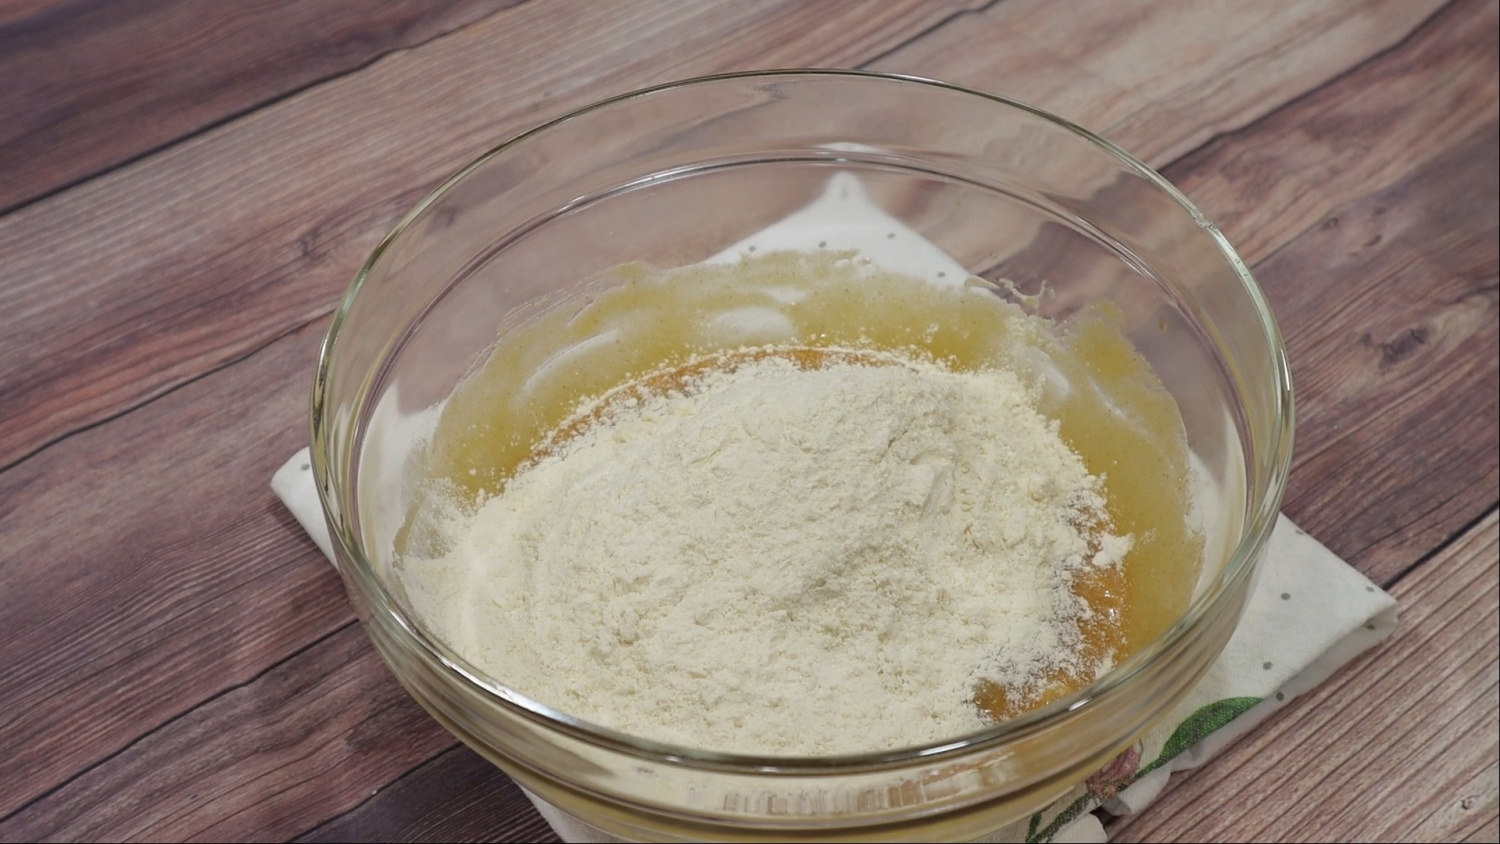 STEP 10/26Mix gently with a spatula.
Don't mix it tightly like bread or sujebi dough. Stand up with a spatula and mix it gently like you're splitting it!
(Please refer to the video!)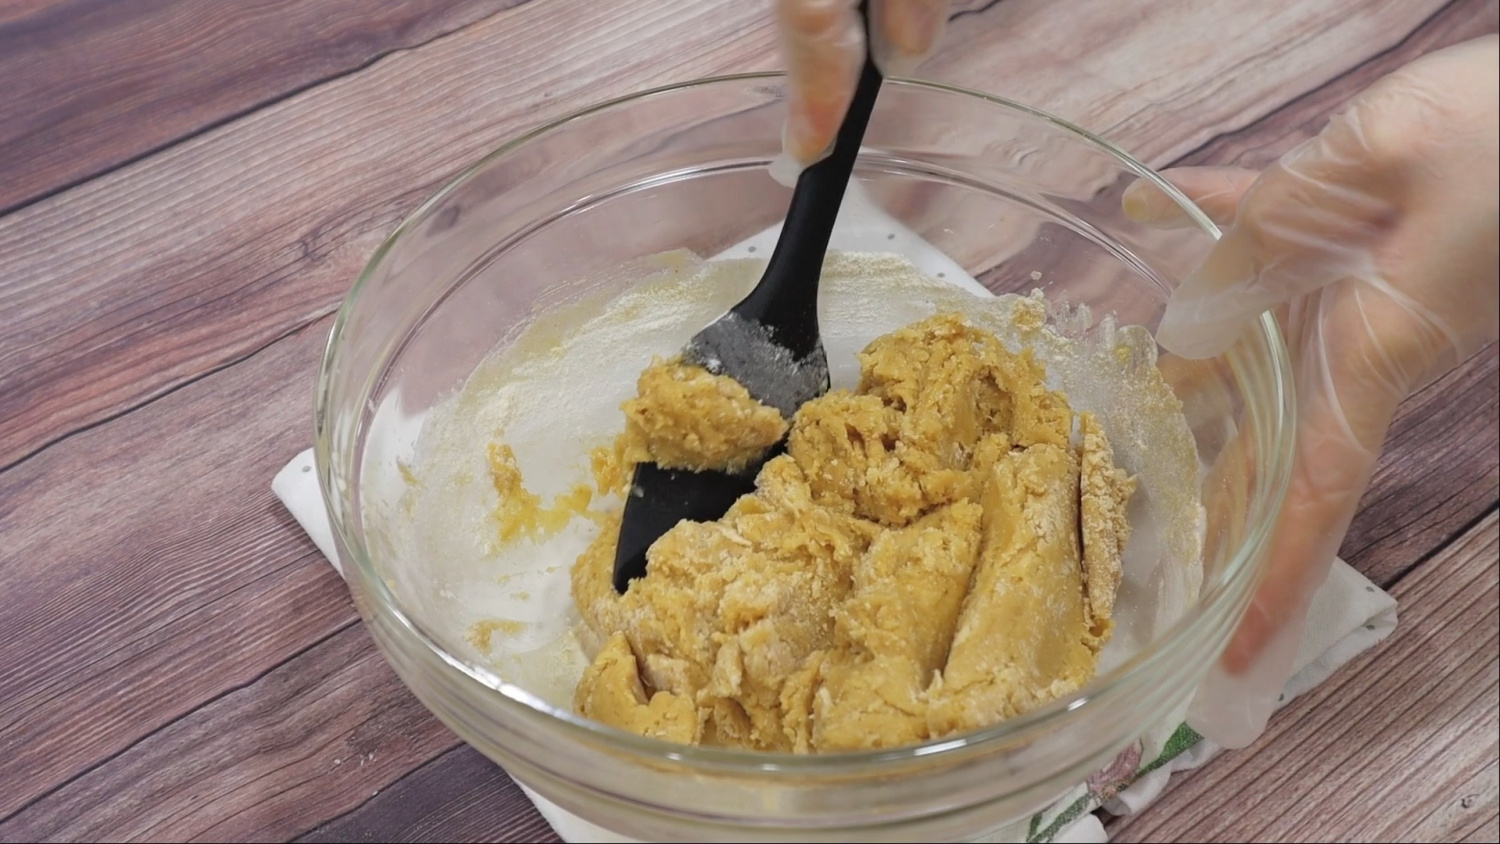 STEP 11/26Add lukewarm milk and mix until you can't see the raw powder.
I heated it up in the microwave for about 15 seconds and put it in lukewarm.
(Not hot milk!)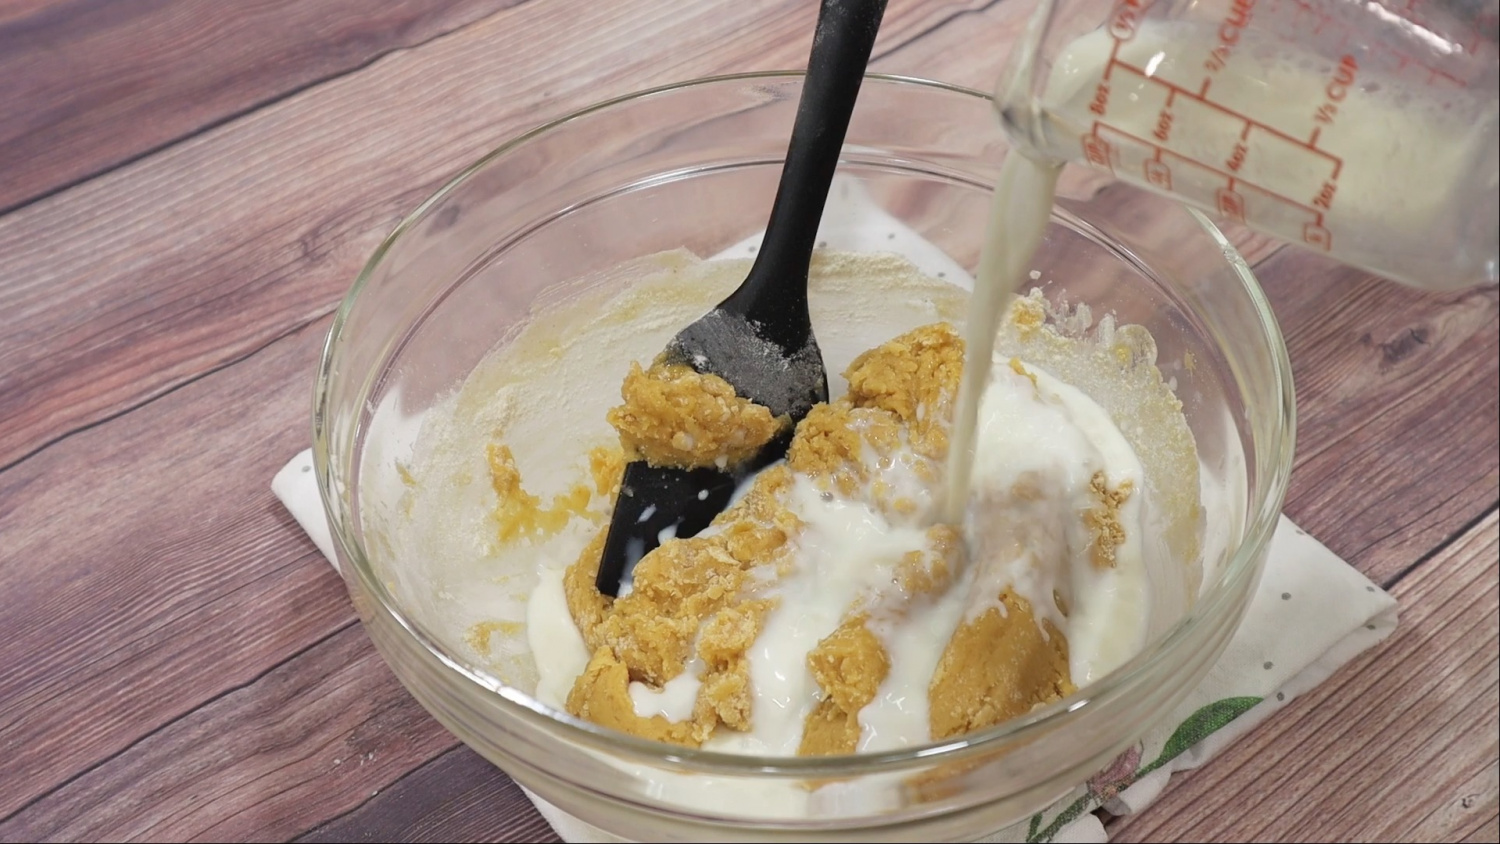 STEP 12/26Add the crushed bananas and stir until the end.
Excessive mixing is not good for bread texture. Mix just the right amount and the least amount of it'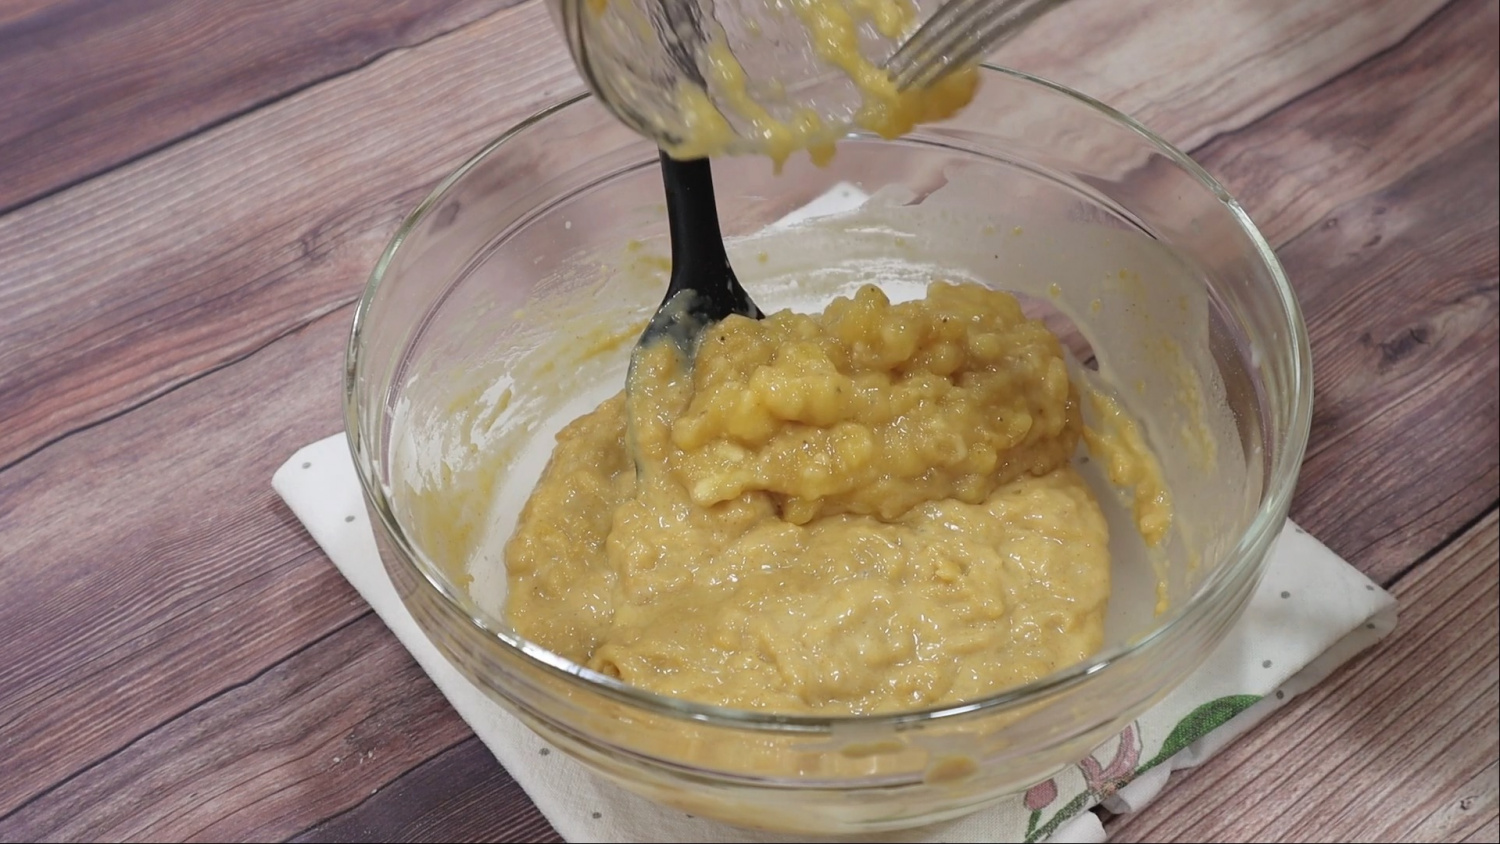 STEP 13/26The dough is made to drip down like this.
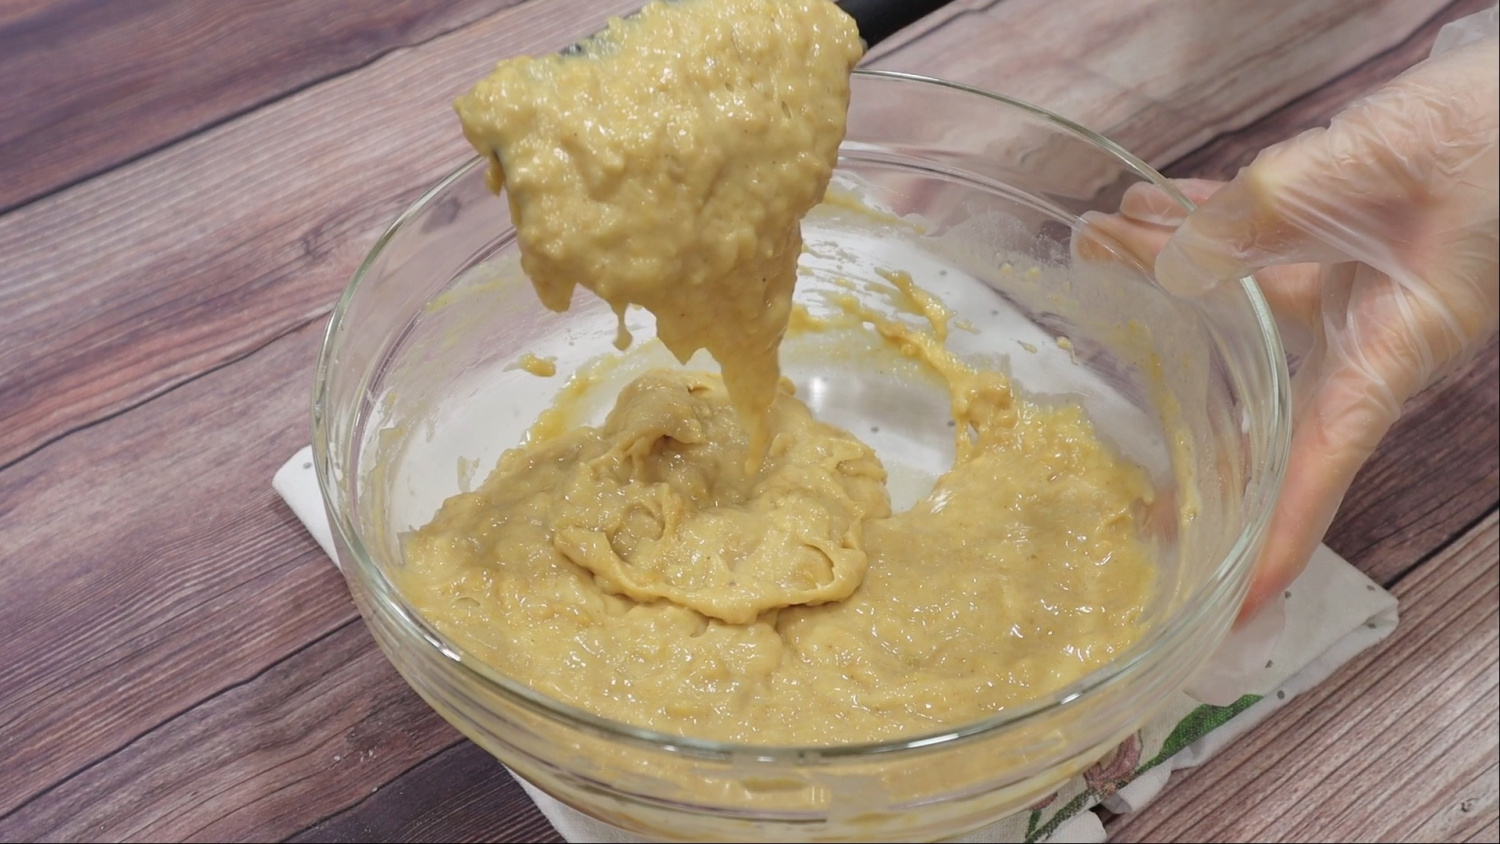 STEP 14/26Place pan over medium heat and melt in butter and sugar.
I used a 23cm pan!
You can use any pan with a lid over 23cm.
The wider the diameter, the shorter the baking time!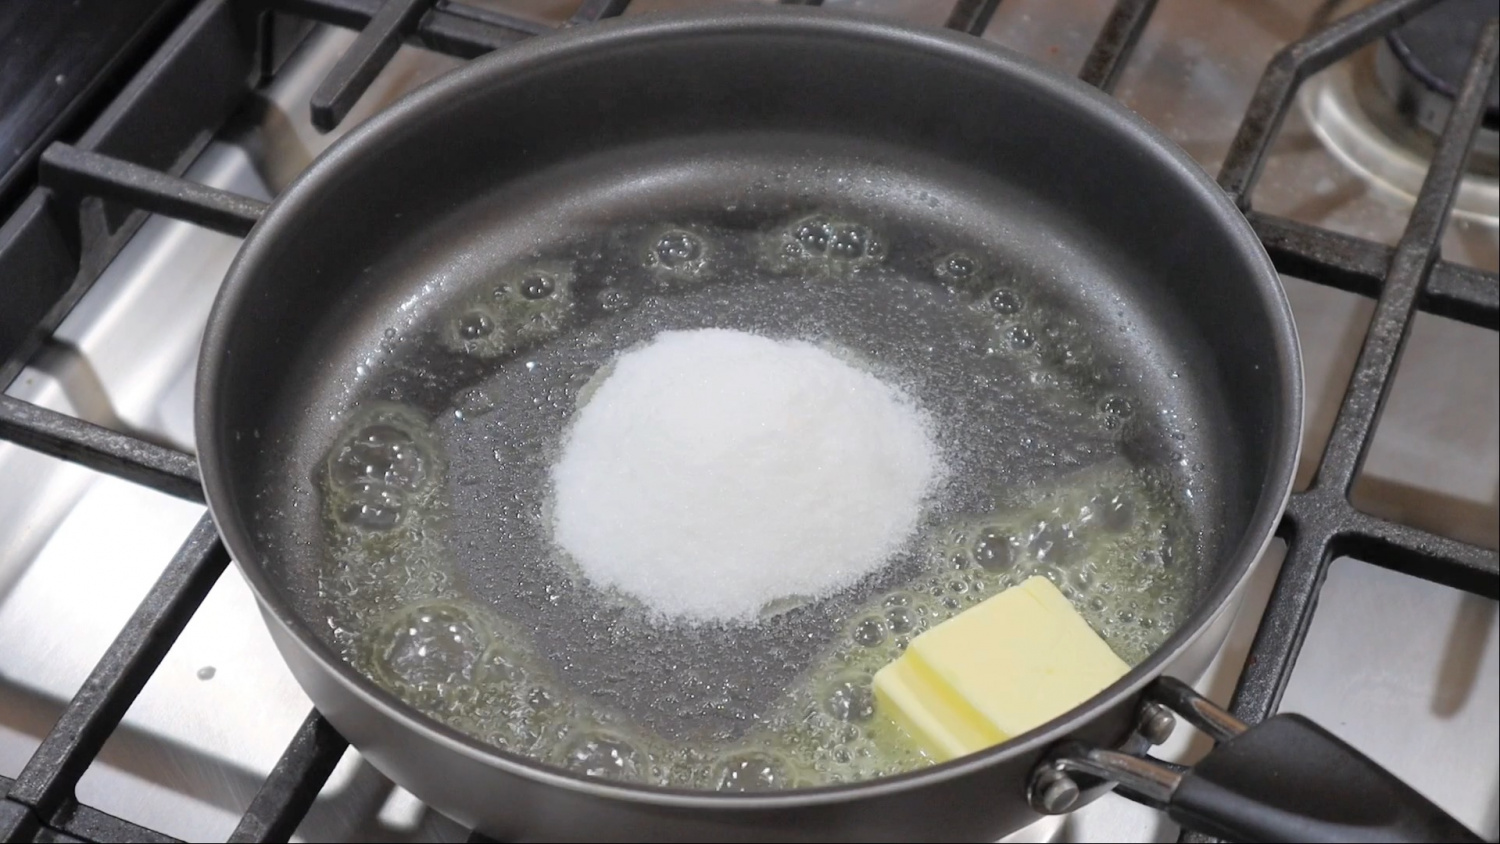 STEP 15/26Mix it well and melt it well. (Caramelizing)
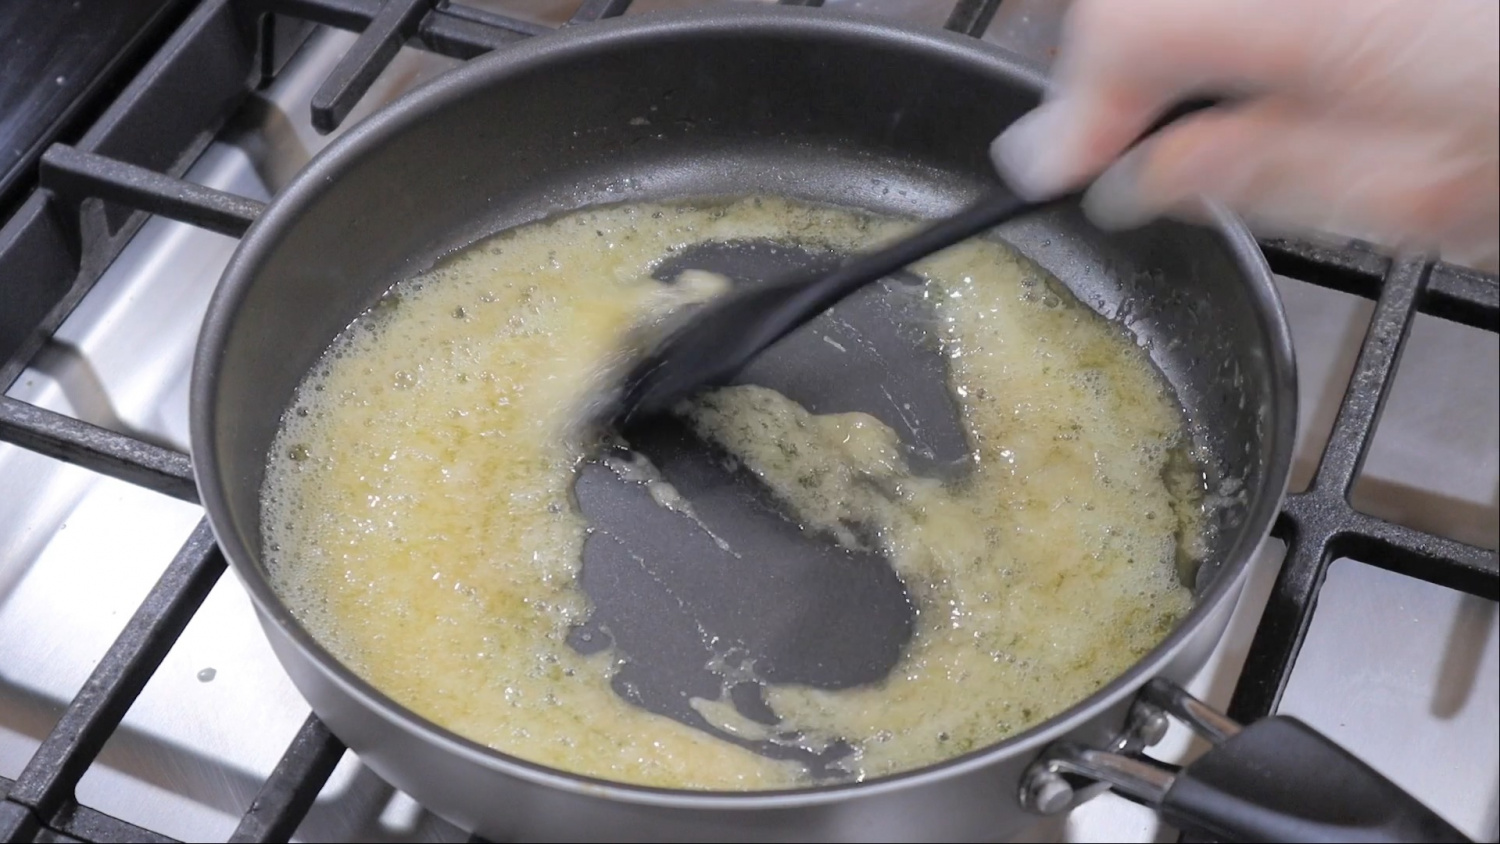 STEP 16/26If you start to get light brown, turn it down to low heat!
Place toppings with cut side facing down.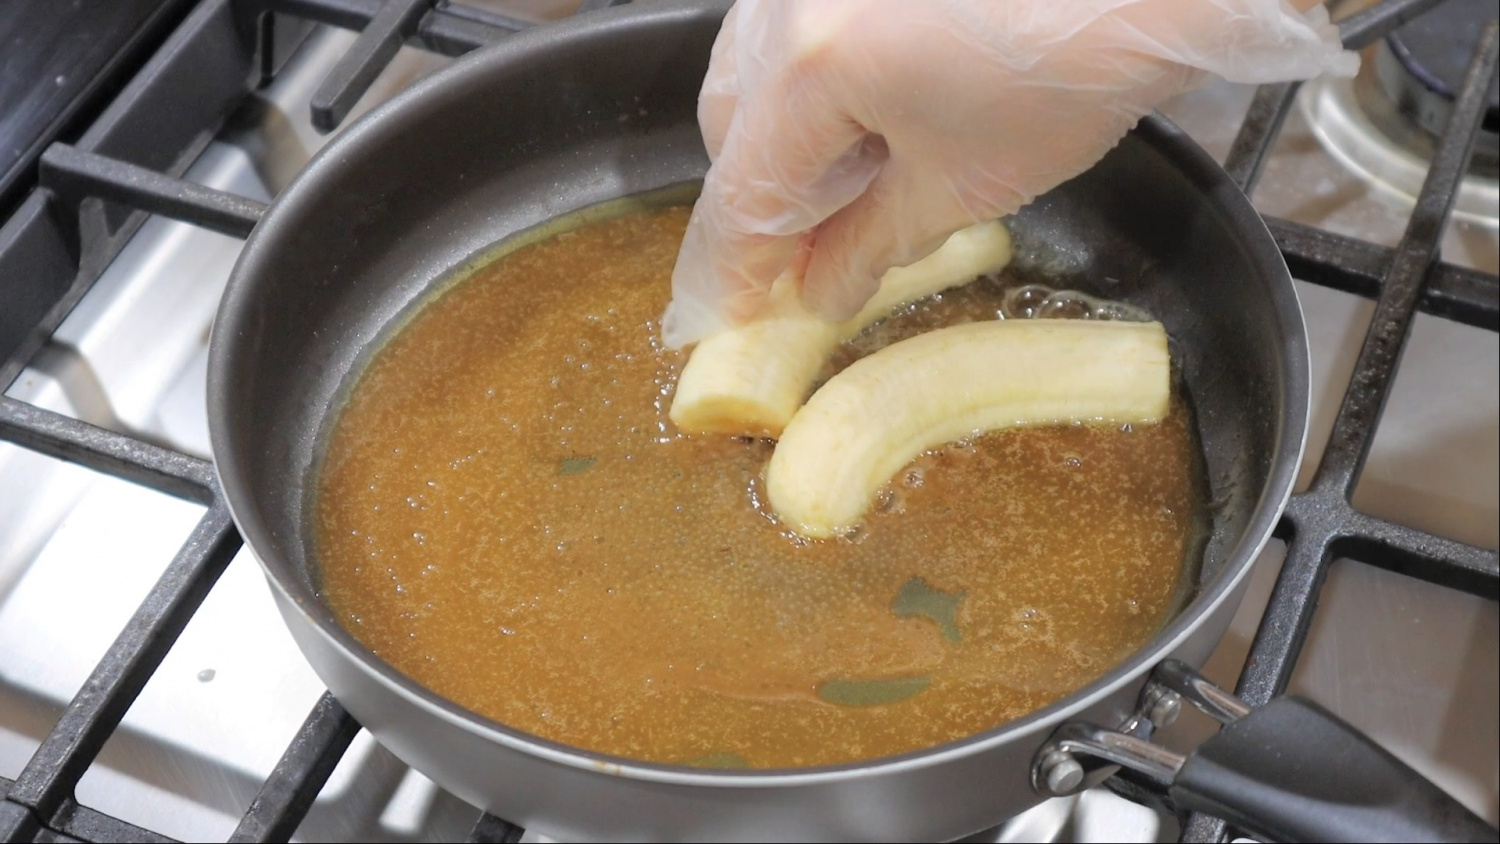 STEP 17/26I put it in like this!
You can adjust the thickness as much as you want and put it in slices.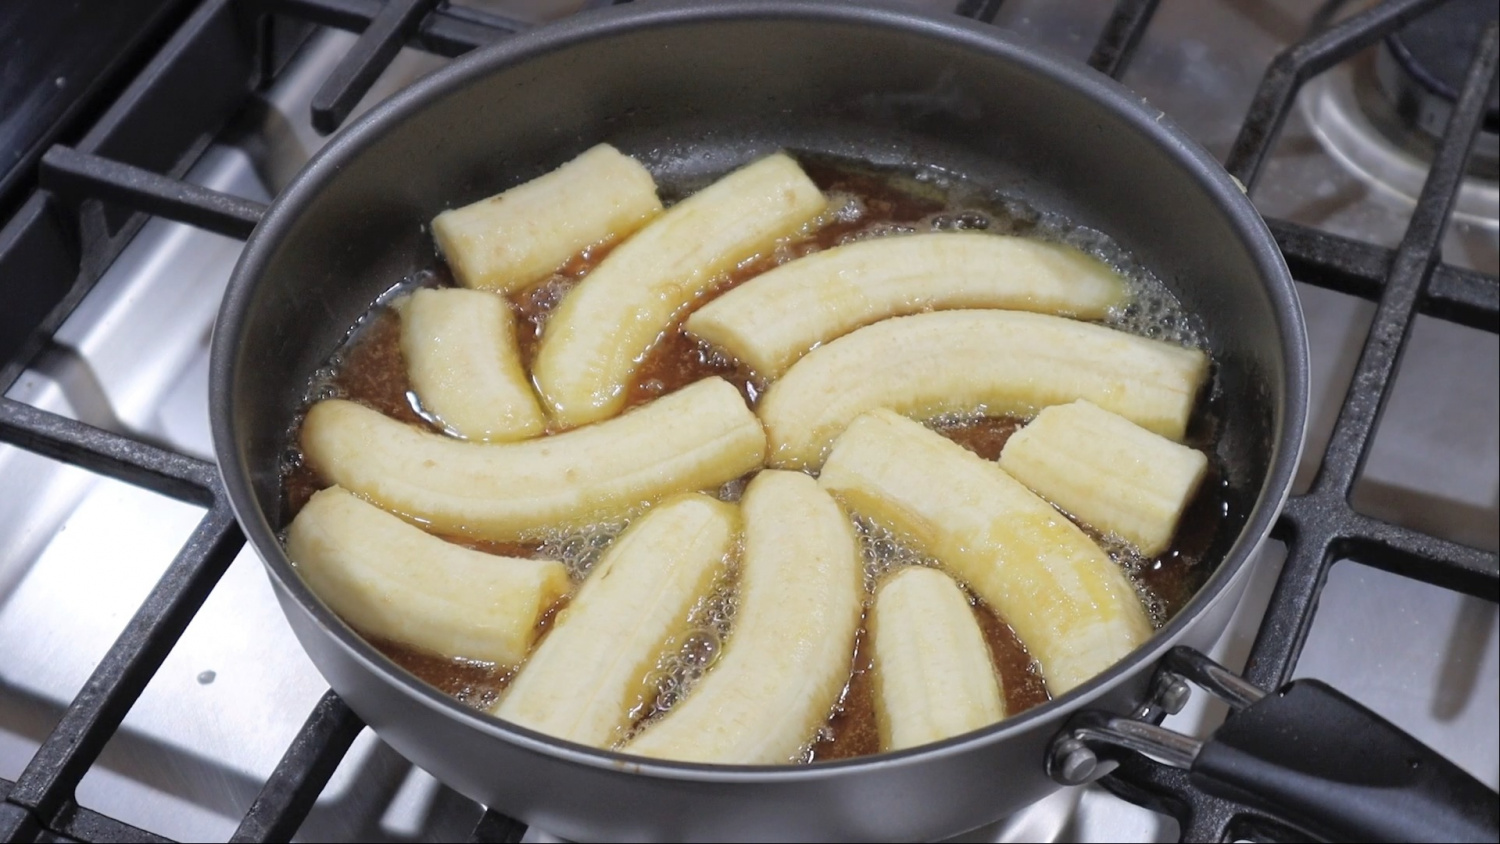 STEP 18/26Add the cake batter over the toppings.
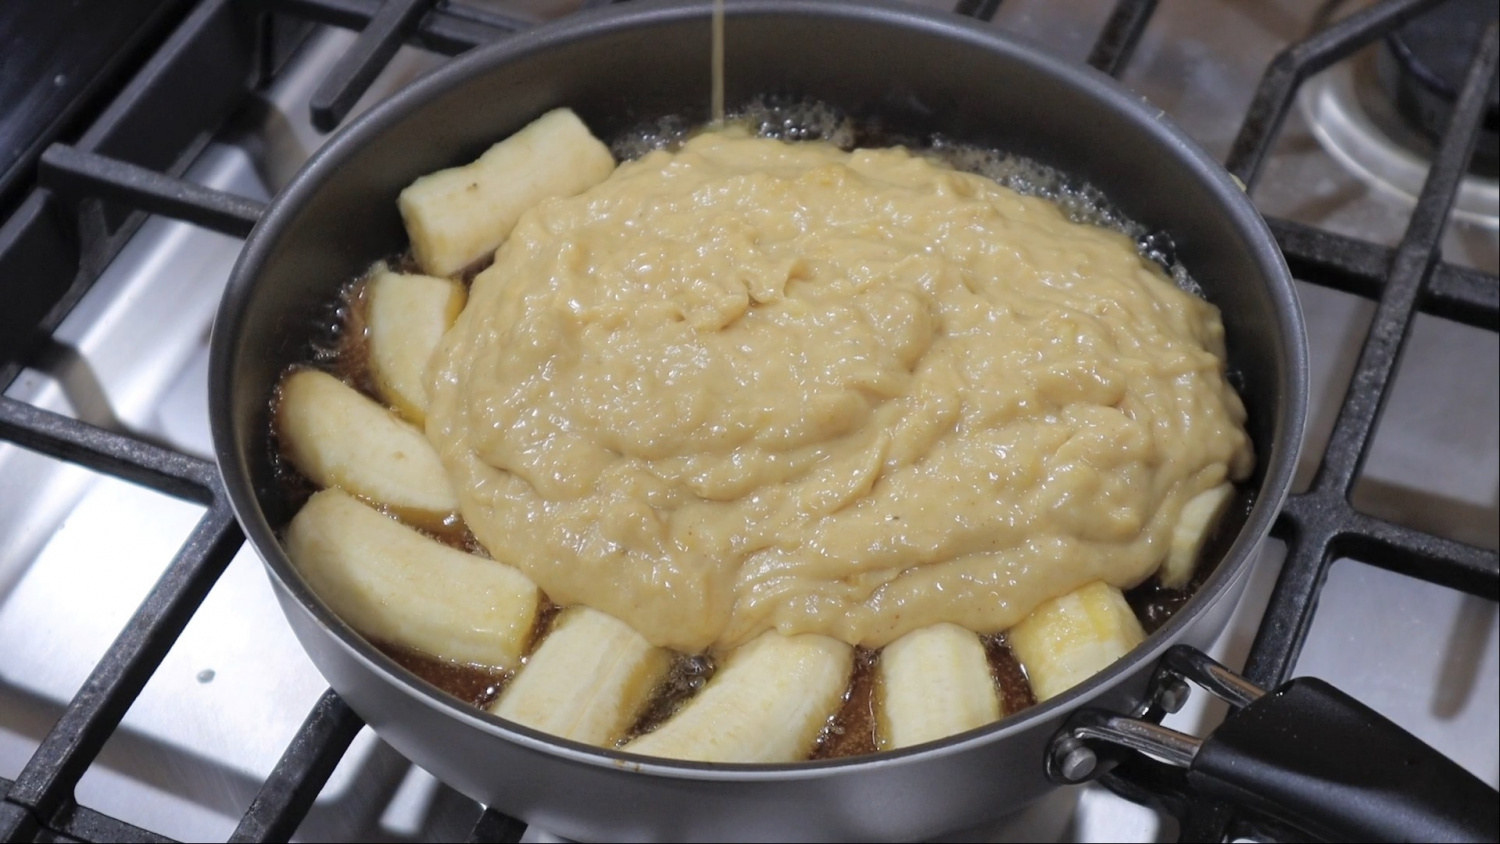 STEP 19/26Spread evenly to the edges.
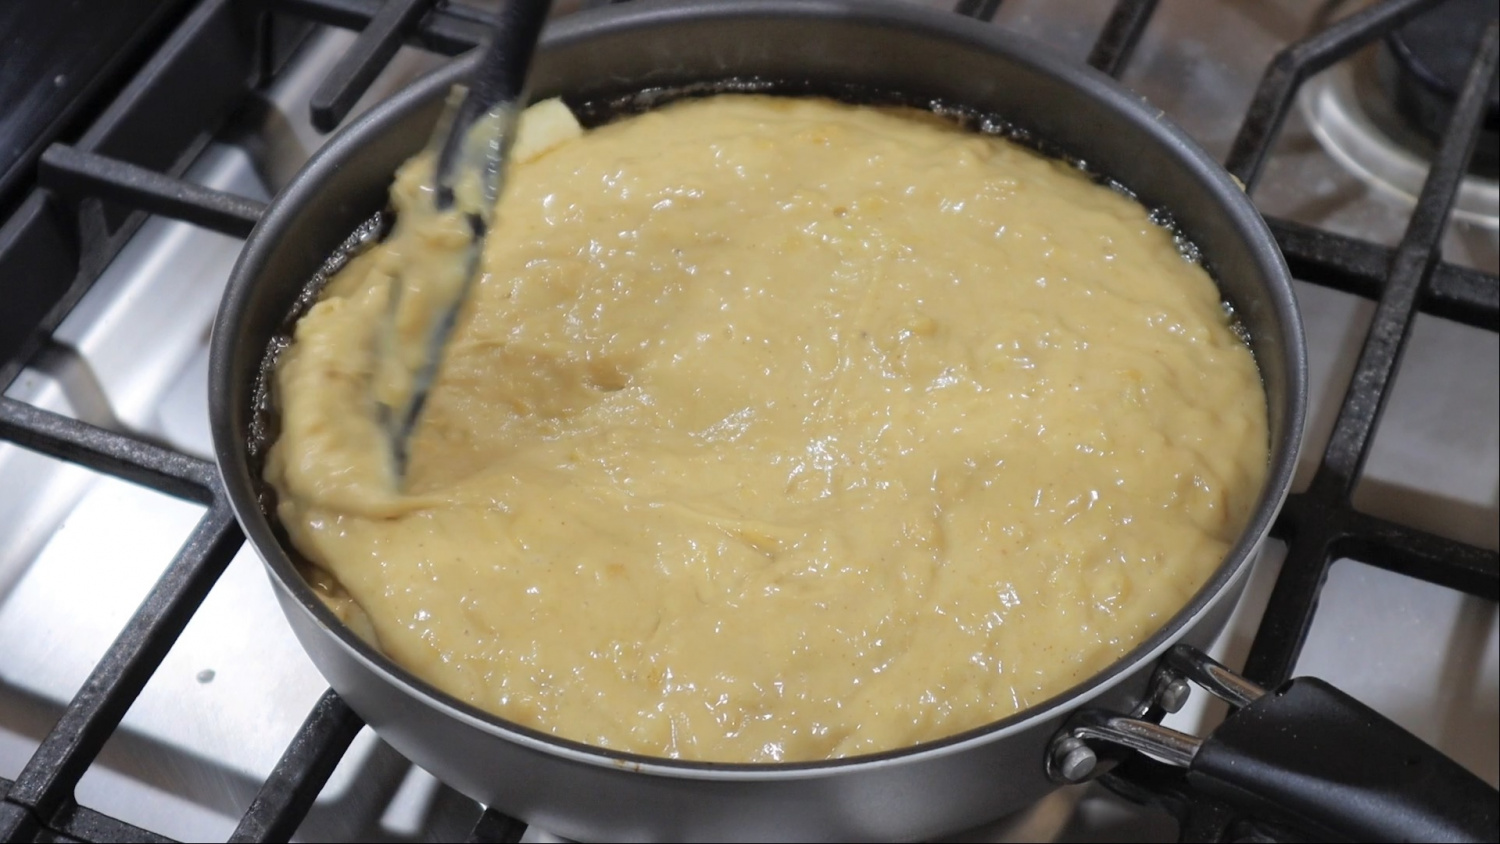 STEP 20/26Cover and cook over low heat.
Bake for about 18 to 23 minutes.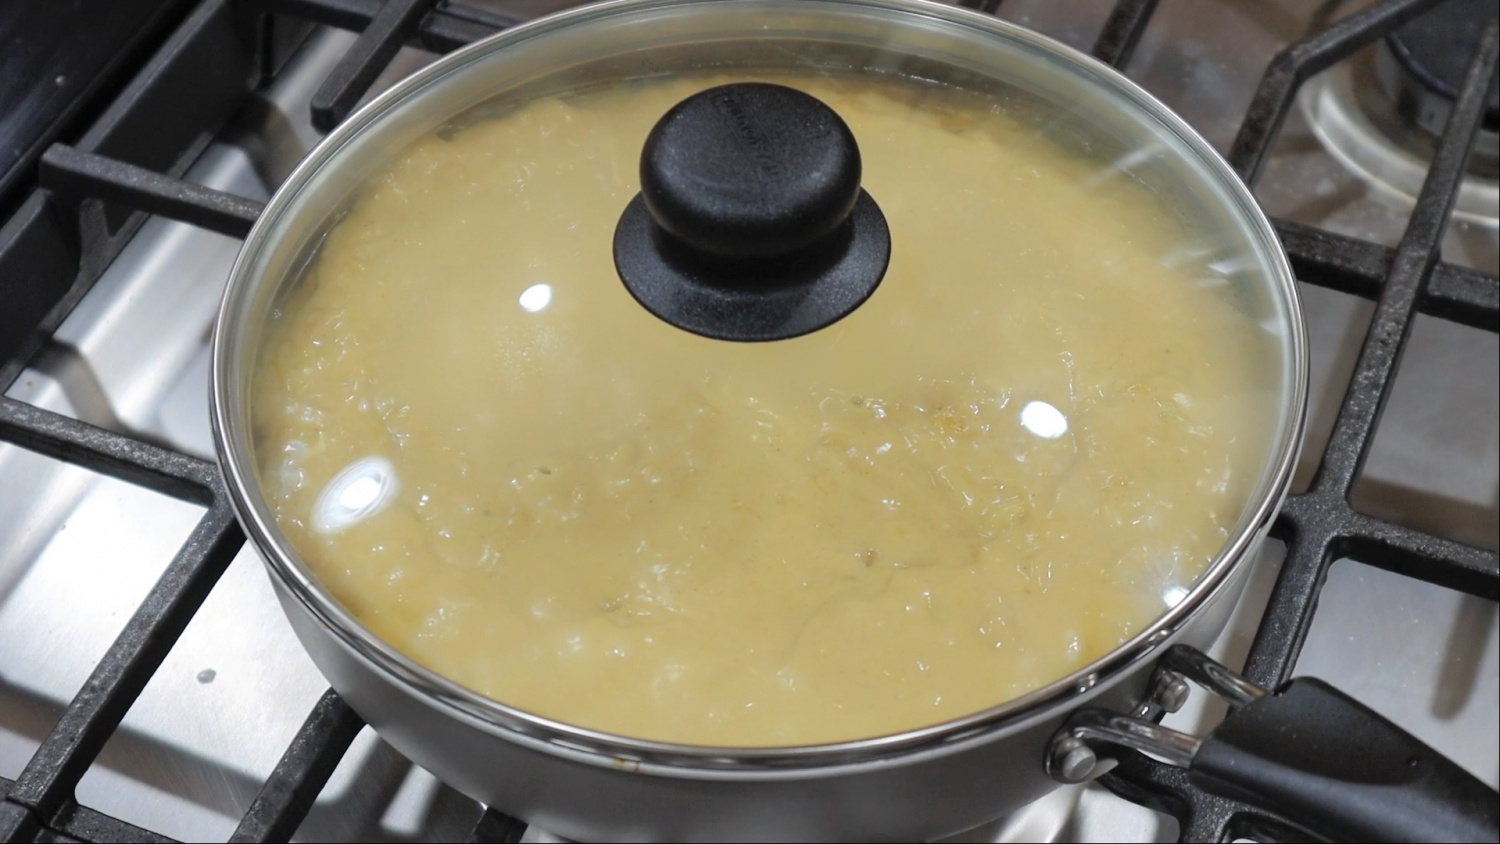 STEP 21/26When I timed it, it took me 21 minutes to complete it!
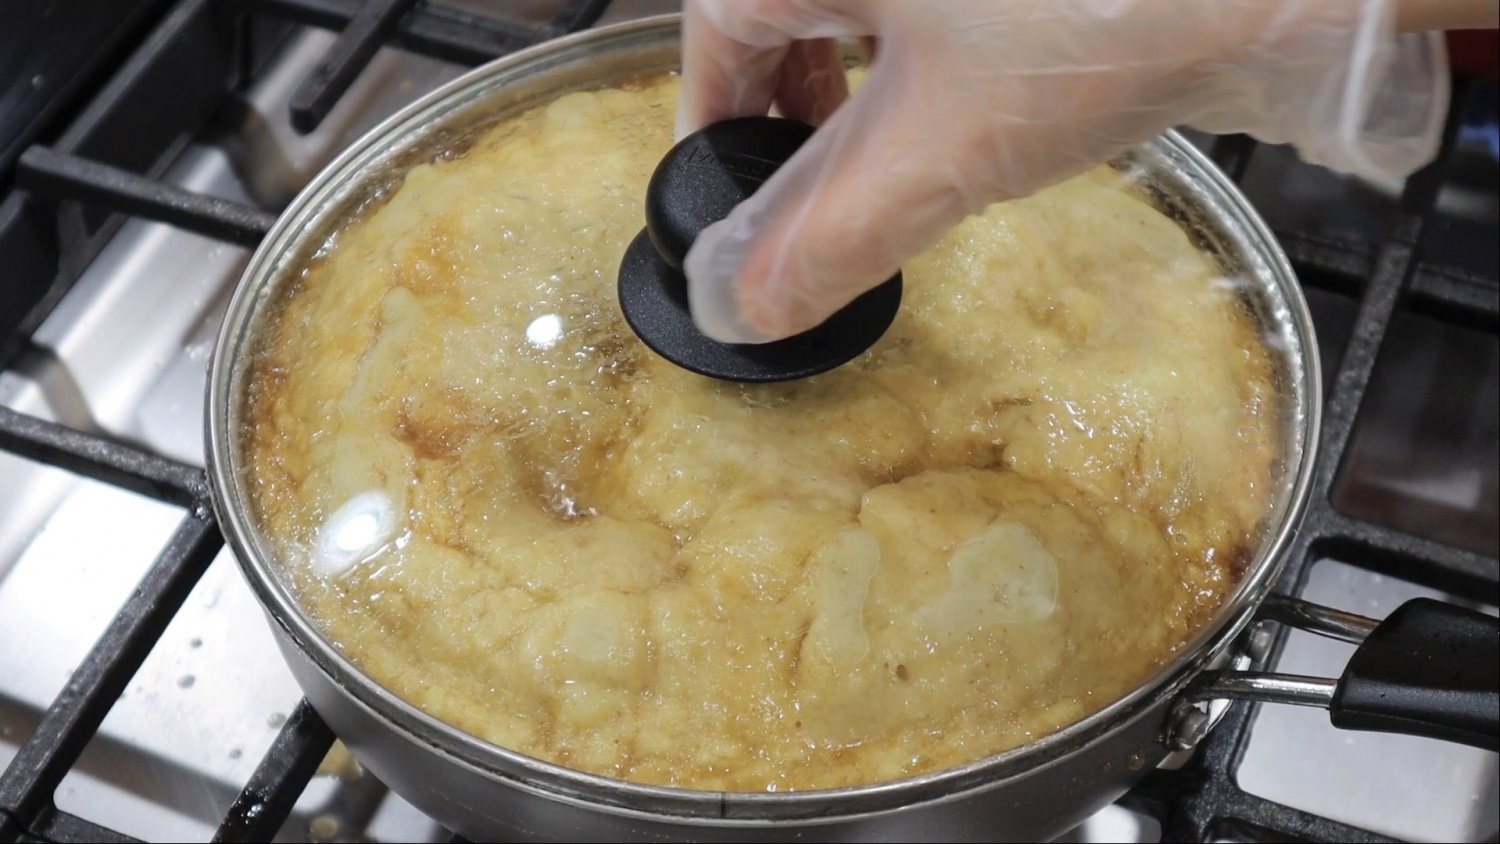 STEP 22/26You can poke the center of the cake with a wooden stick and test it!
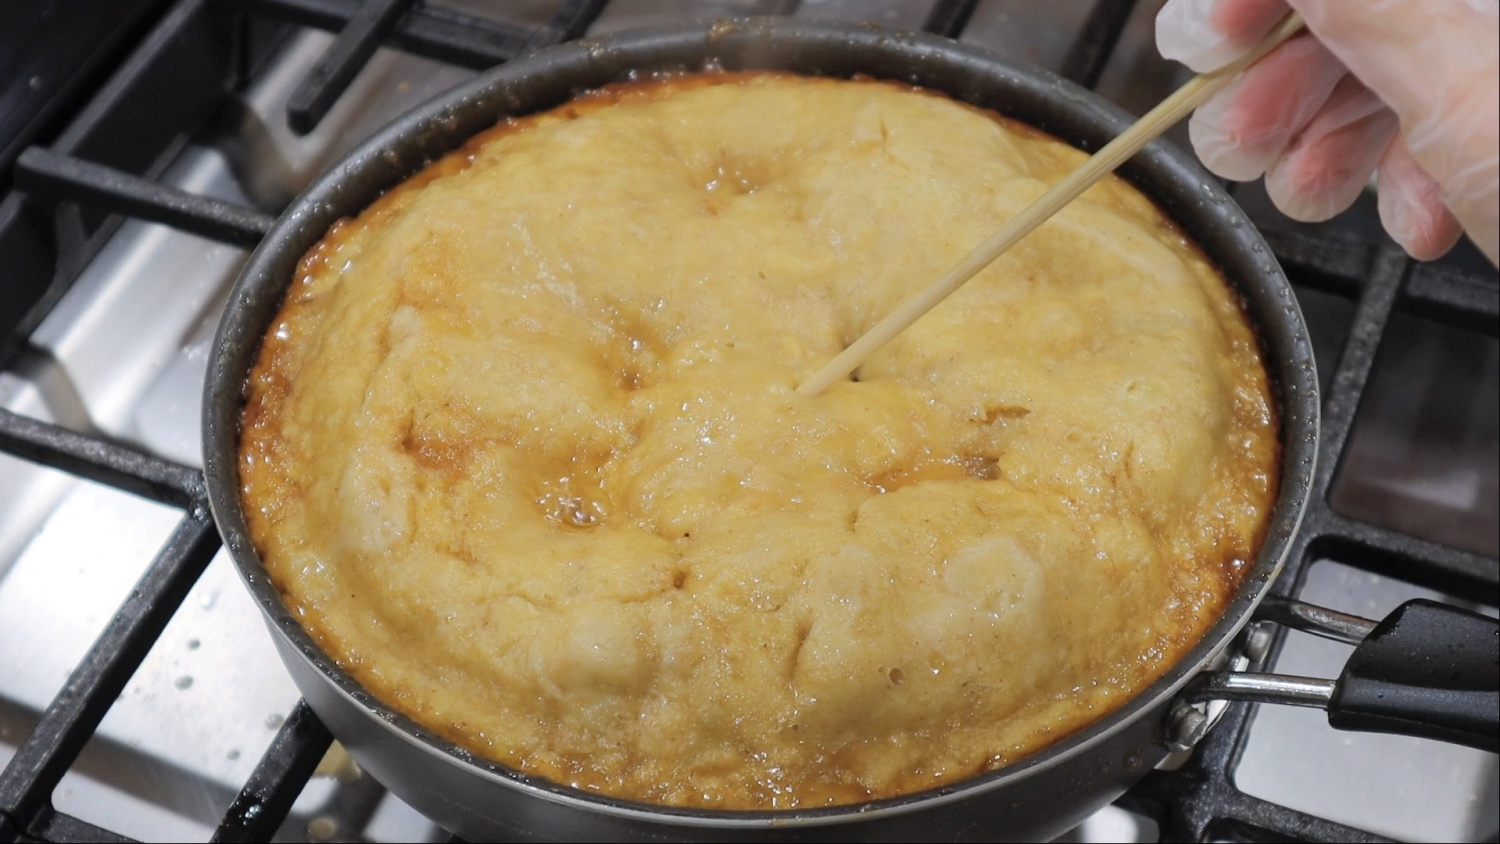 STEP 23/26If there's no dough that comes out It's done!
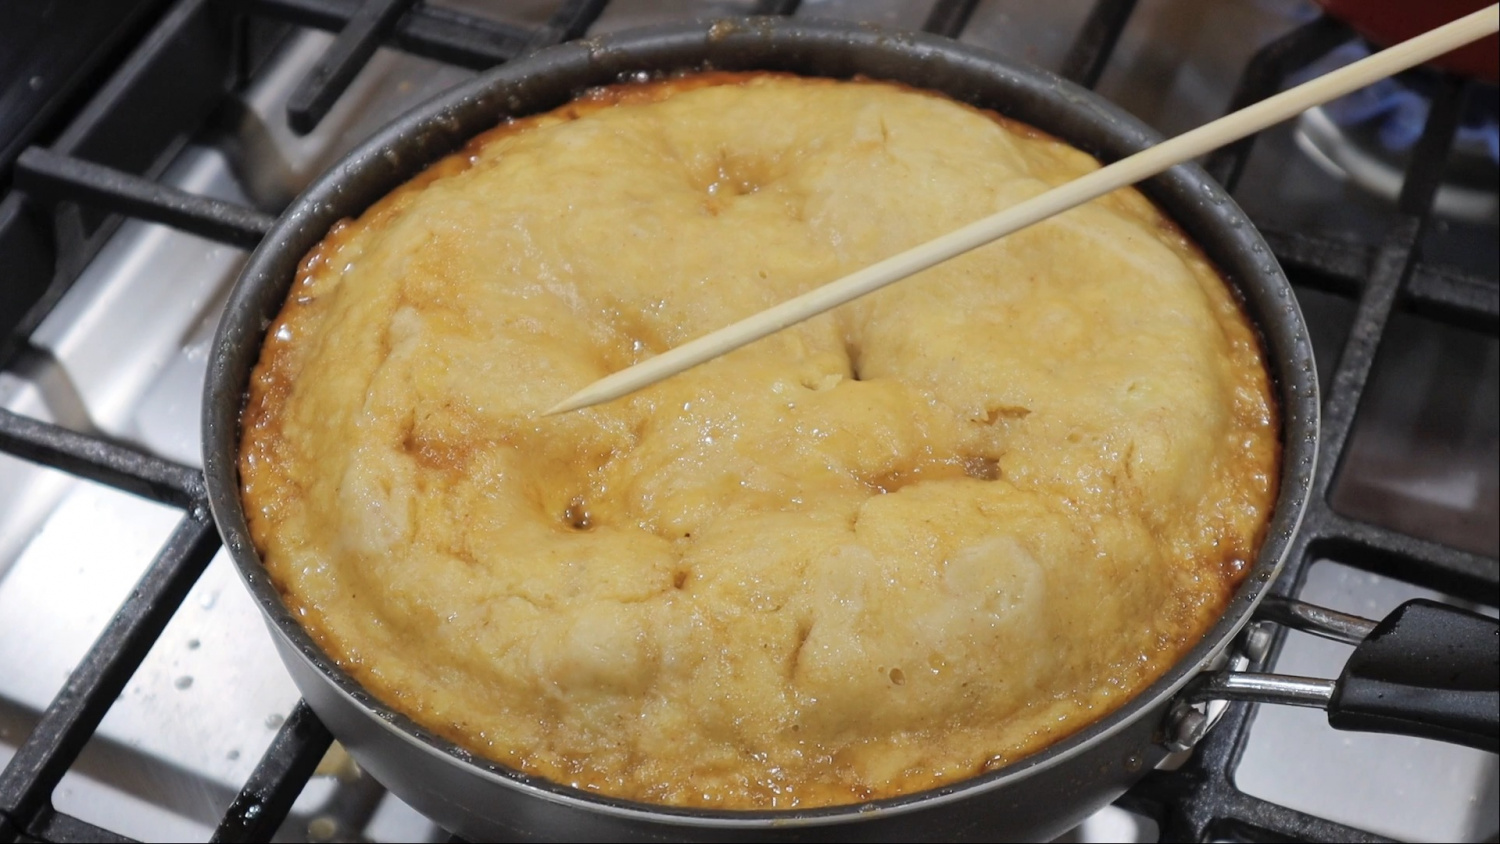 STEP 24/26After removing from the heat, let it cool for 2 to 3 minutes, and the edges will slightly shrink.
 STEP 25/26At this timing, cover the big plate and flip! Flip it over.
 STEP 26/26It's done!
After cooling it down, cut it right away,
Let it cool completely, seal it, ripen it, and eat it!
I like it because it's more moist when it's aged.
- Japchae Recommended recipe
-
-
1
 Red pepper japchae. Golden recipe for red pepper japchae4.97(36)
 -
2
 One pan japchae that doesn't stir-fry the ingredients separately5.00(17)
 -
3
 Texture gangster fish cake japchae / stir-fried fish cake4.92(12)
 -
4
 Let's captivate your appetite with the holiday food's ever-prese4.83(12)
-
- Bibimbap Recommended recipe
-
-
1
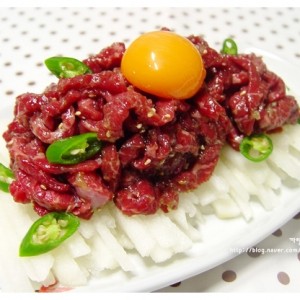 yummy yukhoe and yukhoe bibimbap5.00(9)
 -
2
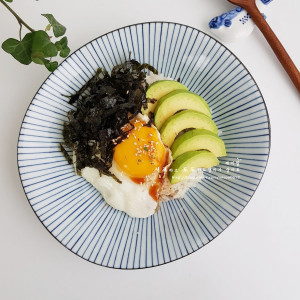 Avocado and egg bibimbap4.94(50)
 -
3
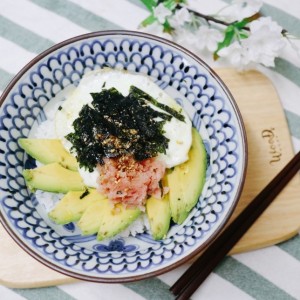 The menu that the actress ate. Super simple avocado pollack bibi4.98(48)
 -
4
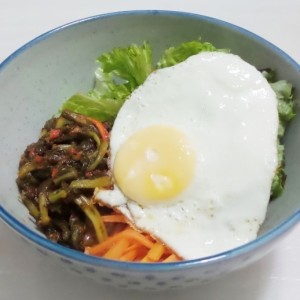 Yeolmu Bibimbap is the best in the summer5.00(9)
-