Making nurungji easily at home
You like nurungji, right? It's one of our No. 4 Favorite foods. So I often order 3kg of Ottogi nurungji at my house. I think the price is about 20,000 won. I think I had a lot until a few days ago, but I cooked nurungji in the morning and ate it often, so it fell off quickly. Commercial products are more expensive than I thought, so I decided to make them by turning the air fryer before ordering. It doesn't matter whether it's cold rice or leftover rice. But! It needs to be cooked. I can't make it with raw rice.
4 serving
Within 30 minutes

친정언니
- Ingredients
-
-
instant rice
-
- Cooking Steps
-
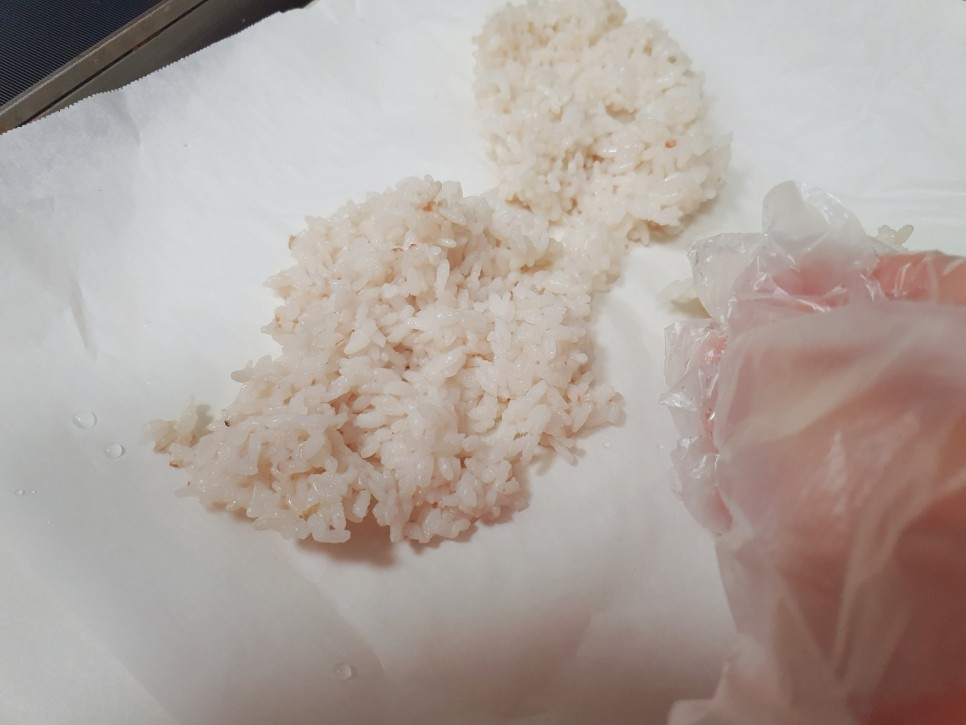
STEP 1/15First, find the cold rice hidden in the refrigerator. There was definitely a pair somewhere. Before putting it in the air fryer, put on plastic gloves and put water on the gloves. Spread the rice evenly with water on it.
 STEP 2/15.
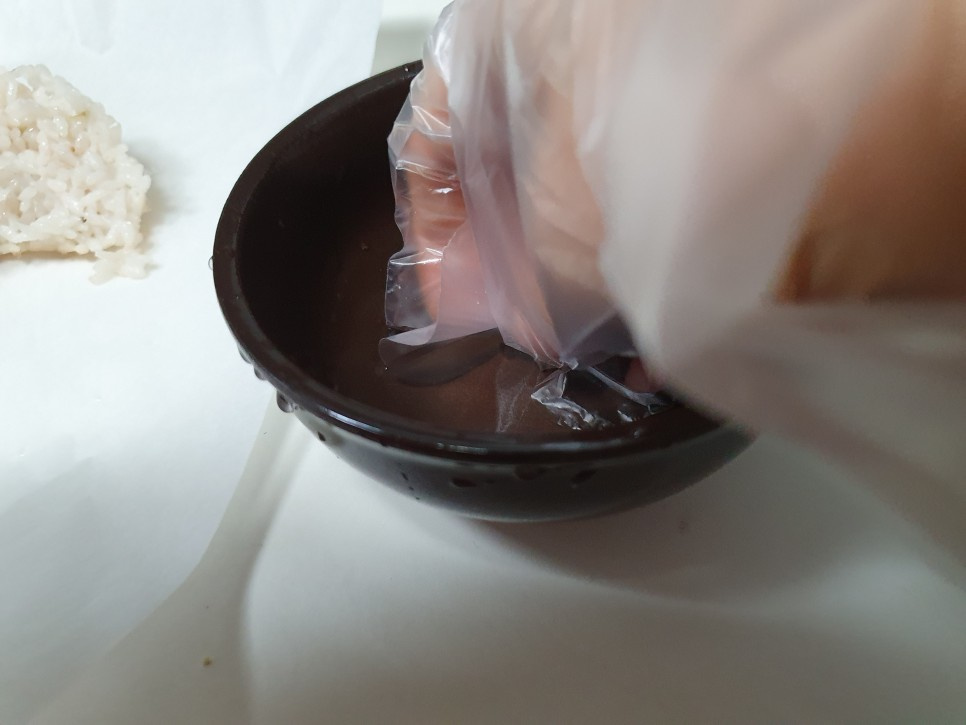 STEP 3/15Spread it out as thin as possible so that the rice grains stick to the bottom. It's much better to eat it later.
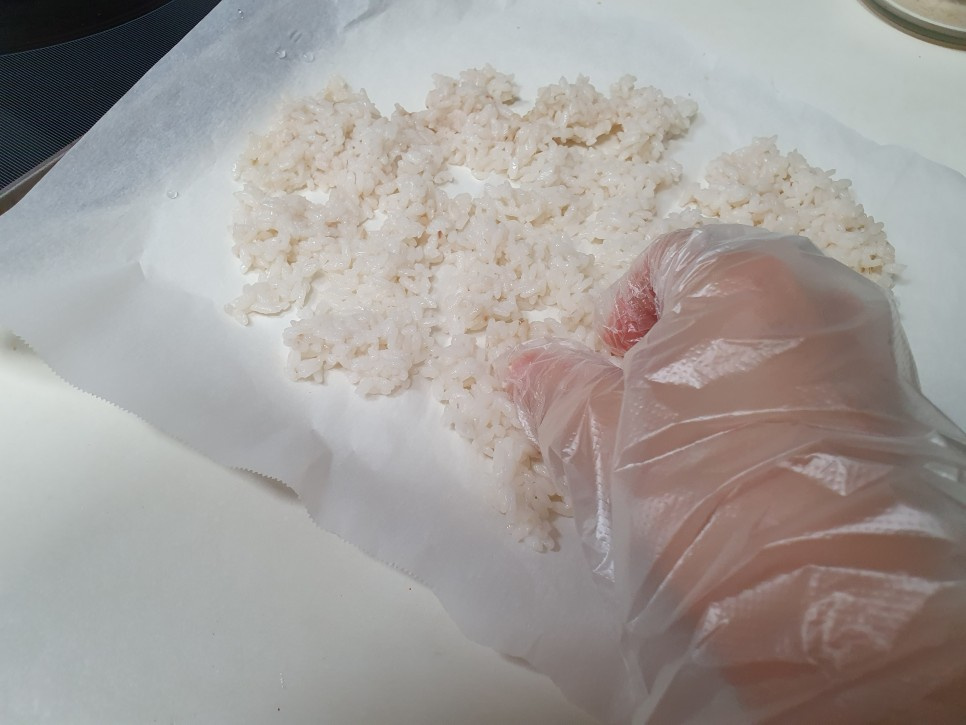 STEP 4/15Keep your gloves on and straighten it out. There are cases where you put another sheet of paper foil on top and press it down, but if you do that, the rice grains are not alive, so when you boil nurungji later, you can't see the living rice grains and turn into porridge.
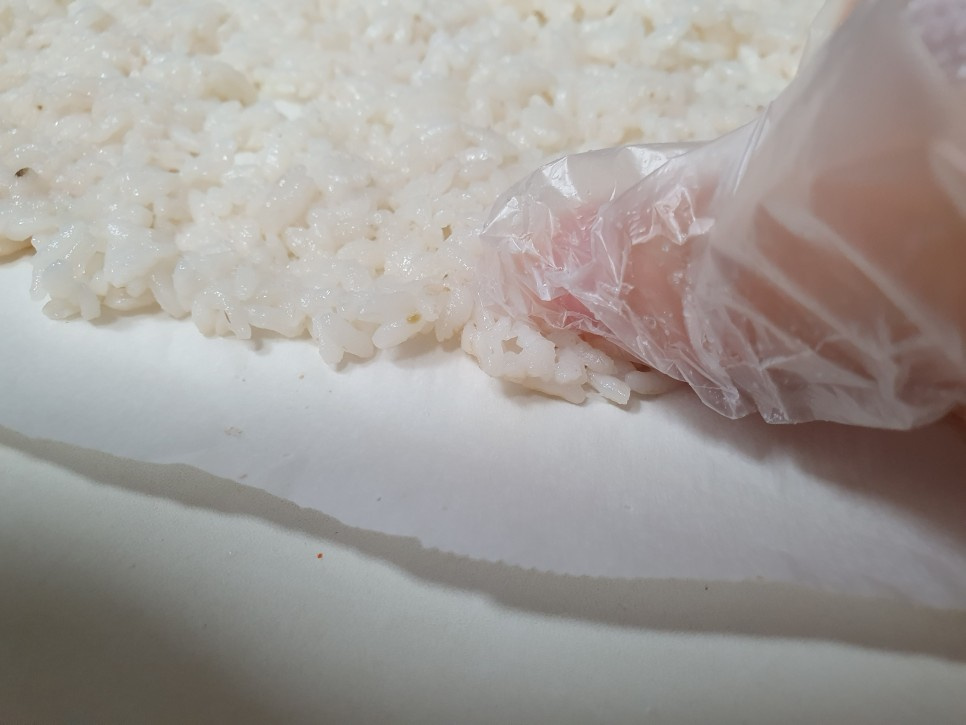 STEP 5/15Each grain of rice is spread out well.
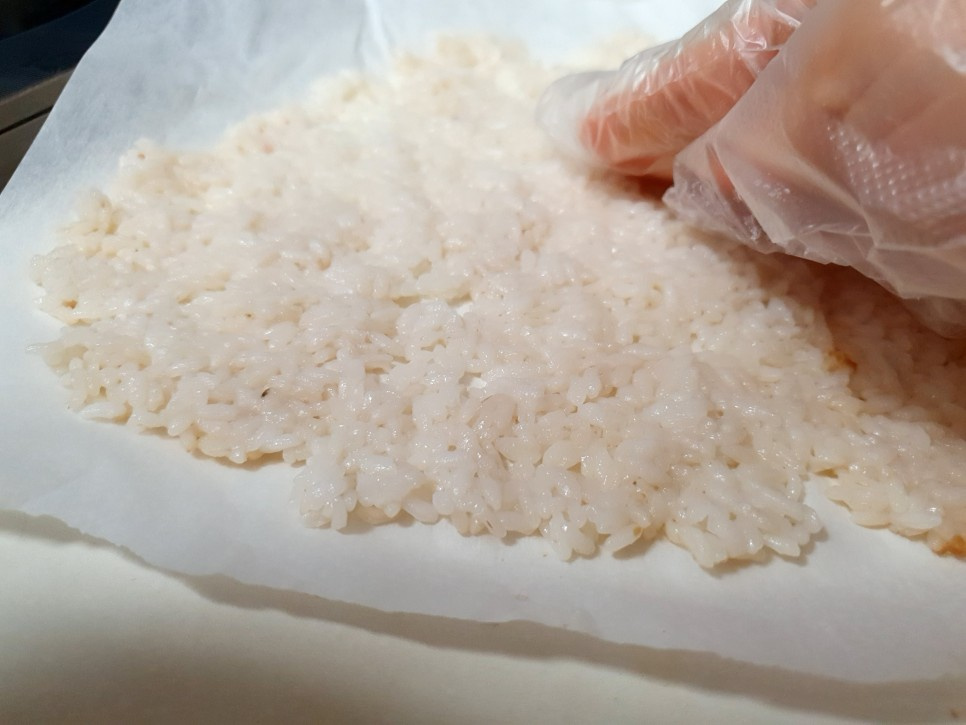 STEP 6/15Put it in the air fryer and turn it 180 degrees for 15 minutes.
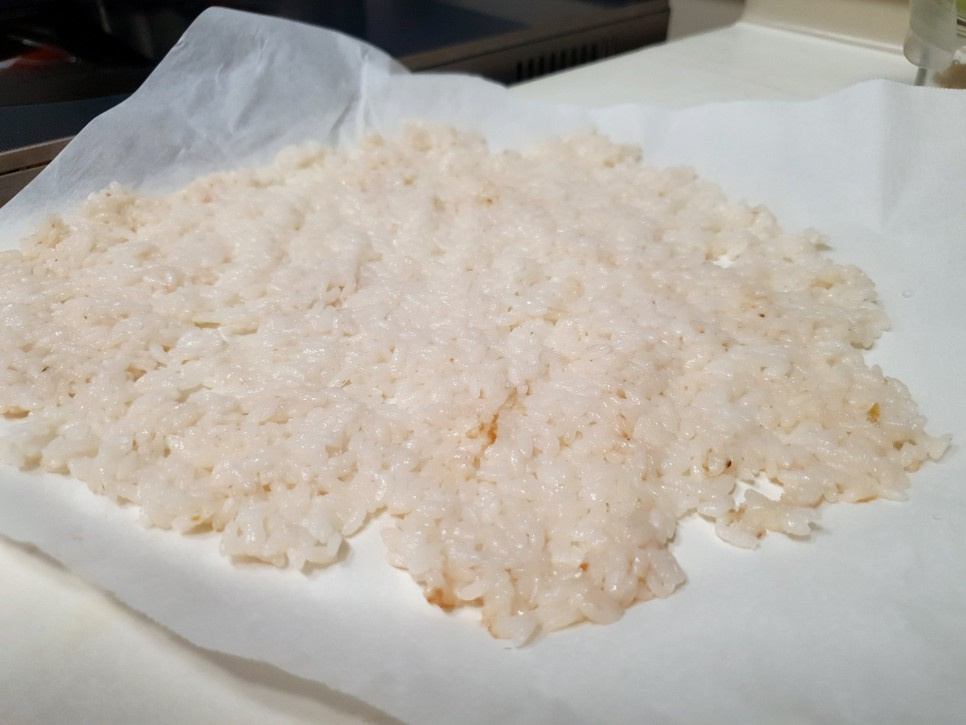 STEP 7/15If you take it out after 15 minutes, you can see that the inside remains white. If you want a savory taste, turn the nurungji upside down and adjust the time of the air fryer to increase the time.
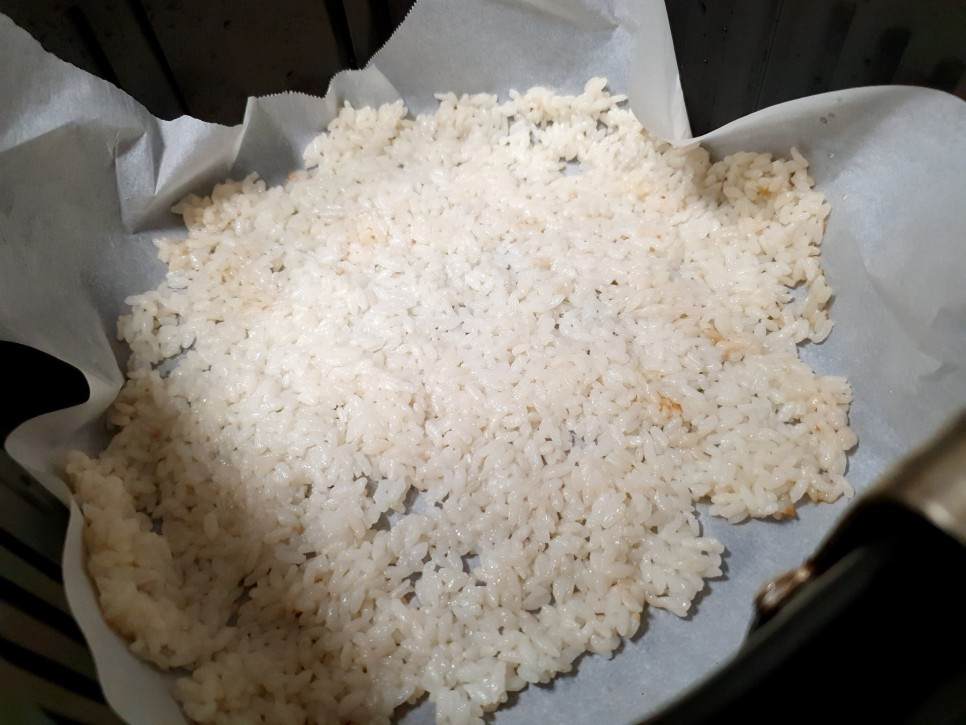 STEP 8/15I took it out, flipped it over, and gave it back for another 15 minutes.
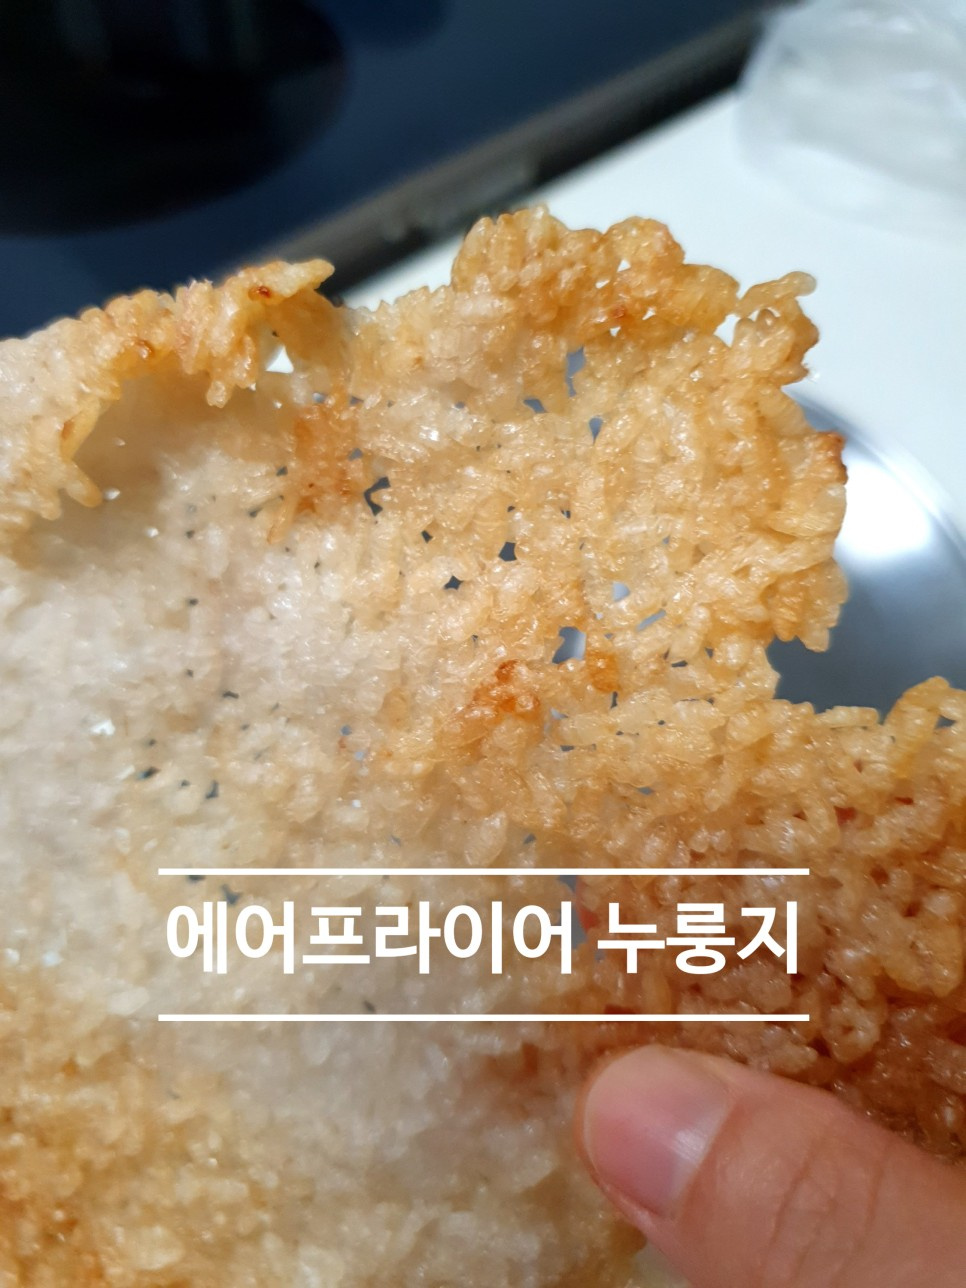
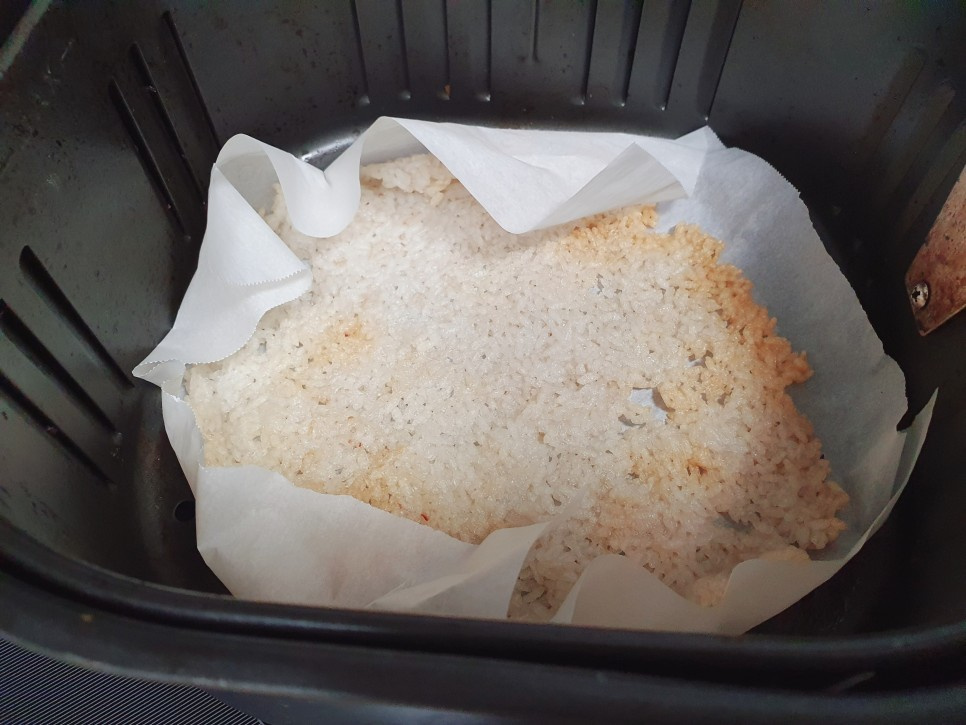 STEP 9/15When I took it out, the nurungji was cooked well until golden brown. You don't have to press the rice on purpose or harden the rice again. I want to give an award to the air fryer developer to see who developed it. At my in-laws' house, it was pressed while spreading thinly on a coated frying pan, but it took too much work and time. We, who are busy, cannot spend all our precious time on Nurungji.
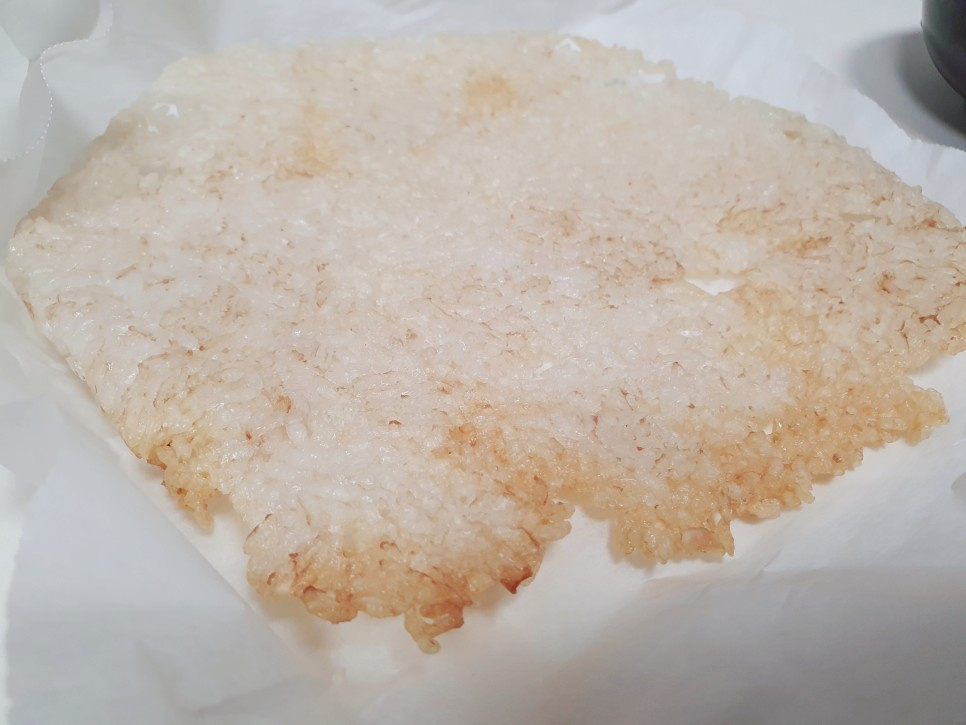 STEP 10/15The rice grains are alive one by one by one. If you dry it and fry it, it turns into a crispy and delicious nurungji snack. Of course, it would be better if sugar and cinnamon were added.
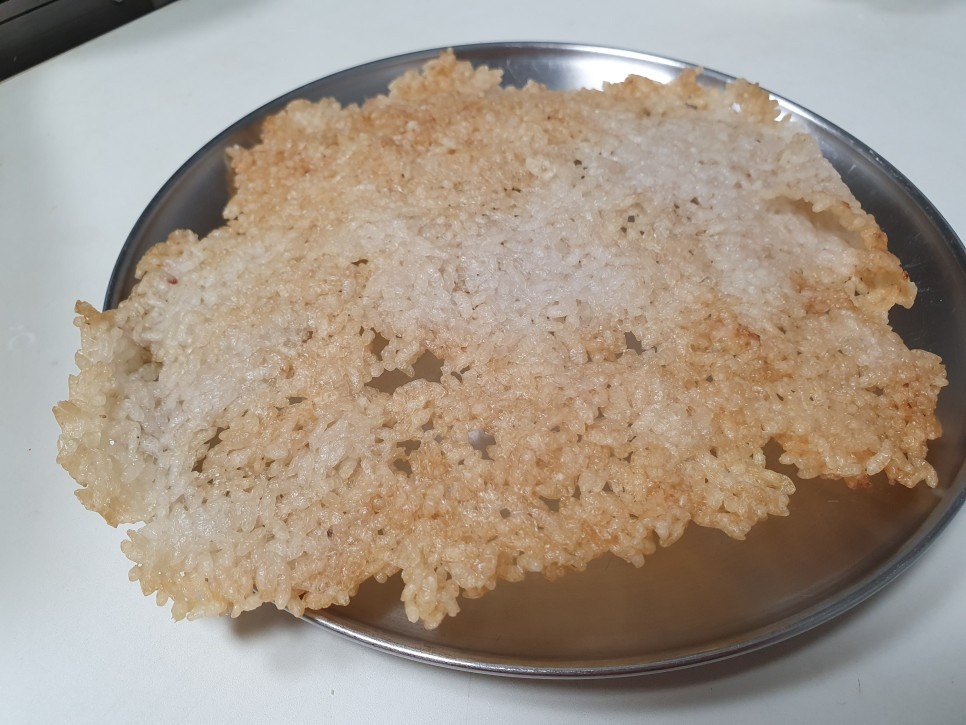 STEP 11/15.
 STEP 12/15.
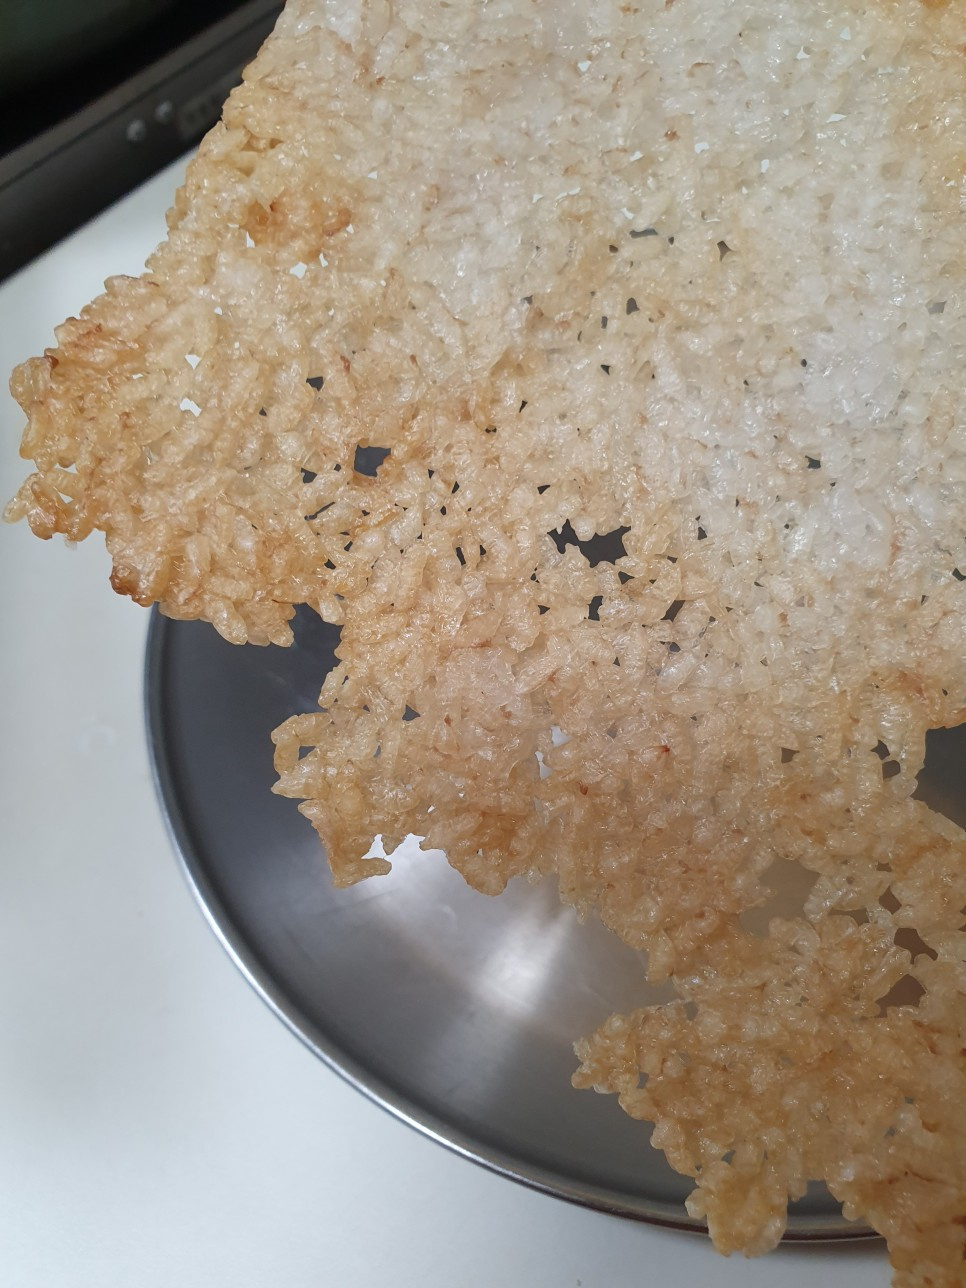 STEP 13/15.
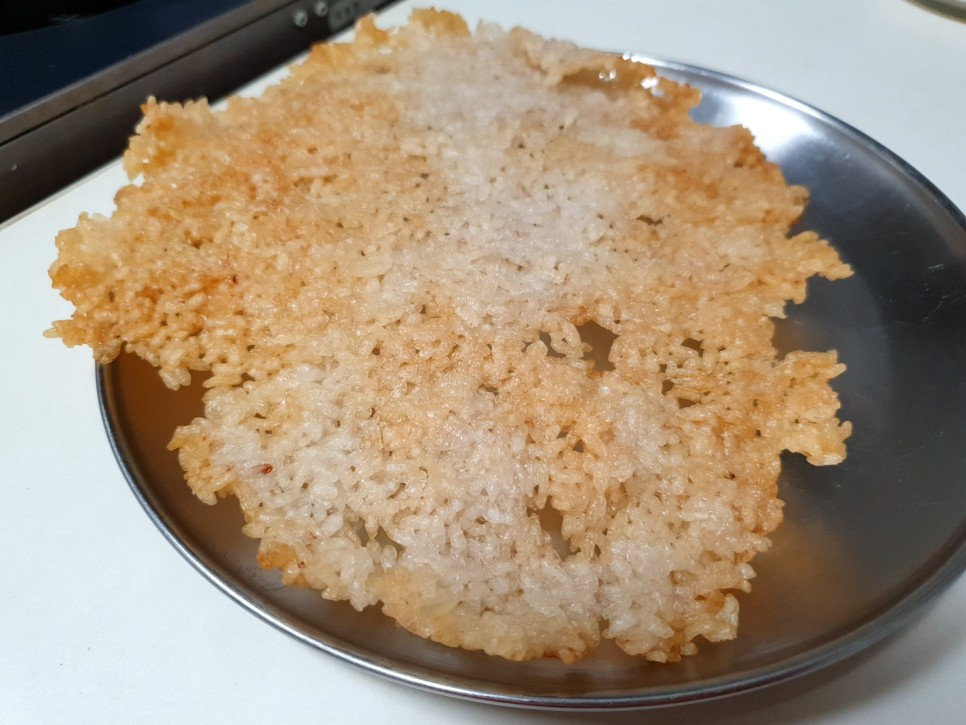 STEP 14/15.
 STEP 15/15.
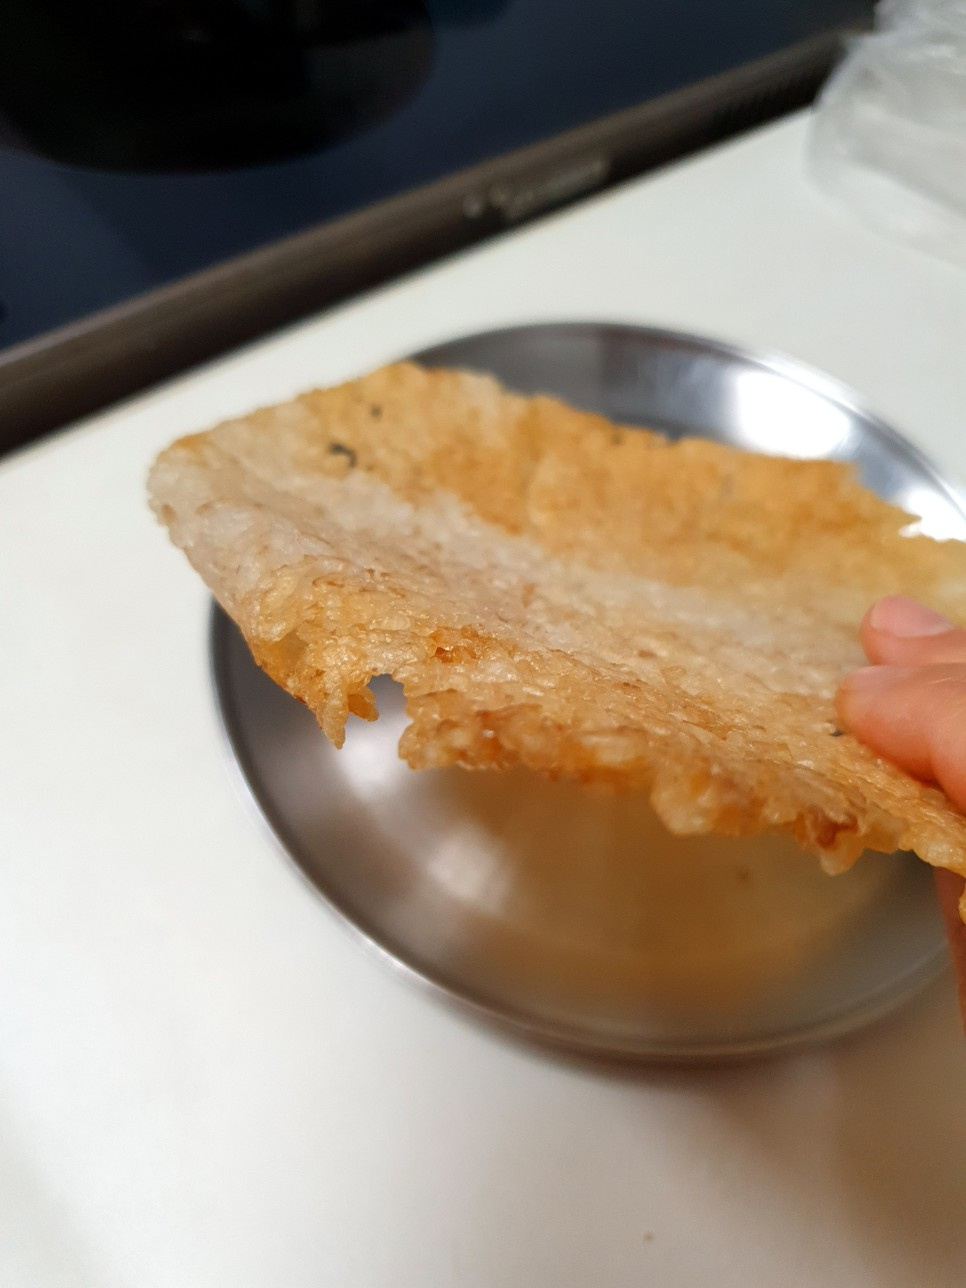 1. Nurungji is always delicious. If there is cold rice in the refrigerator, make sure to try it. 2. If you heat it in an air fryer until it's golden brown, it becomes nurungji that you can eat right away.
- Bibimbap Recommended recipe
-
-
1
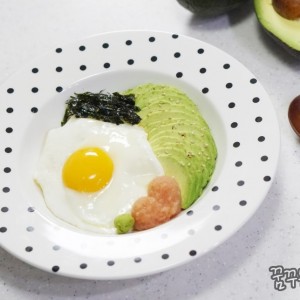 A simple recipe for eating alone. Avocado pollack bibimbap4.86(7)
 -
2
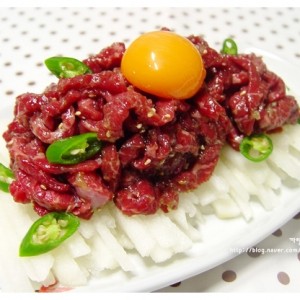 yummy yukhoe and yukhoe bibimbap5.00(9)
 -
3
 Young radish bibimbap, a simple meal5.00(10)
 -
4
 [Simple home cooking] Let's mix pork belly with rice! Making Gri4.93(27)
-
- Bulgogi Recommended recipe
-
-
1
 [Pork bulgogi with soy sauce]4.91(54)
 -
2
 Spicy and sweet red pepper paste pork bulgogi4.97(37)
 -
3
 Bulgogi with pork and soy sauce4.97(29)
 -
4
 The representative of Korean food! Making delicious beef bulgogi4.86(21)
-