6 ways to make dumplings pretty (round/square/half moon pleats/A
I'll teach you six different shapes step by step, so let's see how you do it!!
6 serving
Within 15 minutes
가루씨
- Ingredients
-
-
the skin of skin
-
dumpling filling
-
- Video
-
- Cooking Steps
-
STEP 1/20https://youtu.be/iFxfTpazcuc
 STEP 2/20First, put a proper amount of the dumpling filling in the middle, and then put water around it to act as glue. Please refer to the link for more information on meat and vegetable dumpling filling!
 STEP 3/20Next, put the dumpling skin together, press it down, and make a half-moon shape
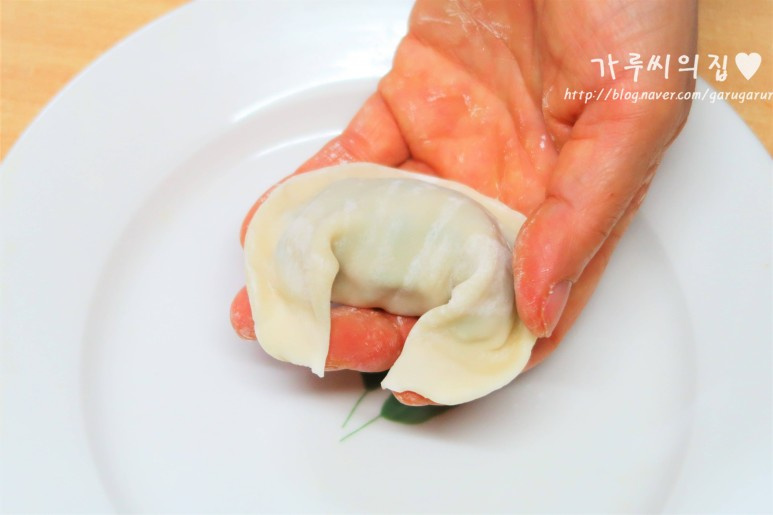 STEP 4/20And after you put water on both ends, connect them to each other to complete a pretty round dumpling
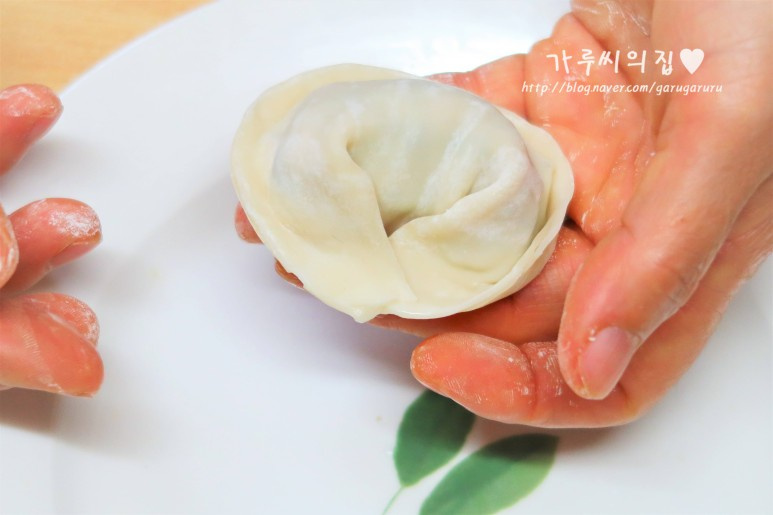 STEP 5/20Let's make a half-moon-shaped dumpling. Just like before, put the meat filling in the middle, put water on it, and then just once in the middle! Please press it
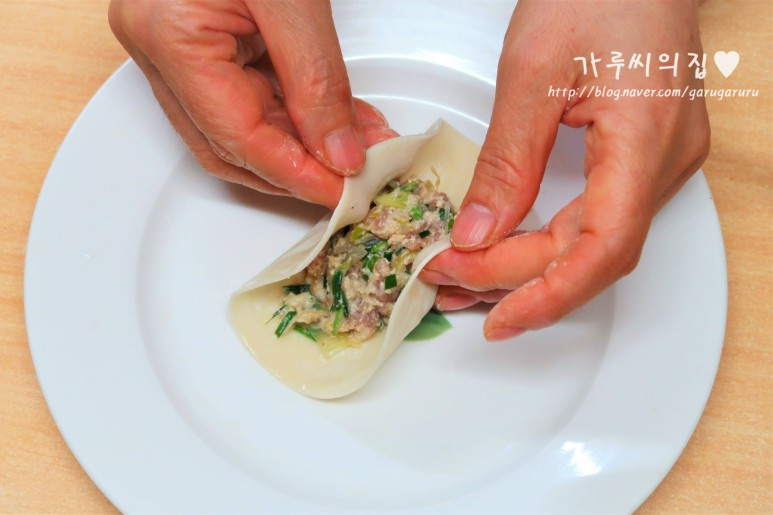 STEP 6/20Then the blood is divided into two sides. Leave one side as it is, grab the other side, and press it! Press it! Press it down,
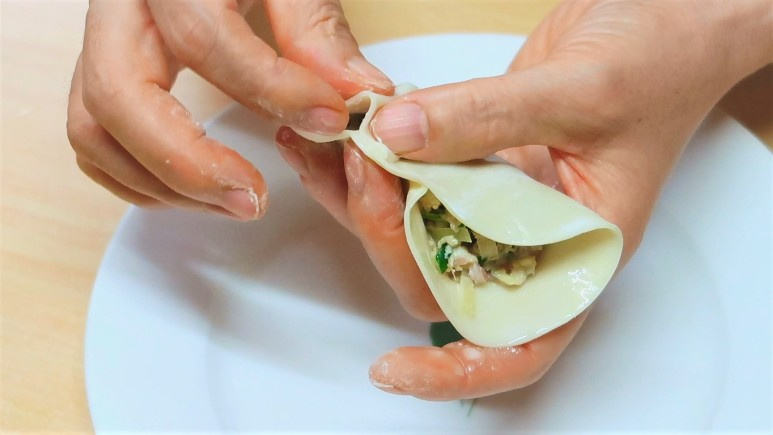 STEP 7/20You can control the wrinkles on both sides.
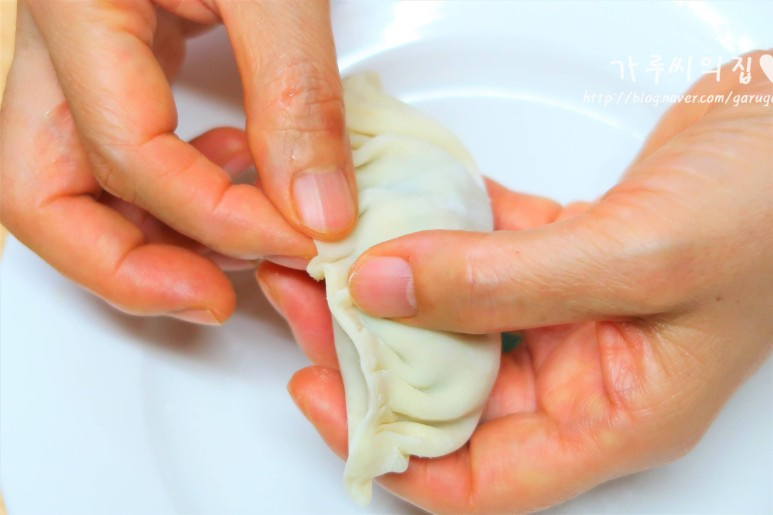 STEP 8/20Square dumplings are easy, of course. Press the center once! After you press it.
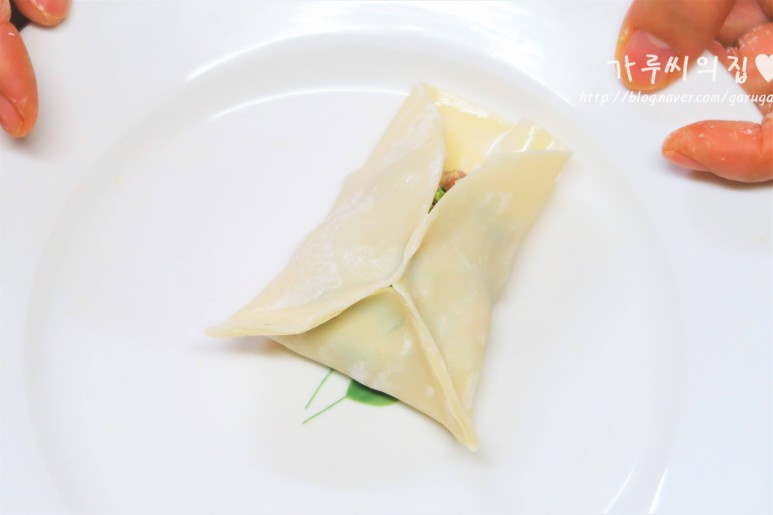 STEP 9/20You just have to make it come into contact with the four sides. What do you think? It's very simple!
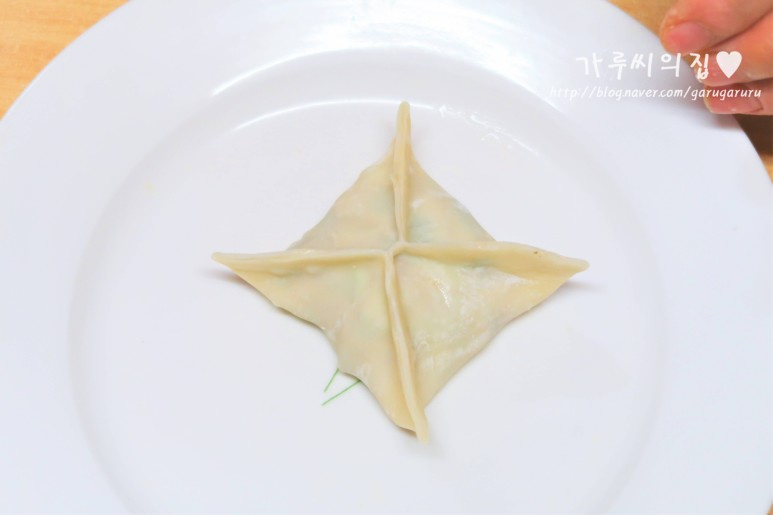 STEP 10/20We're going to make steamed bun dumplings. After raising the dumpling skin upward, hold the upper wrinkles only in one direction and turn them to make them look pretty.
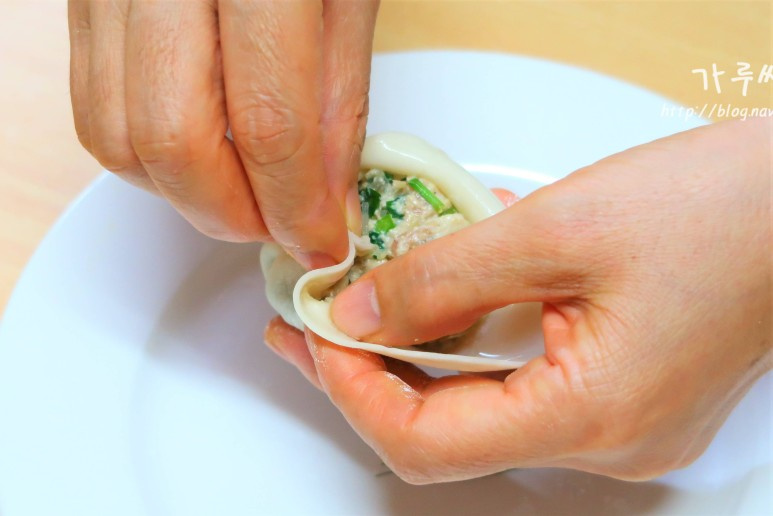 STEP 11/20Personally, the more wrinkles you have, the more delicious it looks
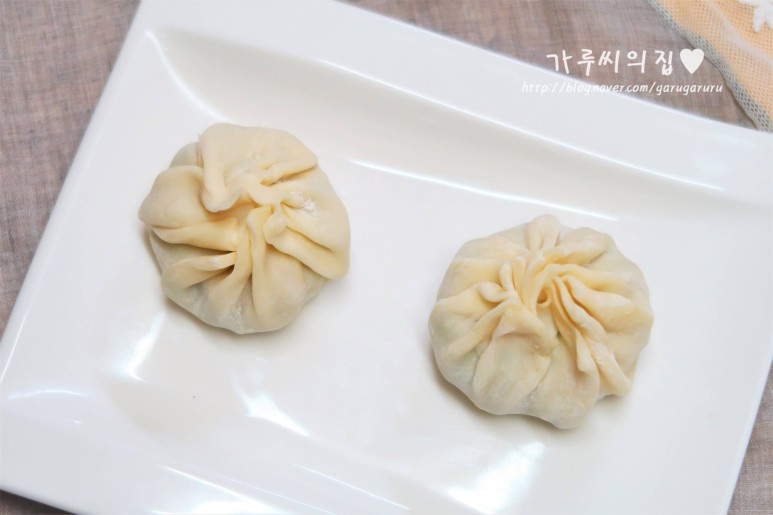 STEP 12/20The next thing I'm going to make is Bokmandu. It's similar to steamed bun dumplings, but the difference is that they tie it upAfter putting the meat filling in the middle, grab the dumpling skin and go straight! Please stretch it out.
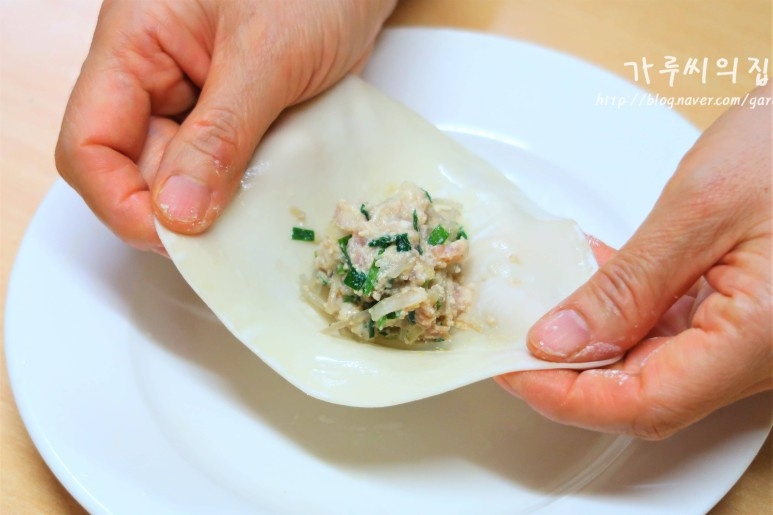 STEP 13/20And as you did before, turn it around and draw the curtains in moderation. Okay. Unlike steamed buns, fill the middle with dumpling skin and wrinkle it to make an empty space on the top. * Since these are gathered in the dumpling skin in the center, it would be better to apply water to the center to act as an adhesive
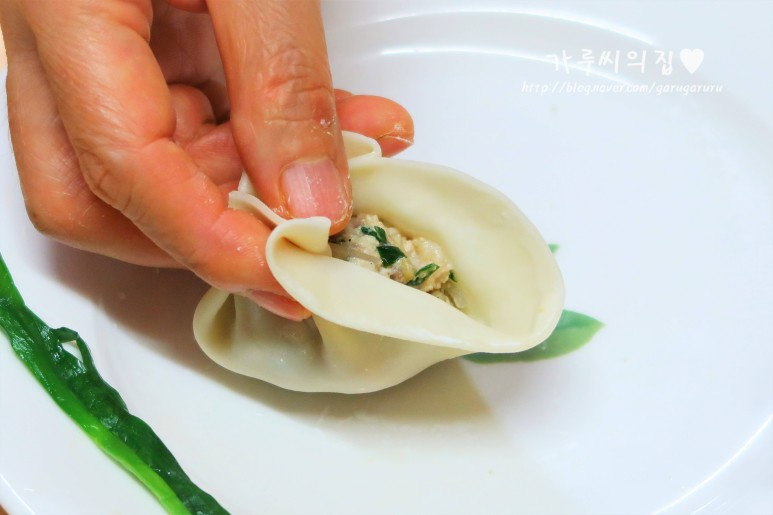 STEP 14/20And tie it with the blanched chives at home and it's done nicely.
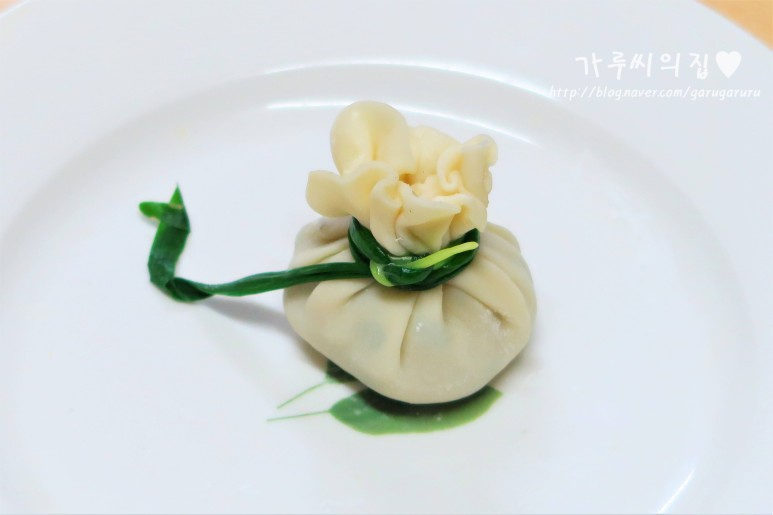 STEP 15/20Of course, it's better to cut the long sticking out string short.
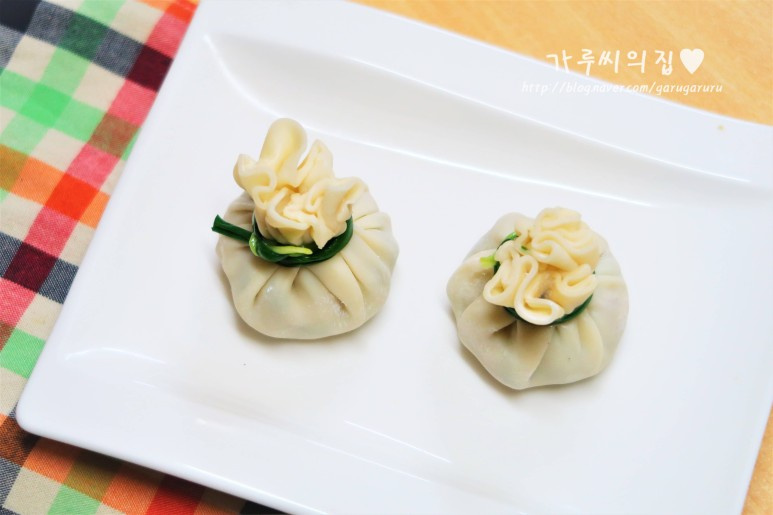 STEP 16/20Lastly, the shape of a leaf!! (It's quite difficult, so the video can be more comfortable than the picture.) First, put the end of the dumpling skin on it,
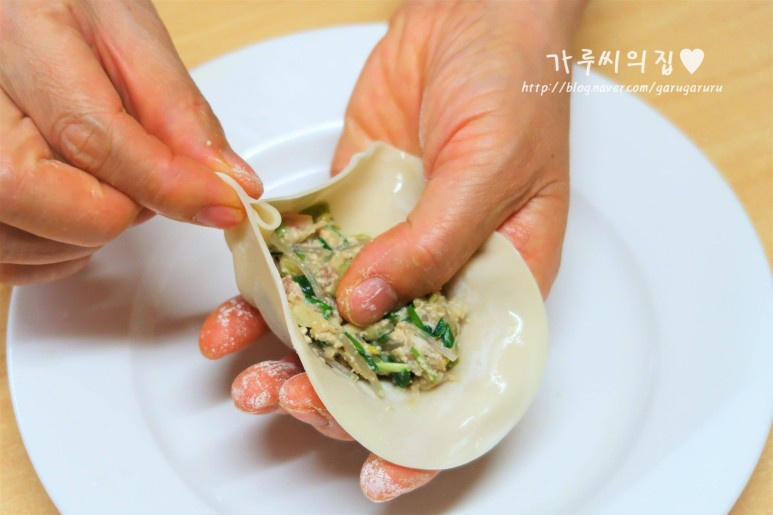 STEP 17/20Put the dumpling skin like that's it! Pull and stick it towards the middle dumpling filling. And then, like we did earlier, you can hold the curtains,,,,
 STEP 18/20Of course, if you think you can't get rid of wrinkles, pull the blood back toward the meat and repeat the process of getting rid of wrinkles.
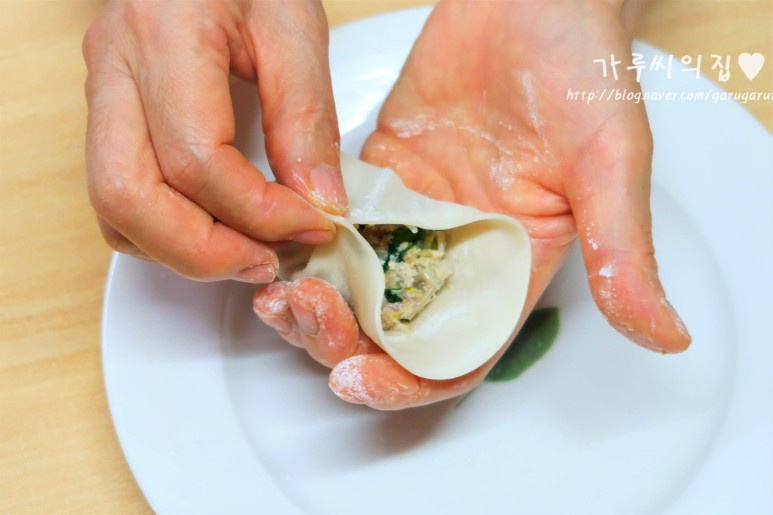 STEP 19/20This one also has a lot of wrinkles, and the more uniform it is, the prettier it will come out!!
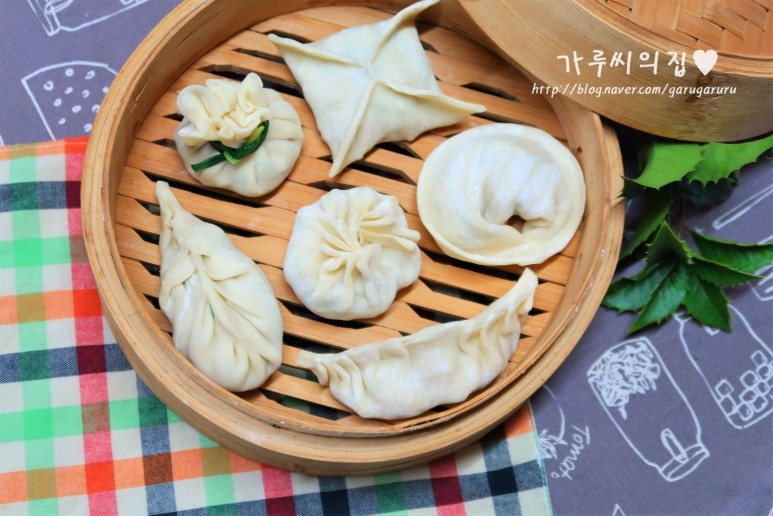
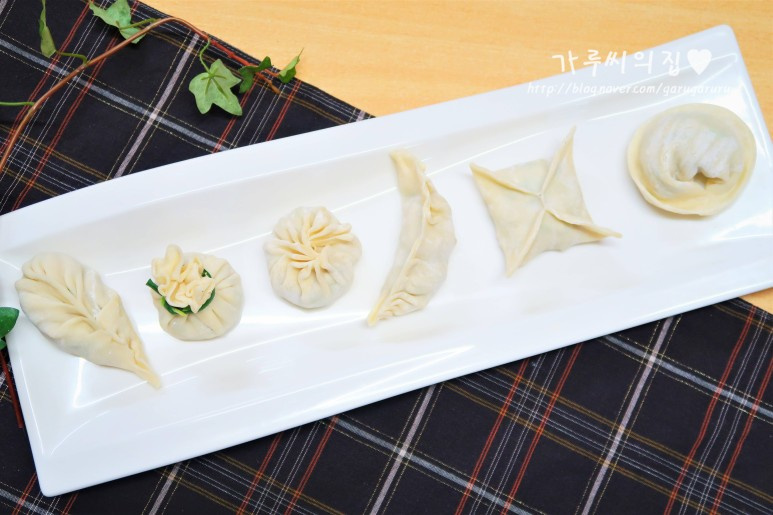
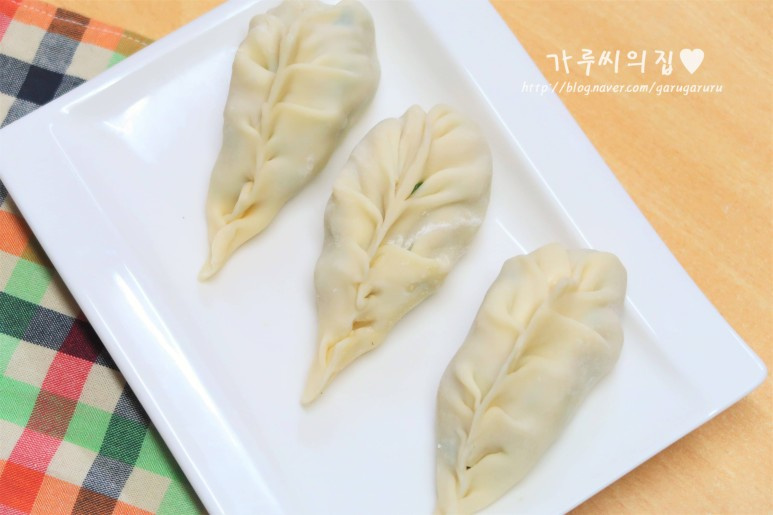 STEP 20/20From the right, round, square, half moon, hoppang, bok, and leaf shaped dumplings are complete
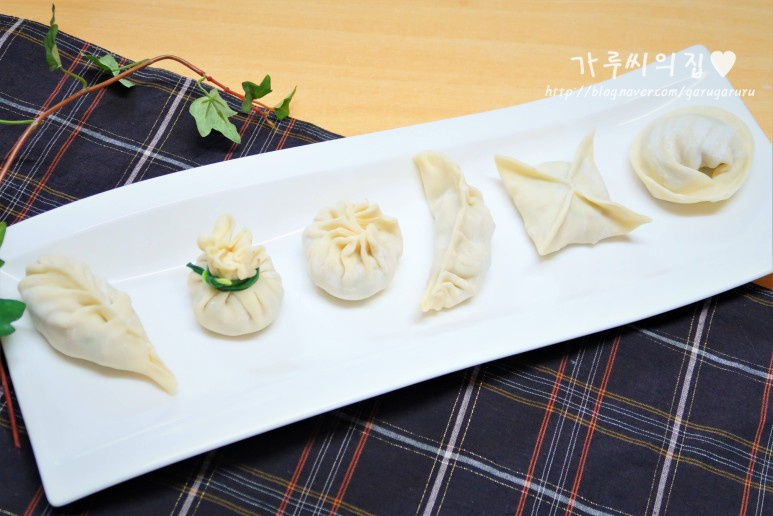
- Japchae Recommended recipe
-
-
1
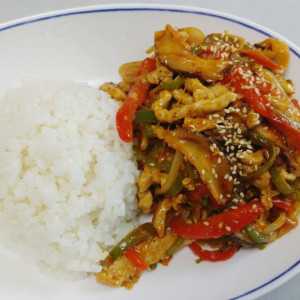 Making red pepper japchae / red pepper japchae rice tastes like5.00(17)
 -
2
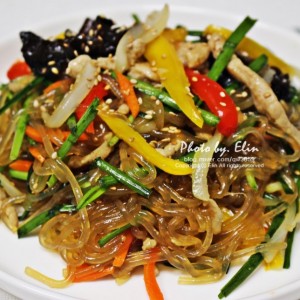 This is the golden recipe for japchae4.77(1029)
 -
3
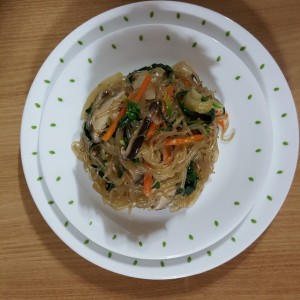 Making japchae easily and quickly4.85(13)
 -
4
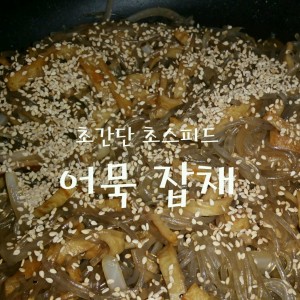 Fish cake japchae, a popular side dish made with cheap ingredien4.89(19)
-
- chicken Recommended recipe
-
-
1
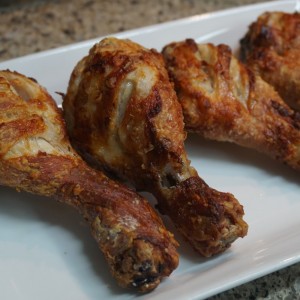 Super simple chicken leg chicken (feat. air fryer)4.78(9)
 -
2
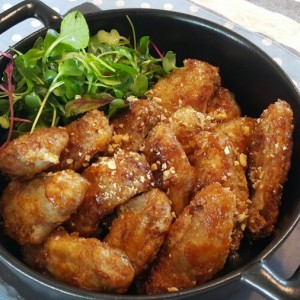 Making Kyochon Chicken - Soy Sauce Seasoned Chicken4.76(21)
 -
3
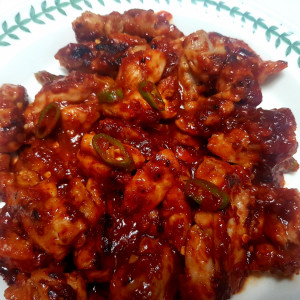 Imitating Zikova Chicken4.78(9)
 -
4
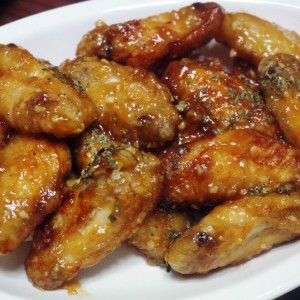 How to make soy sauce chicken at home. How to make soy sauce chi4.83(42)
-