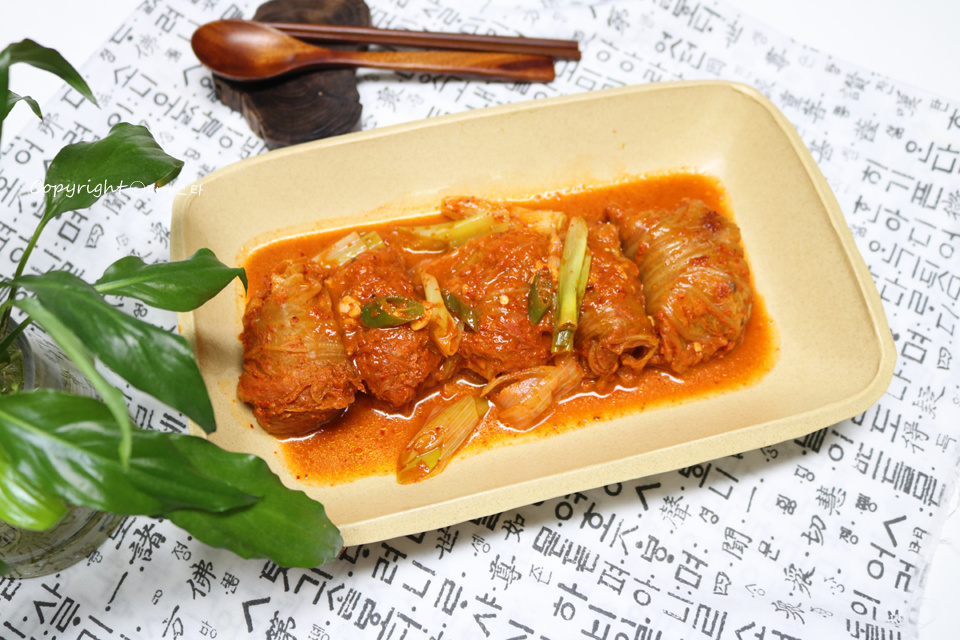
Steamed pork kimchi recipe: Steamed pork kimchi is the best!
Another taste that comes to mind! Steamed pork kimchi roll!
2 serving
Within 60 minutes

피에스타
- Ingredients
-
-
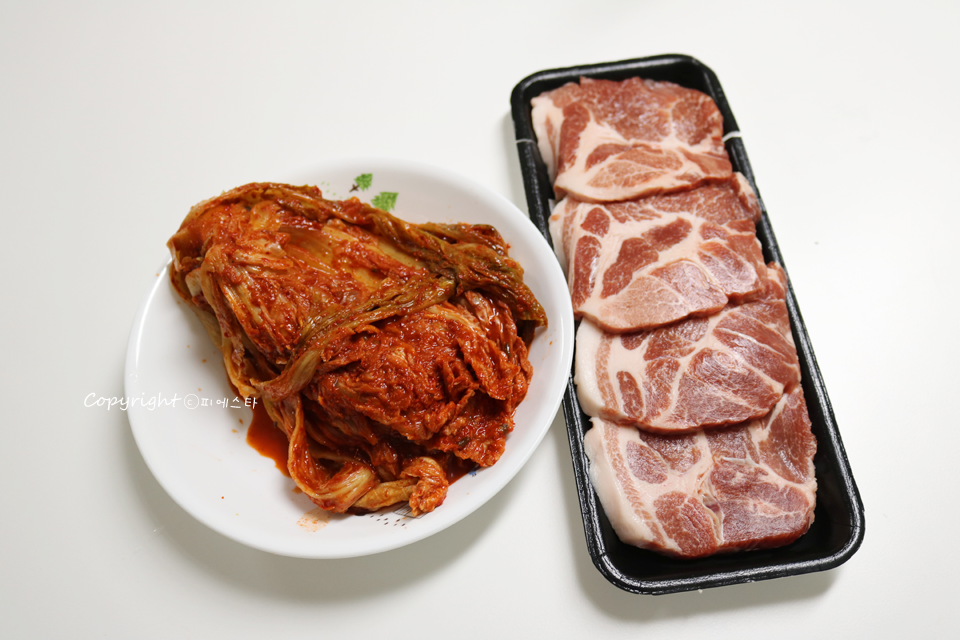
pork neck300g
-
Kimchi1/4ea
-
kelp broth2cup
-
chopped ginger1TS
-
Kimchi1cup
-
Seasoning2TS
-
onion1ea
-
leek1ea
-
Cheongyang red pepper1ea
-
- Cooking Steps
-
STEP 1/13I hope you still have kimchi left. Kimchi with a slightly sour taste is delicious. Except for the small leaves in the front of 1/4 head of cabbage kimchi. I'm going to use the wide part. And the thickness of the meat is important. The thickness of 0.3~0.5cm is appropriate, and pork belly and pork neck are all good, but pork belly has a little bit of oil. Pork neck is delicious.
 STEP 2/13I prepared one Cheongyang chili pepper. The green onion is small, so I prepared three white parts. There are about 4 tons of garlic in a tablespoon.
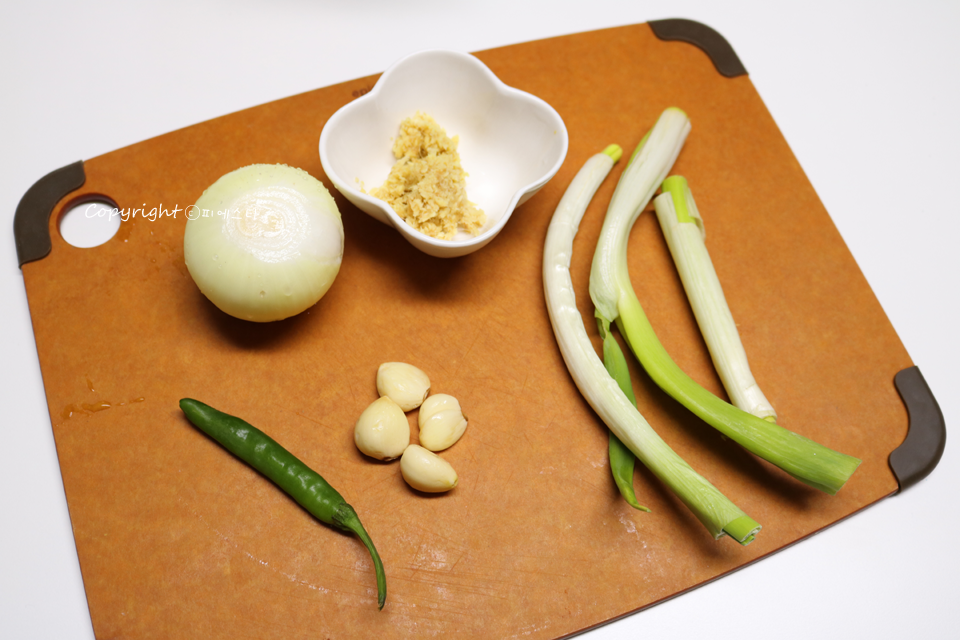 STEP 3/13Put a glass of water in 1 tablespoon of chopped ginger, and remove the ginger
Season with ginger juice and pepper. It's not seasoned, it's removing the smell of the smell.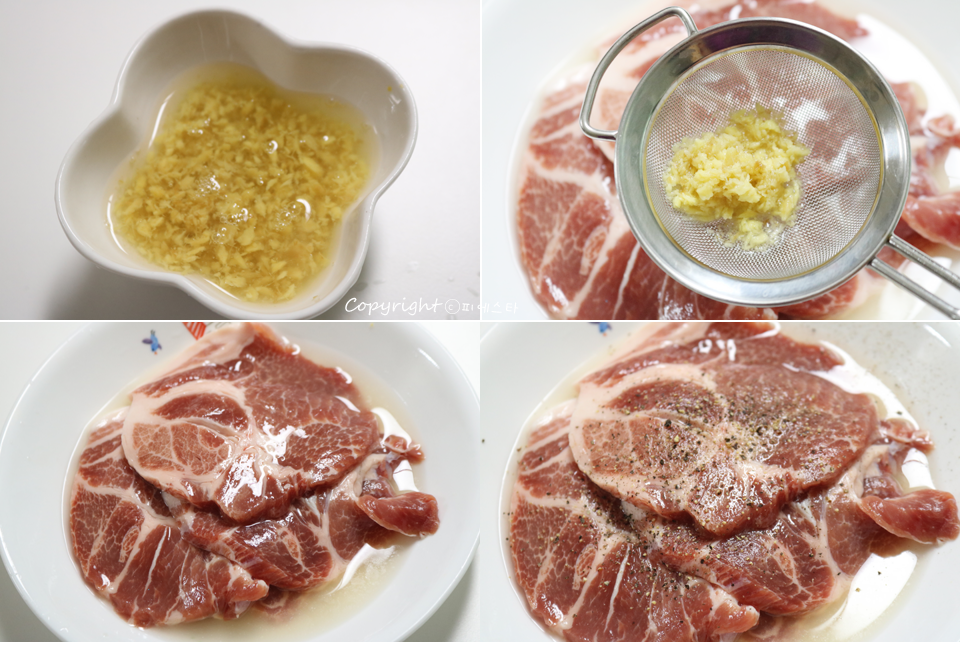 STEP 4/131 tablespoon soy sauce, 1/2 tablespoon sugar, 1 tablespoon red pepper powder, 1 tablespoon minced garlic, and 1 tablespoon ginger juice in the golden recipe for live information is Joseon soy sauce, but I changed it to dark soy sauce. Joseon soy sauce is more salty than dark soy sauce, so it's good to replace it with dark soy sauce. If kimchi is bland, I recommend Joseon soy sauce.
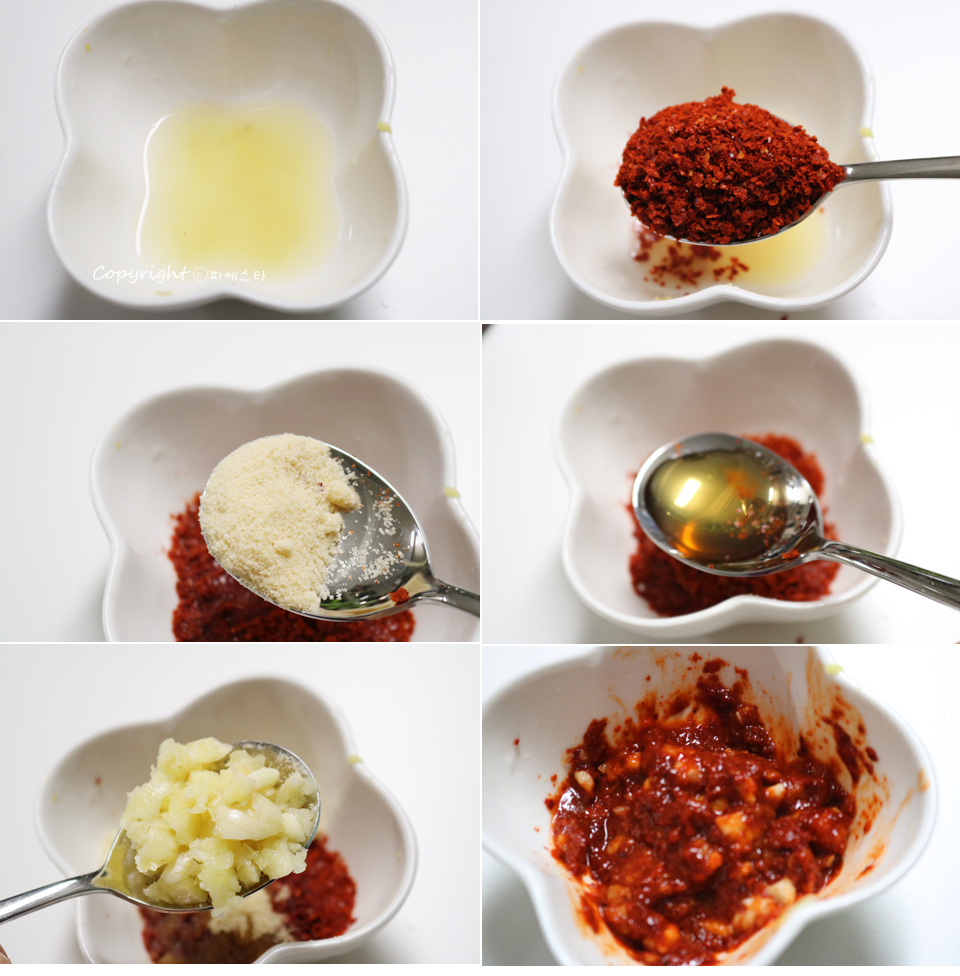 STEP 5/13First, I'm going to put pork in kimchi. If you put pork in kimchi, it's going to melt when it boils, right? At times like this, it's important to roll it tightly so that it doesn't come loose.
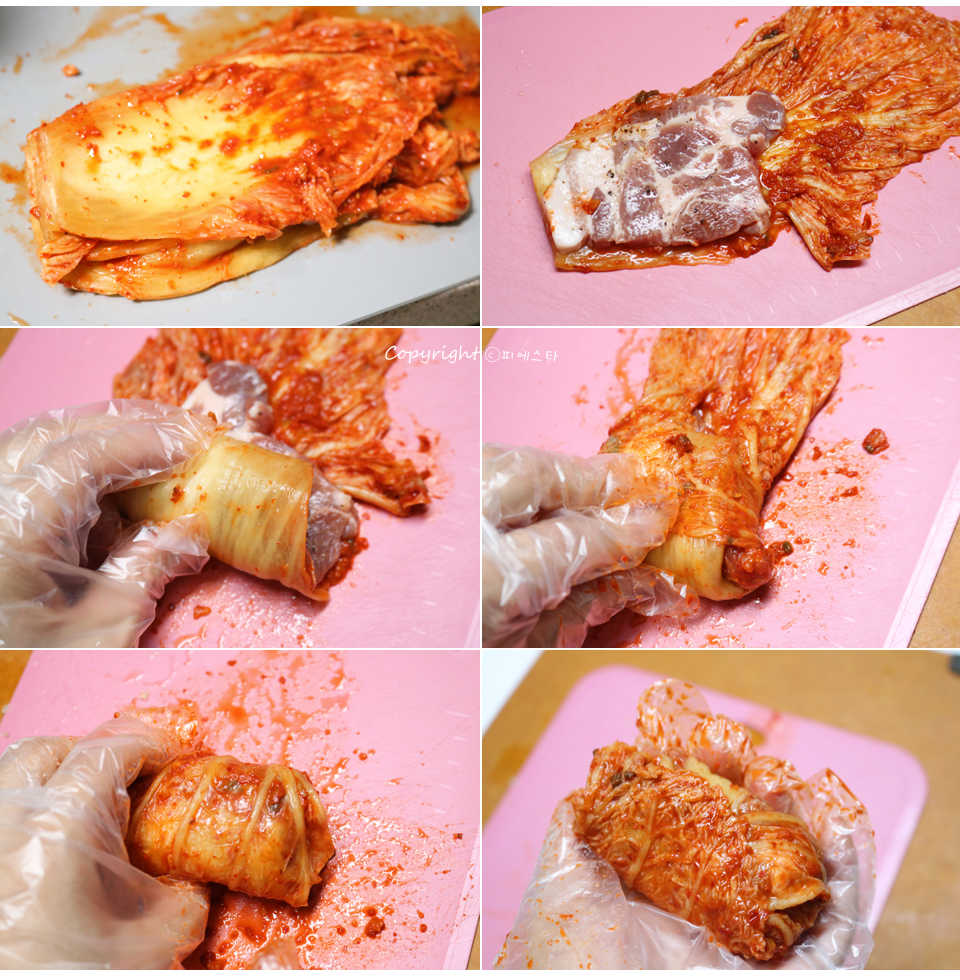 STEP 6/13Cut the onions into thick pieces. Slice the peppers and green onions sideways, too.
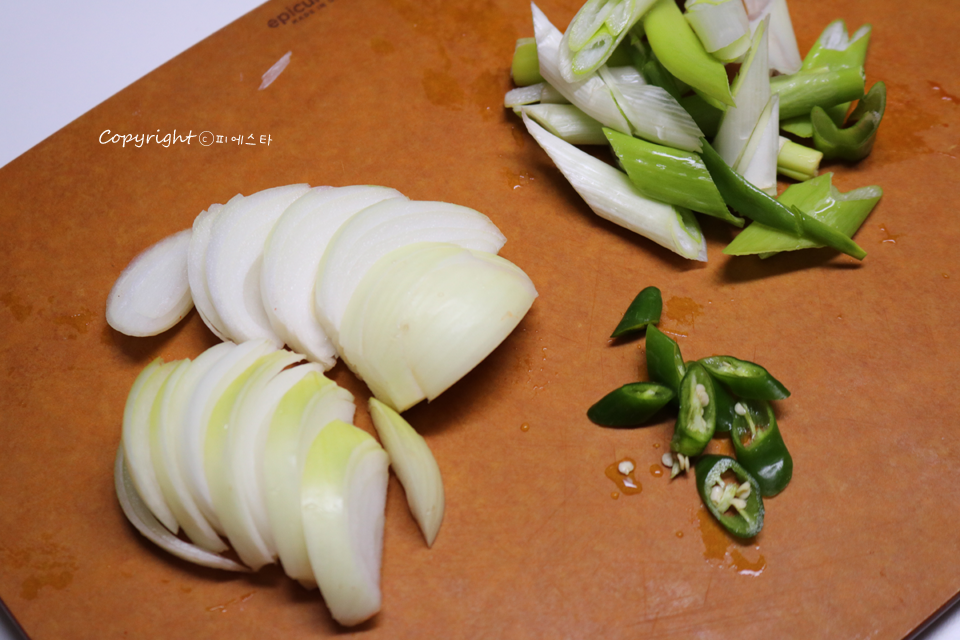 STEP 7/13Put onions on the floor first, then put the pork on the kimchi one by one.
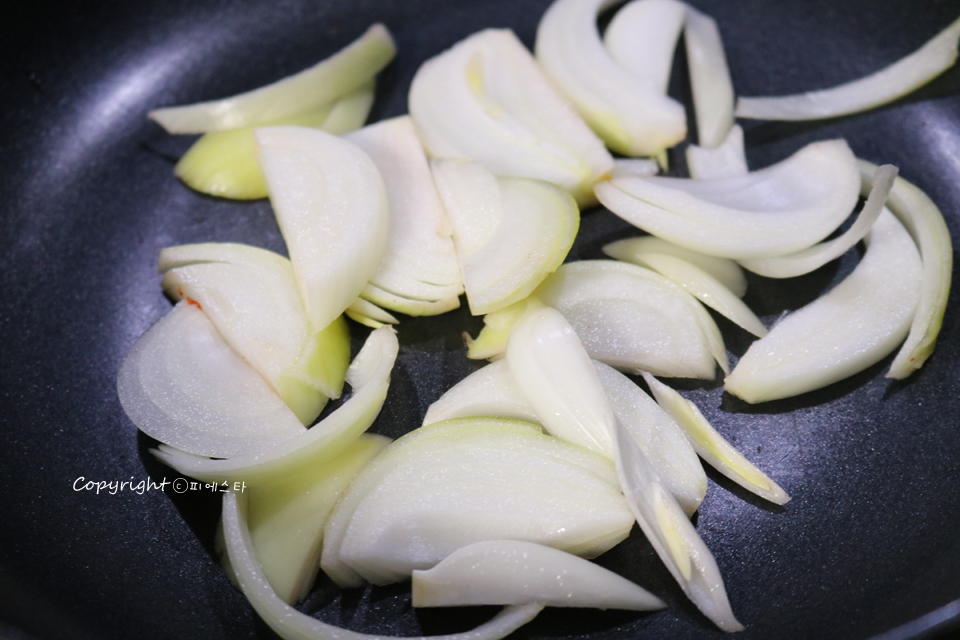 STEP 8/13If you put onions on it, the kimchi doesn't stick and it cooks deliciously. And the amount of sugar at least comes out of the sweet taste of the onion, making it delicious.
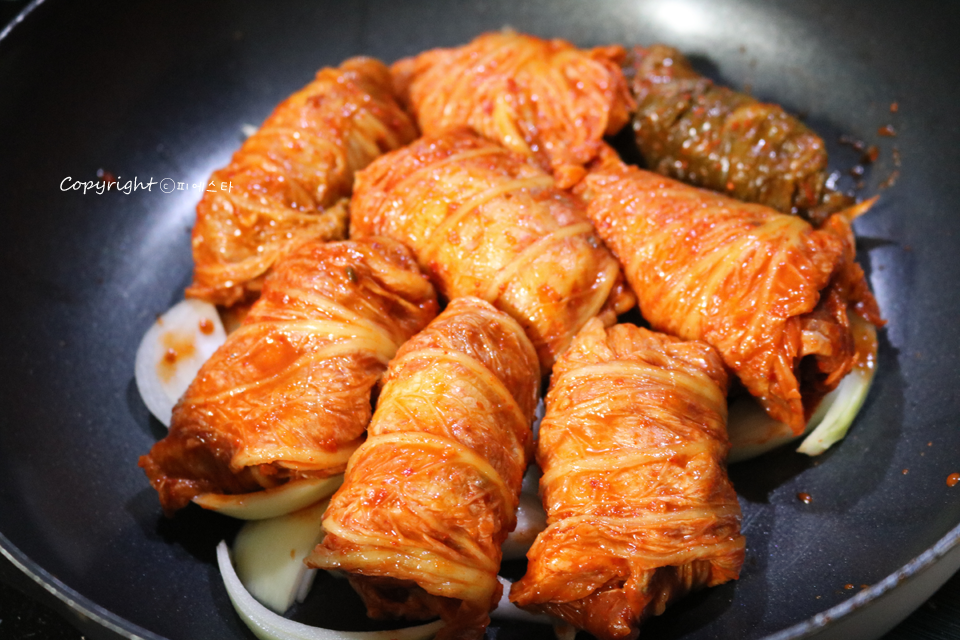 STEP 9/13And add a cup of kimchi soup!! If you put kimchi soup in it, it tastes a bit more crisp. It tastes better with kimchi seasoning. If you don't like spicy food, just add the broth again. It's good to add kelp and water for an hour. Or just plain water
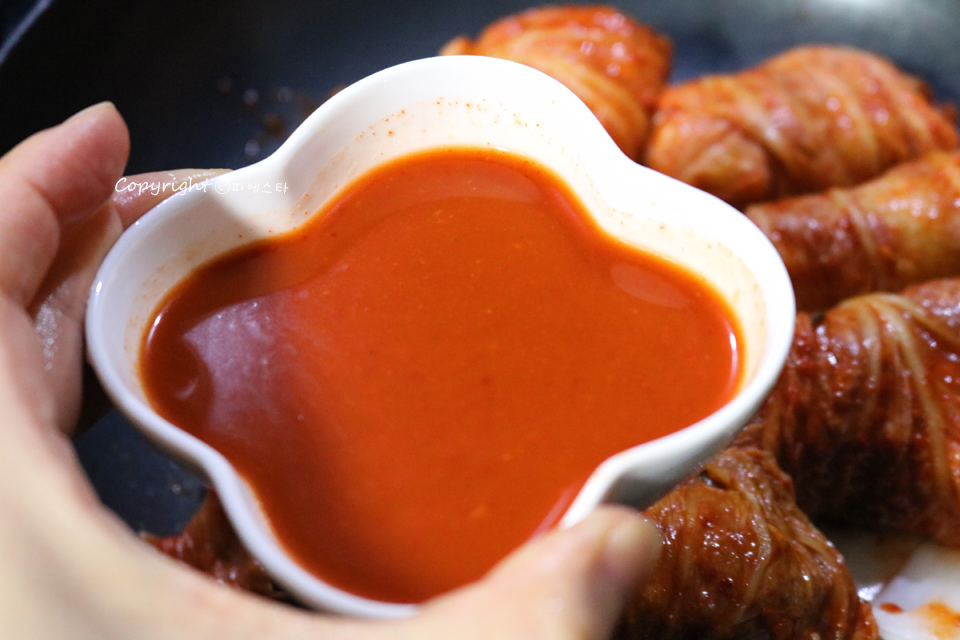
 STEP 10/13After putting it in like this, I put in 2 tablespoons of the sauce I made. You can add or subtract the seasoning depending on the individual after you eat it. If the kimchi is a bit salty, please add a tablespoon of the sauce
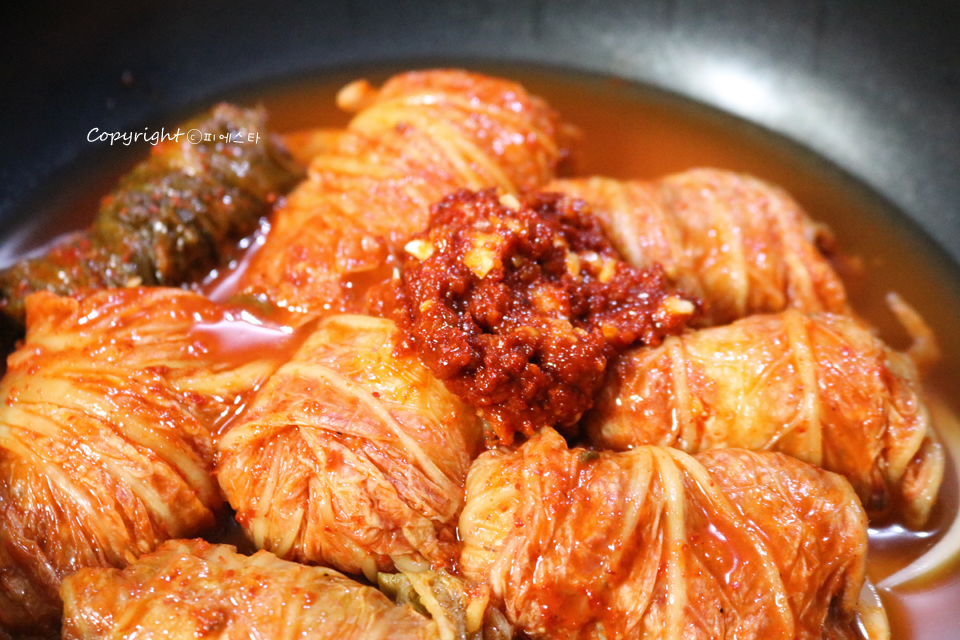 STEP 11/13I boiled it for 30 minutes from step 9 to step 3. When the heat is strong, the kimchi is warmed as it boils.
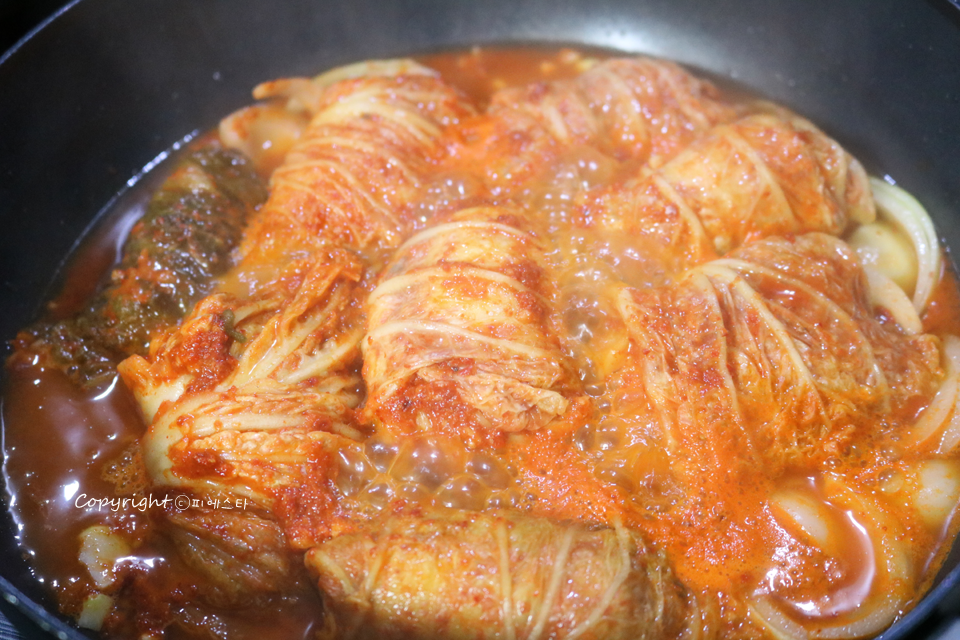 STEP 12/13As the soup decreases, the meat slowly cooks and the delicious broth comes out, right? When the soup boils down, even if I flip it a little, the kimchi doesn't get loosened.^^
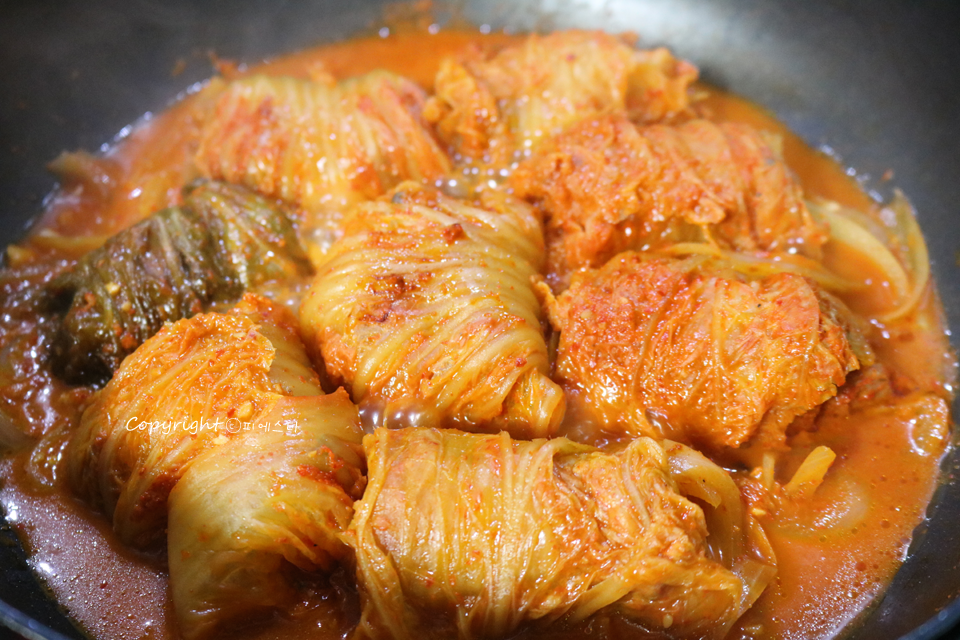 STEP 13/13For the last five minutes, add green onions and peppers!! Steamed kimchi is done!!
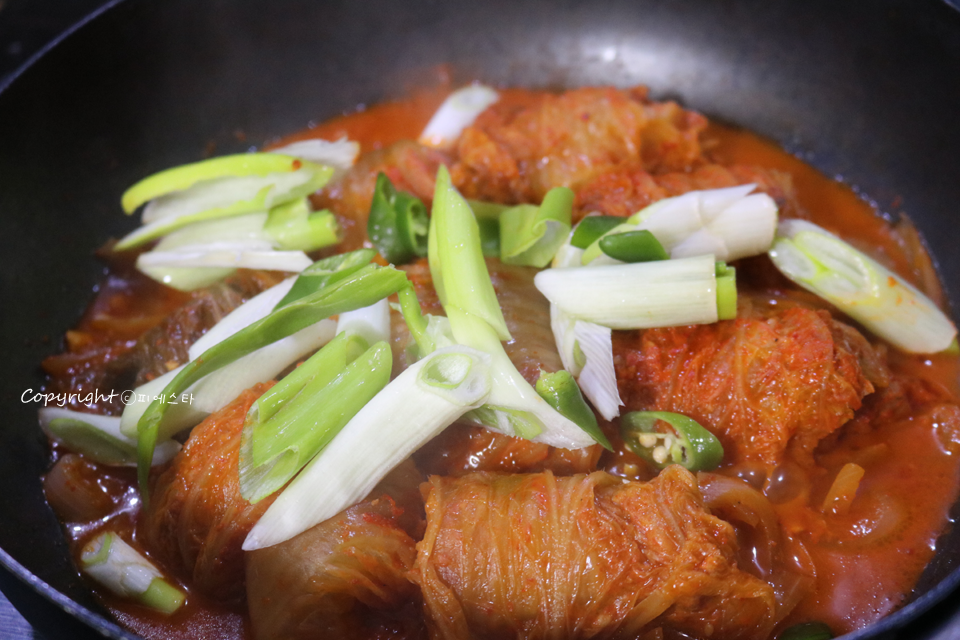 Put the meat on the stem on one side of the wide kimchi. At this time, it's better not to eat more than 1/2 of kimchi.
- chicken Recommended recipe
-
-
1
 (Air fryer cooking) Air fryer chicken. - Making side dishes for4.74(19)
 -
2
 Imitating ZICOBA chicken 100%4.93(264)
 -
3
 Goobne chicken style without failure to make soy sauce chicken!!5.00(6)
 -
4
 Using Air Fryer: Making Chicken4.83(6)
-
- Bulgogi Recommended recipe
-
-
1
 Pork, red pepper paste, bulgogi~ How to make it simple and delic5.00(29)
 -
2
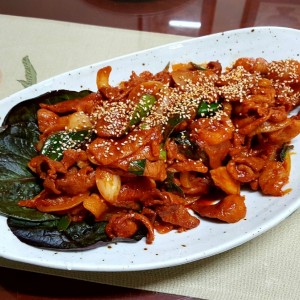 Spicy and sweet red pepper paste pork bulgogi4.97(39)
 -
3
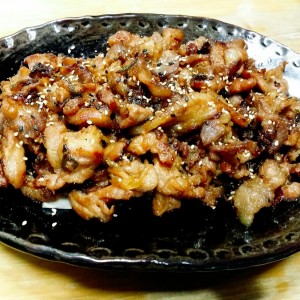 Fish sauce pork bulgogi. [Imitating Mr. Baek's fish sauce bulgog4.90(355)
 -
4
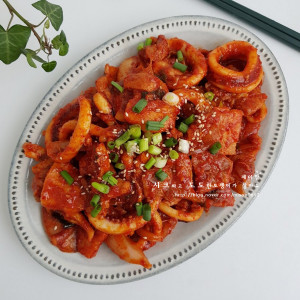 Jongwon Baek pork belly bulgogi4.91(88)
-