#Making strawberry fresh cream cake with vanilla cake mix #You c
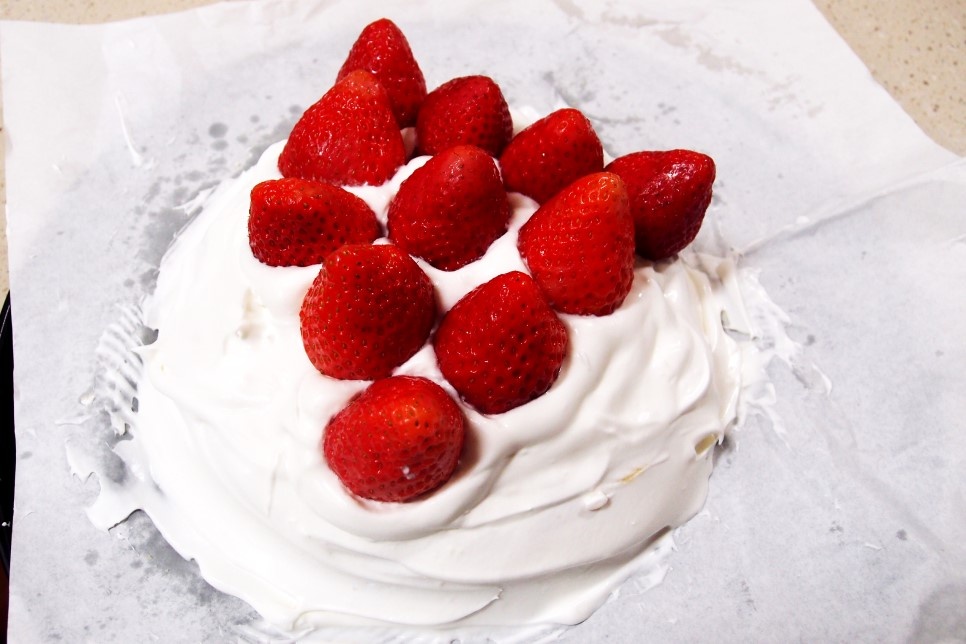
It's a strawberry cream cake made of vanilla cake mix with electronic lenses without an oven. I made whipped cream with whipped cream. It's strawberry jam and fresh strawberries on top and it's sweet and refreshing.
4 serving
Within 15 minutes
강철새잎
- Ingredients
-
-
Vanilla Extrack1ea
-
egg1ea
-
Water100ml
-
Strawberry10ea
-
Strawberry jam3TS
-
Whipping cream1pack
-
Sugar3TS
-
- Cooking Steps
-
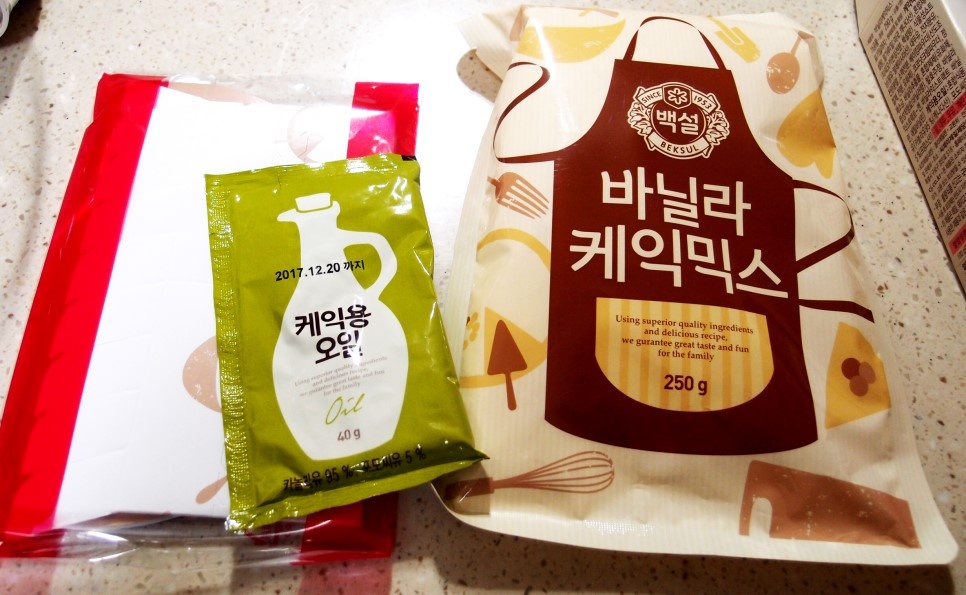
STEP 1/23The contents include oil for cake, cake mix, and cake mold. The cake mold is made of paper, so you can make it simply by assembling it.
 STEP 2/23In order to make it look like this, you have to whip it with whipped cream to make it look like that.
 STEP 3/23The process of making K-TACT is also detailed. The capacity is good, too. I often check the capacity with a paper cup, and the explanation is also provided according to that. So it says 1/2 cup of water in a paper cup. The most important thing in baking is measurement. If the measurement is a little off, it becomes a total failure.
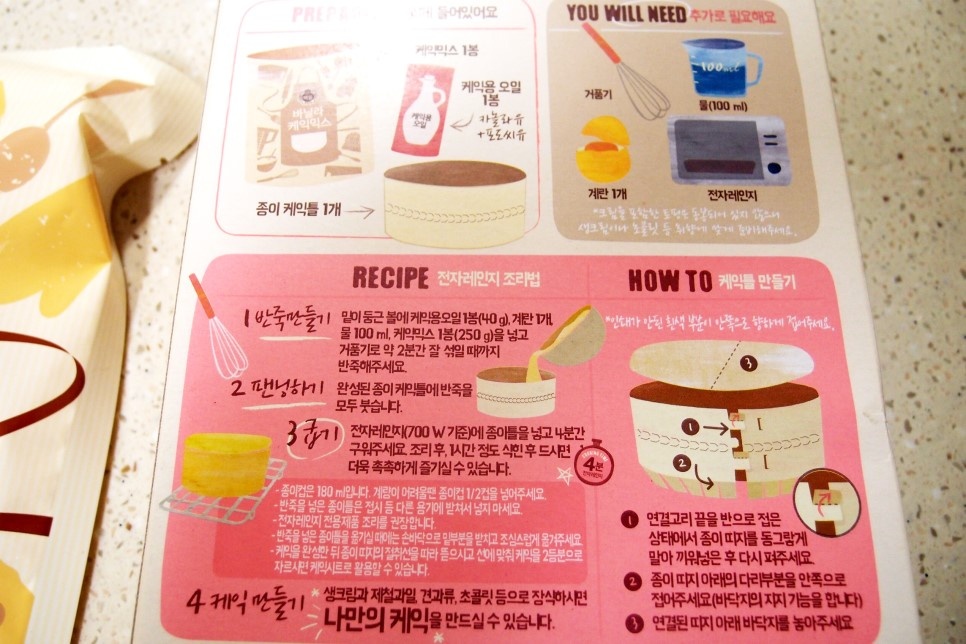 STEP 4/23Let's make a cake mold first. It has a side edge and a base
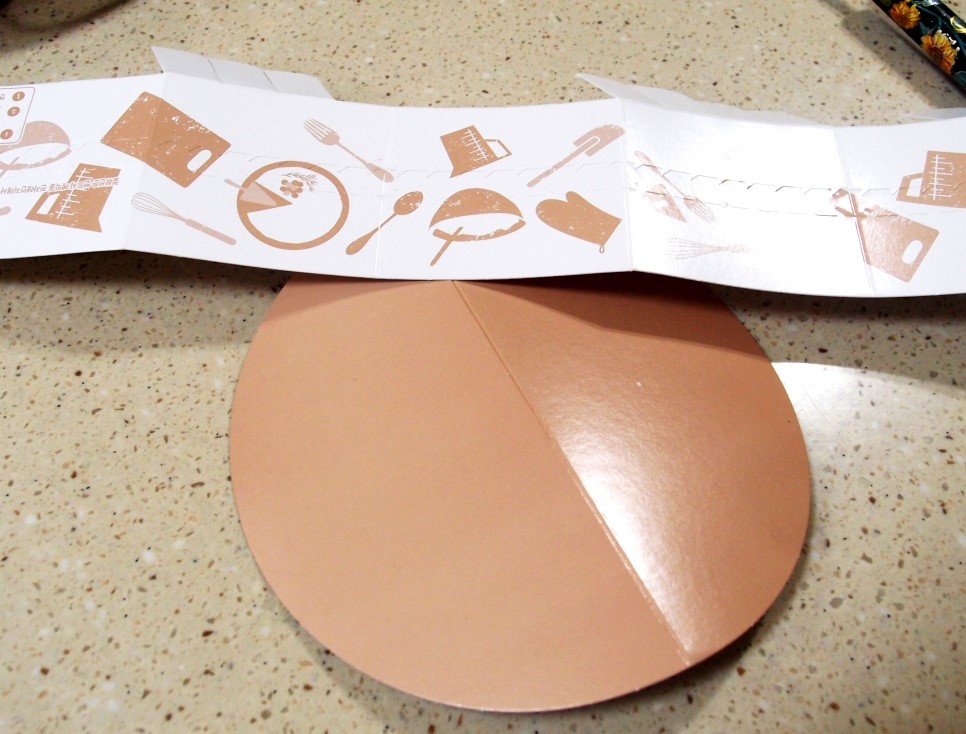 STEP 5/23Roll up the edges of the cake.
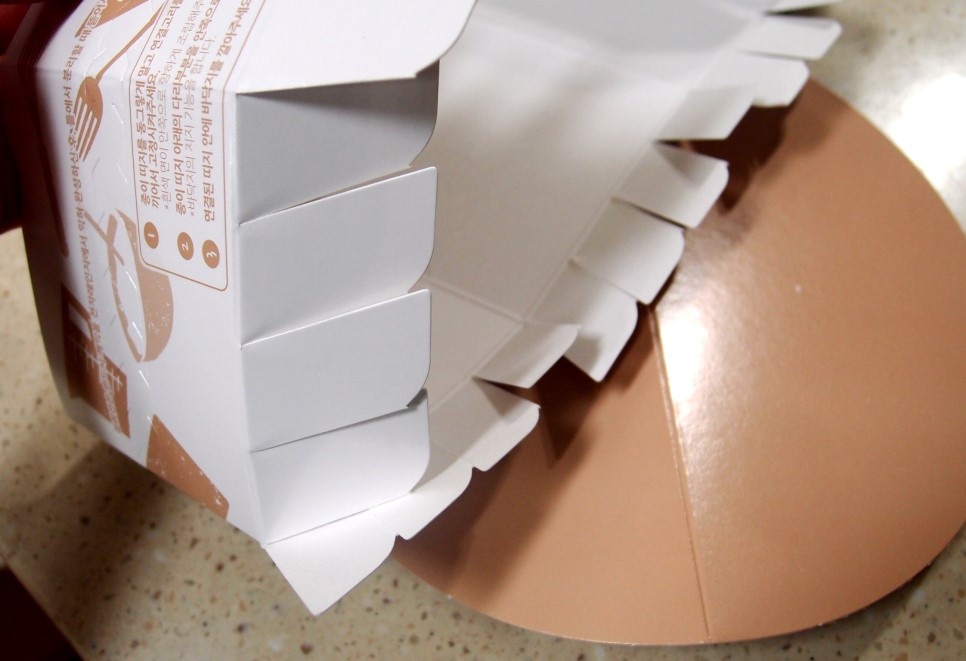 STEP 6/23If you look at the edge of the cake, it's like this at the end. I feel like it's going to be fixed by inserting it.
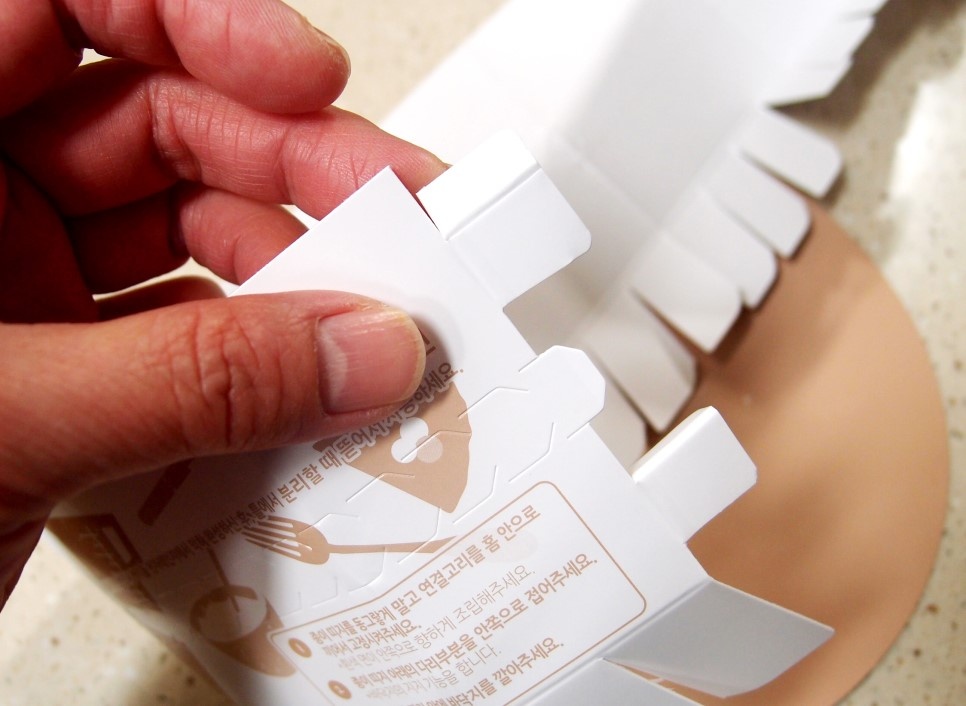 STEP 7/23So I'll put it in like this. There's a sheath on the other end that you at the end of the other side. You can fit it in there.
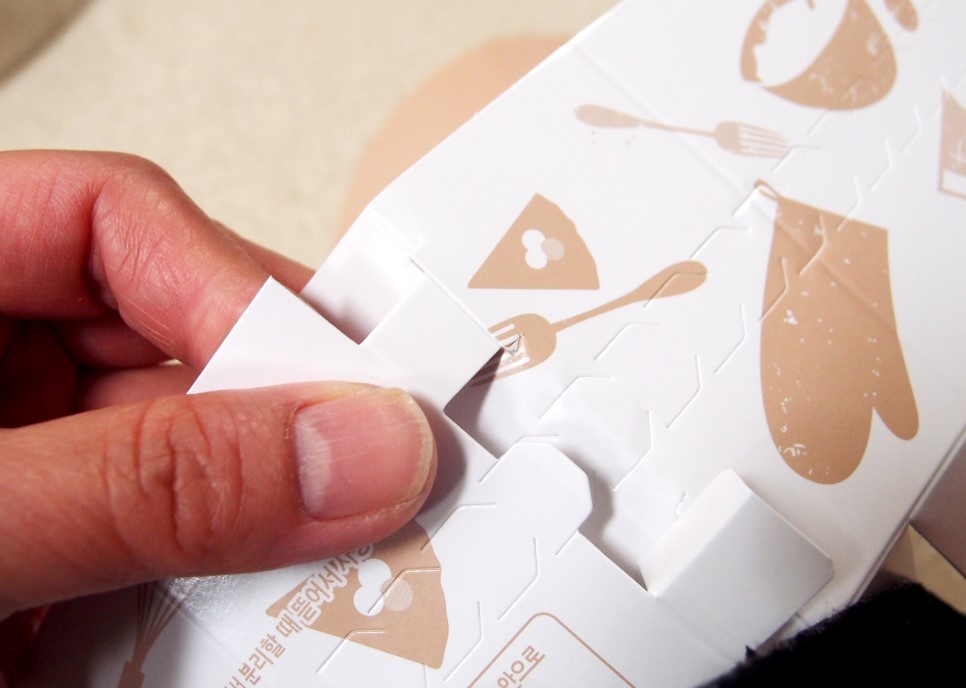 STEP 8/23It's a bit loose when you put it on. Then the dough can leak out. So it was folded right away. If you put it in and fold it according to the folding line, the cake frame is stably fixed.
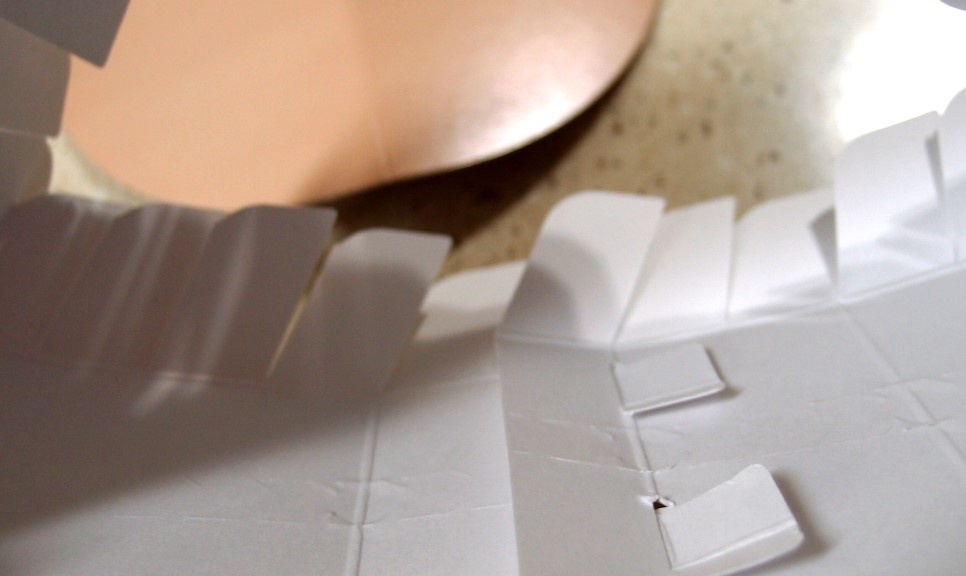 STEP 9/23When the cake mold is done, you can put the base on the bottom.
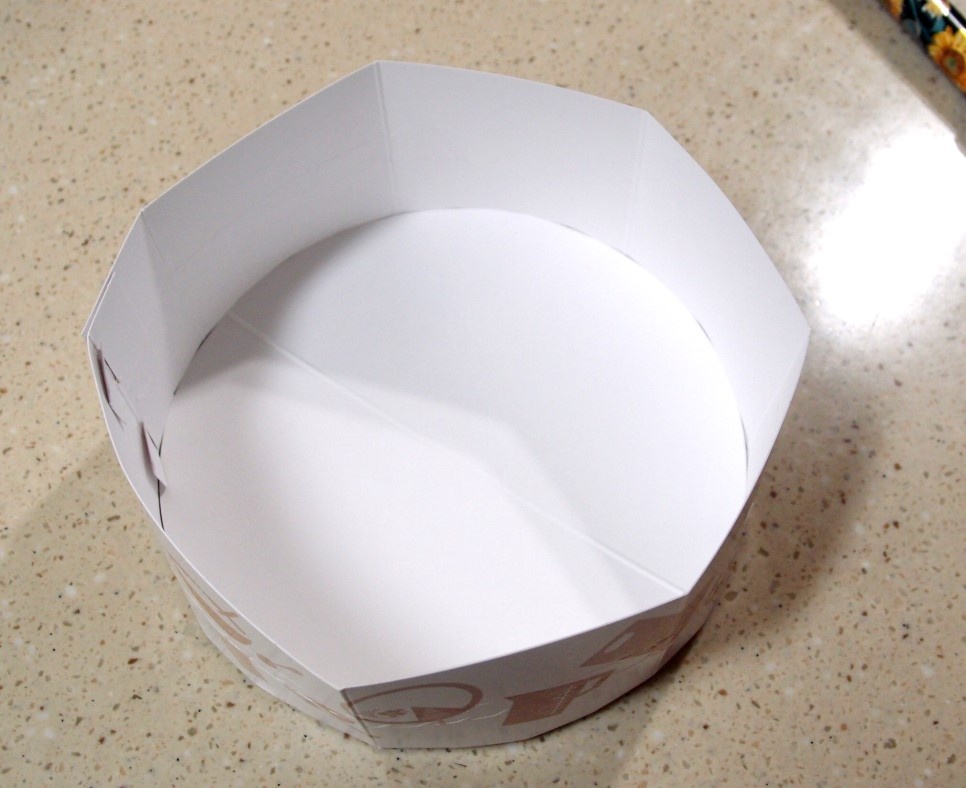 STEP 10/23Let's look at the bottom of the cake mold~~ It looks like this. I was worried that the dough might spill, but it didn't spill at all.
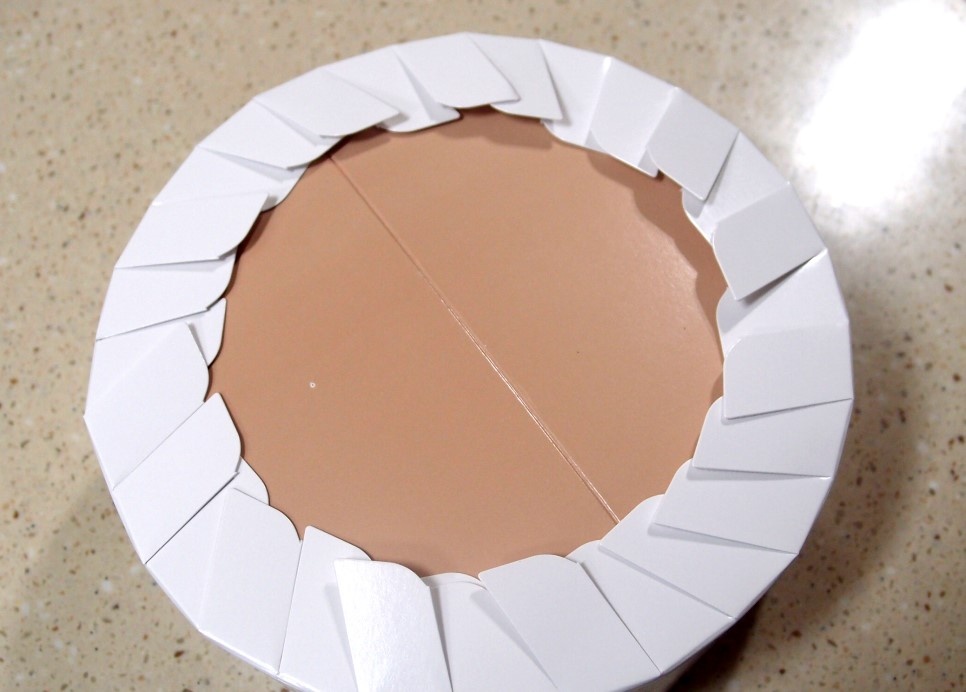 STEP 11/23All you have to do is make the dough. I don't need anything else, just 1/2 cup of water in a paper cup. Prepare an extra egg. If you want a cake with a softer texture, milk would be better than water.
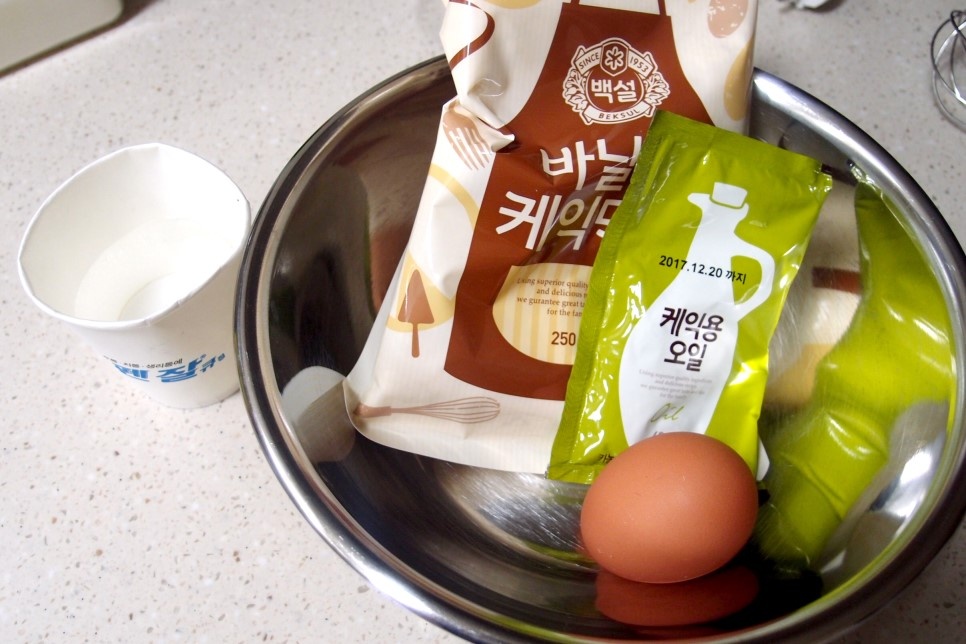 STEP 12/23Add the cake mix, 1 egg, 1/2 cup water, and the accompanying cake oil without adding anything else.
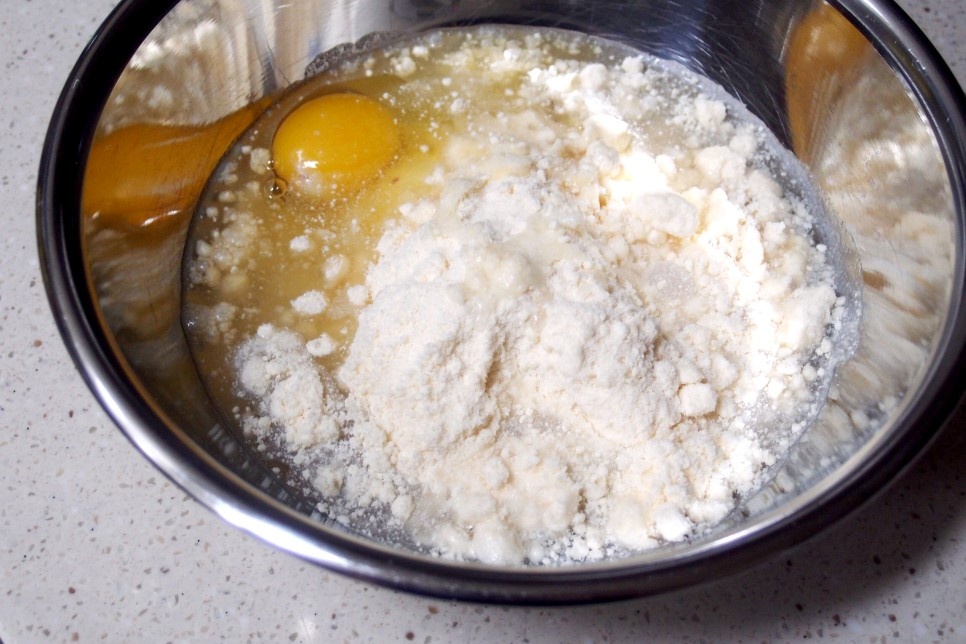 STEP 13/23It's a cake that's made right away from the electronic lens, so I took out the glass plate from the electronic lens and put the cake frame on top. Another thing is that I have to pat the cake dough at the end to get rid of air, but since it's a paper frame, I thought I couldn't do that, so I put an electronic lens glass plate on it in advance!!!
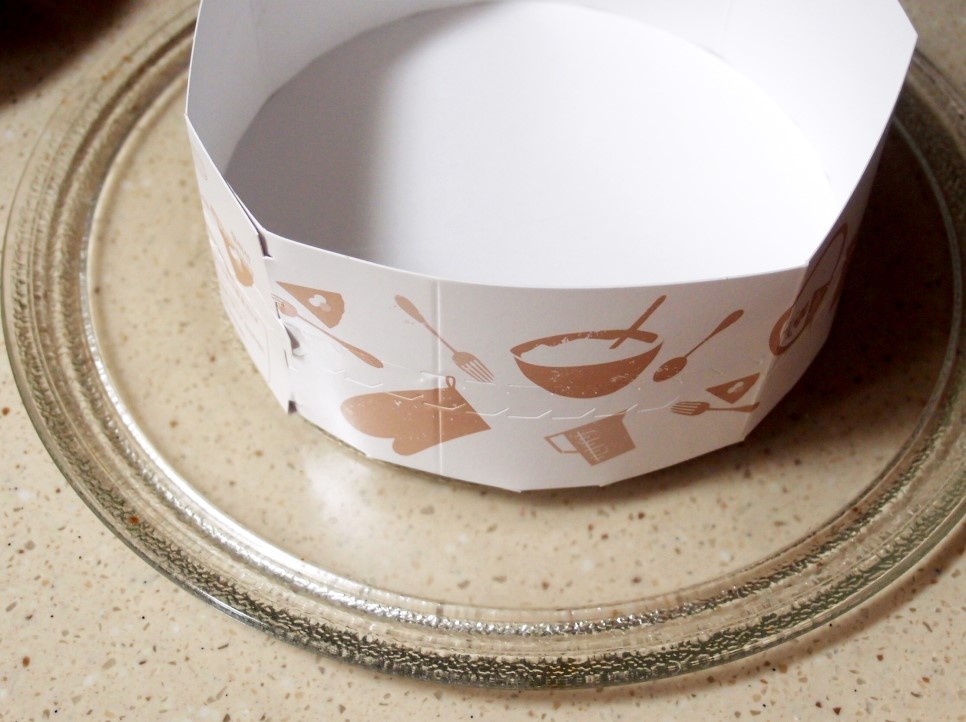 STEP 14/23It is best to use a whisk to mix the dough evenly. First, pop the yolk and mix it well.
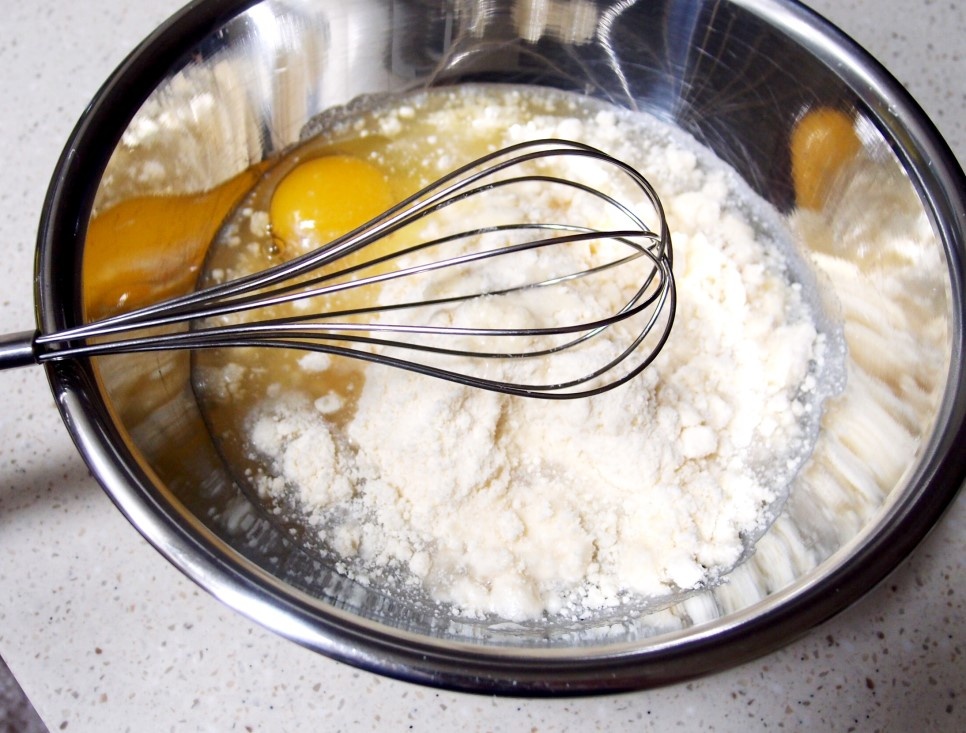 STEP 15/23This is the concentration of water and eggs mixed with a whisk according to the recipe for vanilla cake mix. It became a dripping concentration. It's not "Dduk Ddak-ah"
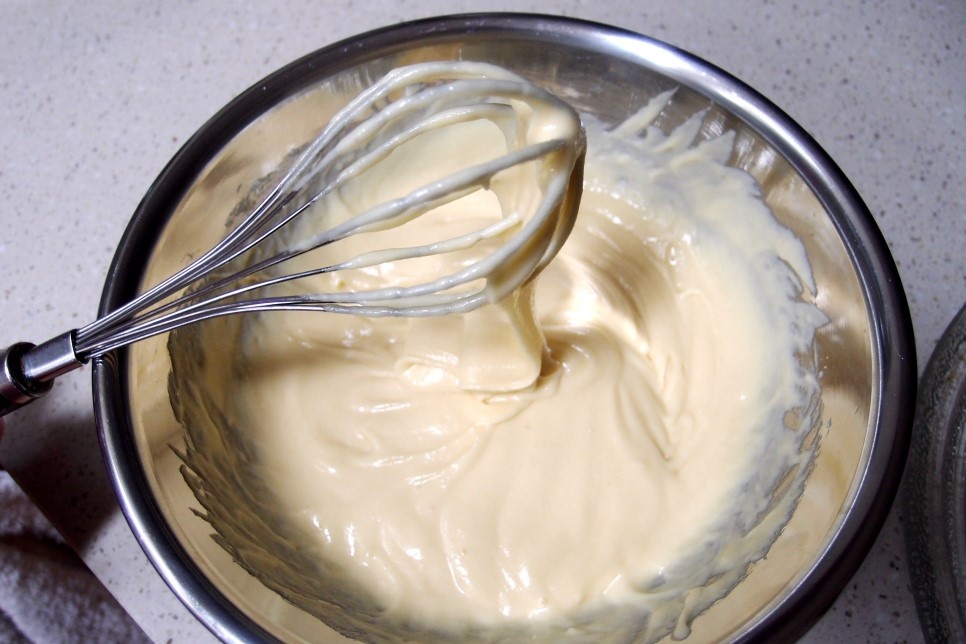 STEP 16/23Place the dough in a cake mold and pat the bottom or edge of the cake to prevent air from entering the dough. This didn't work out pretty well. The special feature of baking in an ordinary oven is that it is easy and easy to tap, and the dough spreads evenly, and the air layer disappears, but it was not easy because it was a paper frame.
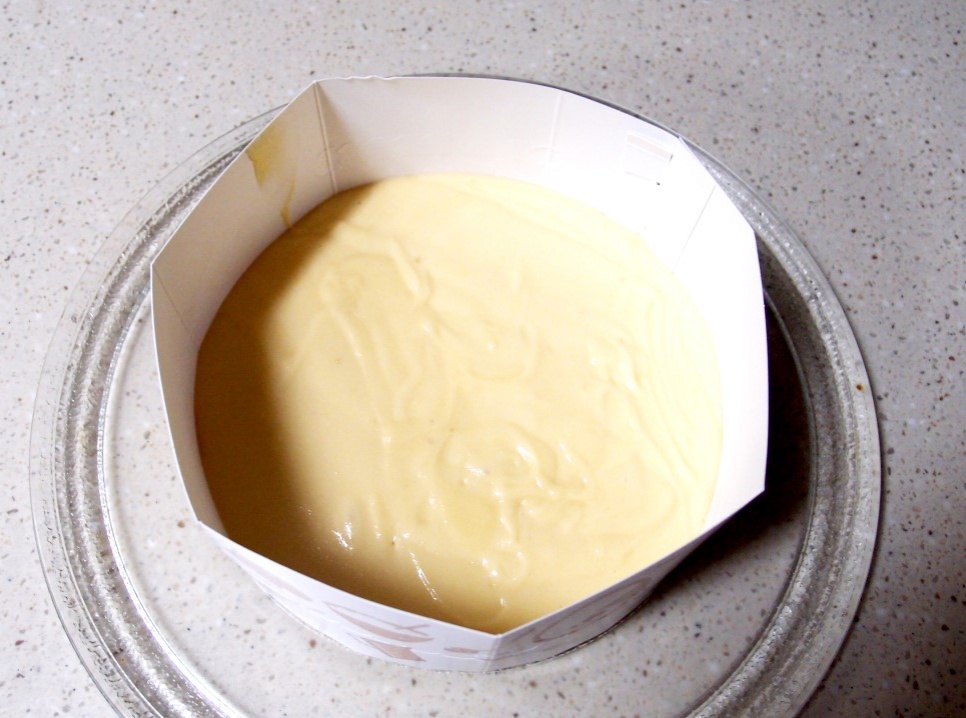 STEP 17/23Then, put it in the electronic lens and turn it around for about 4 minutes. The manual said 4 minutes based on 700W of electronic lenses, but we can't check if our electronic lenses are that much wattage, so please return them for 4 minutes, poke them with chopsticks, and if the dough doesn't come out, it's done. But the cake was done in 4 minutes.
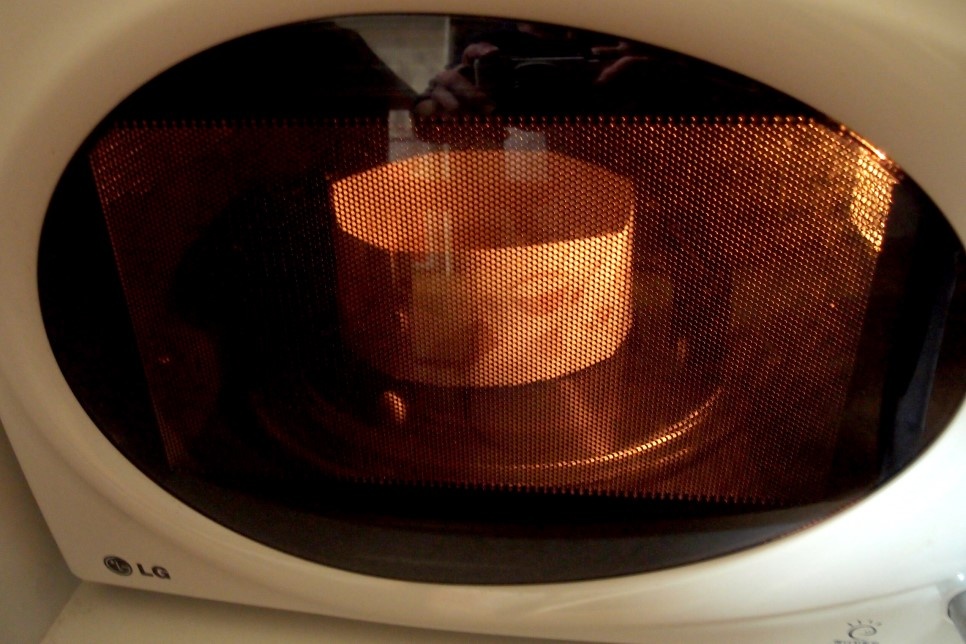 STEP 18/23This is a vanilla cake sheet made from the finished vanilla cake mix. Castella would be better suited than cake. If you use the container differently, I think you can eat it like a castella.
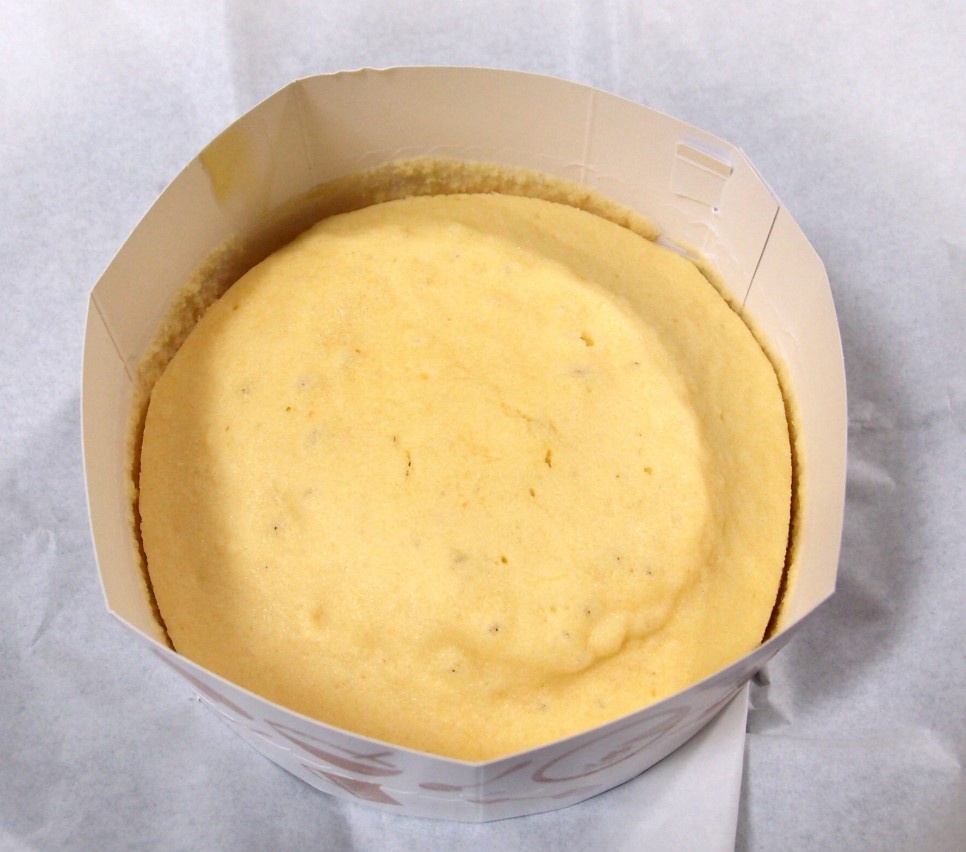 STEP 19/23Divide the vanilla cake sheet in half. To apply jam in between.
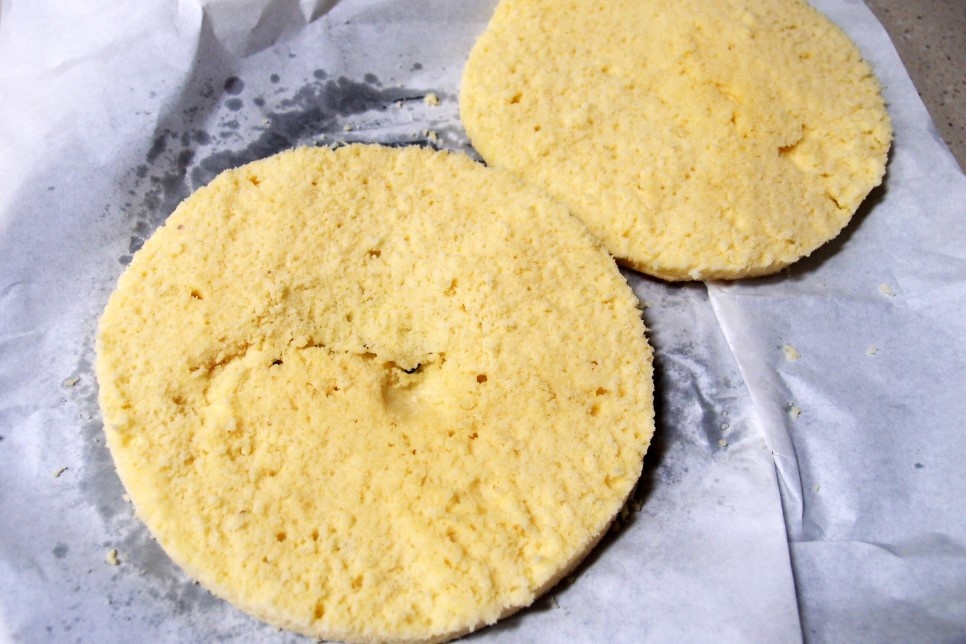 STEP 20/23Apply a lot of strawberry jam on one side. Of course, there are strawberries in it, but I think sweet strawberry jam would go well with it.
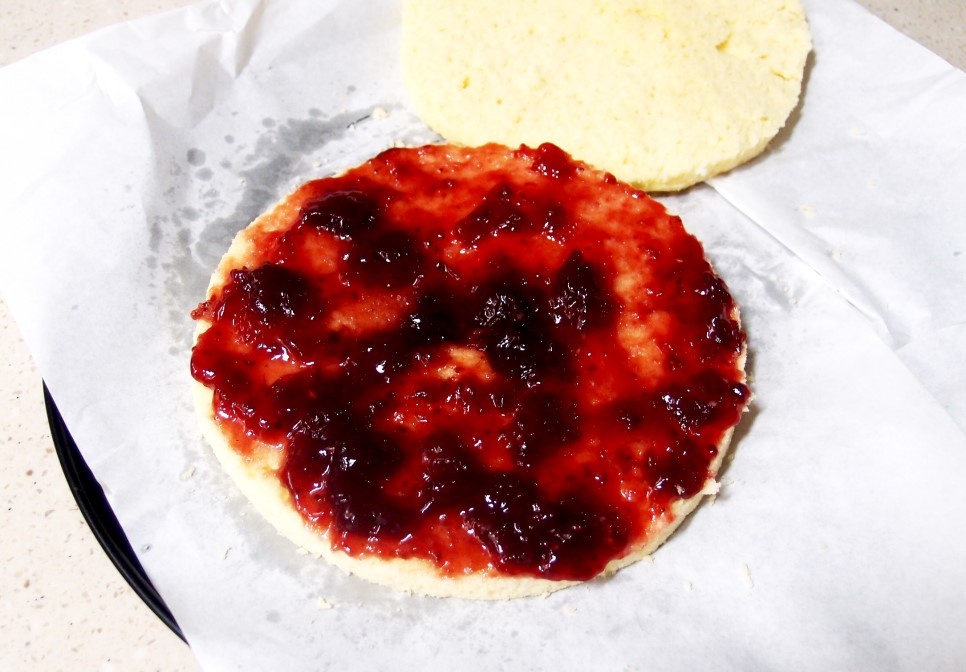 STEP 21/23And cover the other half.
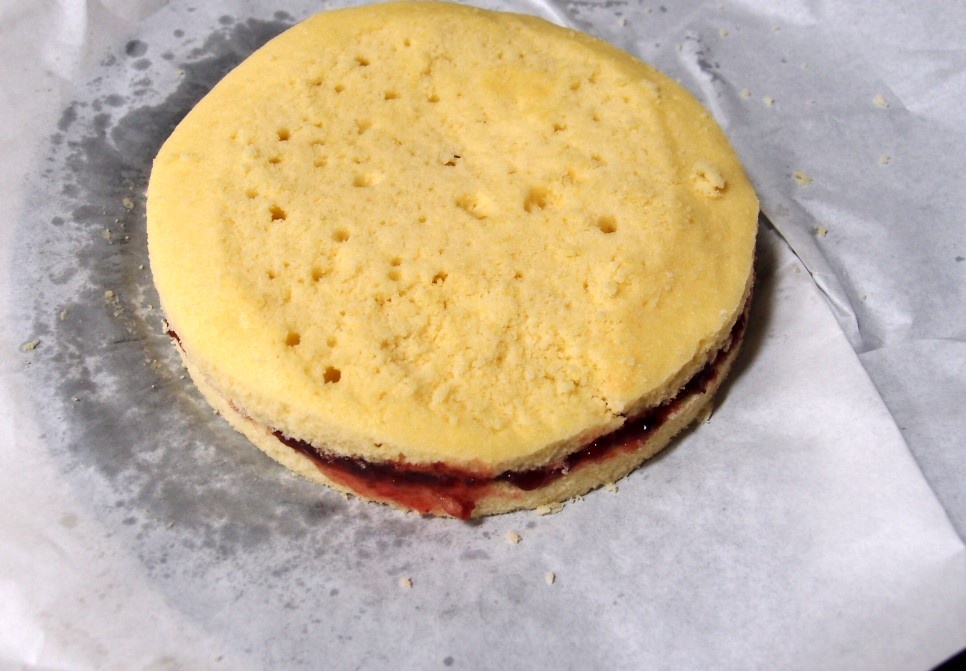 STEP 22/23Now whipped cream to make it look like the cover of vanilla cake mix. Add sugar to buy whipped cream and use a whisk or blender to make the whipped cream dry.
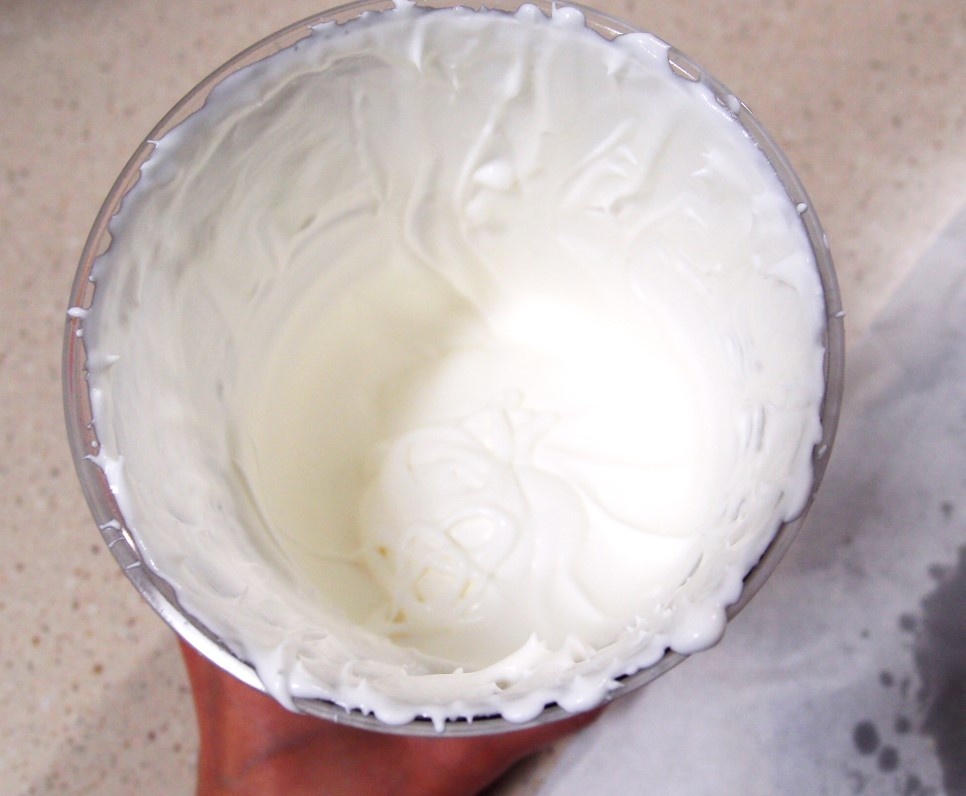 STEP 23/23Spread well on vanilla cake sheet. I applied it roughly. You don't have to apply it neatly. And put the strawberries on top of it and finish. This strawberry cream cake tastes much better after storing it in the refrigerator.
- stir-fried Rice Cake Recommended recipe
-
-
1
 Soy sauce tteok-bokki. Good for kids, good snacks4.68(34)
 -
2
 Making oil tteokbokki with amazing sauce! *Easy to difficulty* E4.84(51)
 -
3
 It makes you want to eat Tteokbokki4.75(53)
 -
4
 Super simple snack, honey tteokbokki!It's good for kids' snacks,4.96(55)
-
- Japchae Recommended recipe
-
-
1
 Mushroom japchae that can be a great side dish4.82(22)
 -
2
 Golden recipe for japchae (It's not hard to make japchae~!!)4.92(13)
 -
3
 How to make japchae deliciously! It's too simple4.83(41)
 -
4
 Making red pepper japchae / red pepper japchae rice tastes like5.00(17)
-