Perfect for breakfast! Making sticky rice bread! How to make bre
Hello~~ I brought a very good bread for breakfast today~ I think it's best to rip all the bread when it's freshly baked.It's a very good bread to make in the evening, cool it down, and eat it the next morning! It's a more sticky bread with glutinous rice powder. The soft texture of bread is similar to chicken breast. This bread is also done by hand kneading, so don't worry that there's no machine. You can make chicken-like bread very easily! If you have a machine, you can use it I enjoyed this soft, sticky bread with homemade grape jam! When I was young, I didn't know the taste of jam-packed bread.. Oh, it was delicious! It's a bread that's delicious even if you eat it's Then, I'll go with the recipe
4 serving
Within 120 minutes

밤톨이각시
- Ingredients
-
-
Strong flour400g
-
glutinous rice flour100g
-
Milk380g
-
Sugar27g
-
Butter50g
-
Salt8g
-
East20g
-
- Cooking Steps
-
STEP 1/9Place all ingredients except butter in a bowl and mix evenly. (When you first put the ingredients, put a little bit of salt, sugar, and yeast.)
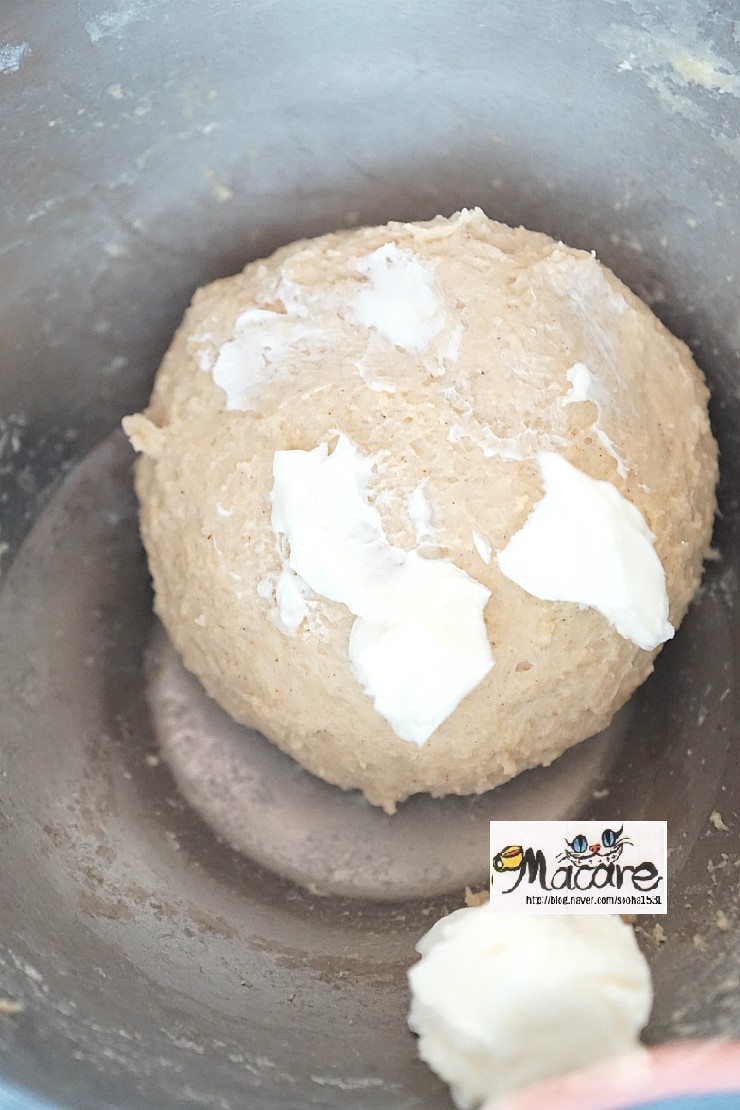 STEP 2/9When neatly lumped together, add butter and mix again. My hand kneading tip is to keep hitting the dough on the ball wall after mixing the ingredients to some extent.If you keep folding the dough and hitting it evenly, the dough is complete!STEP 3/9Hold the dough round and put it in a bowl lightly sprinkled with flour and ferment it in a warm place for 40 minutes to 1 hour. (I use the fermentation function of the oven!Please help me ferment in a warm place at your convenience~!) If you ferment using an oven, I only turn on the bottom of the fire, put a sheet of iron plate underneath, pour water, and put a wire net on it to ferment. If your cheeks touch hot water, the dough may be cooked, so be careful.It varies slightly from oven to oven, so please keep that in mind!
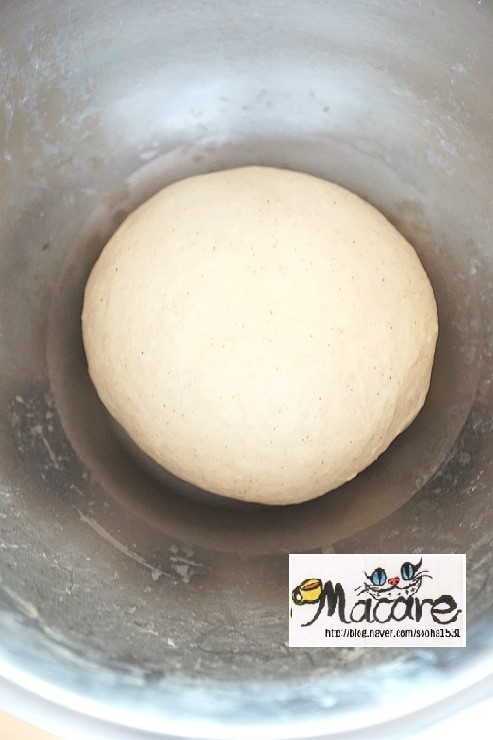 STEP 4/9When the dough swells by 2 to 2.5 times, stop the first fermentation, remove the gas from the bowl, and divide it into 4 or 6 equal parts. (Pictures of different doughs are mixed and uploaded, so there is a difference in the degree of fermentation.You can ferment it up to 2 to 2.5 times your dough.)STEP 5/9After dividing, roll the dough and perform an intermediate fermentation at room temperature for about 10 to 15 minutes, then remove the gas and mold it.
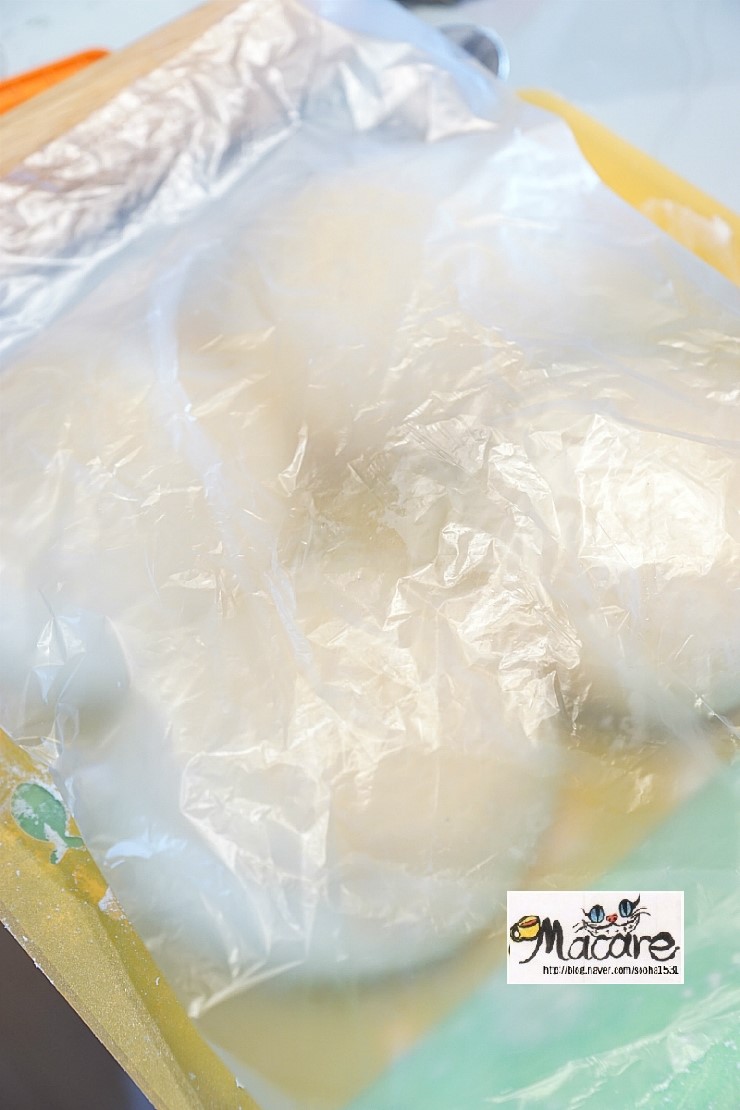 STEP 6/9After removing the gas, push it slightly with a rolling pin to increase the length, fold it into three equal parts, and roll it.If you press the dough in between when you roll it, there will be no lifting in the bread. (That doesn't mean you have to press it hard so that the gas runs out from beginning to end.)
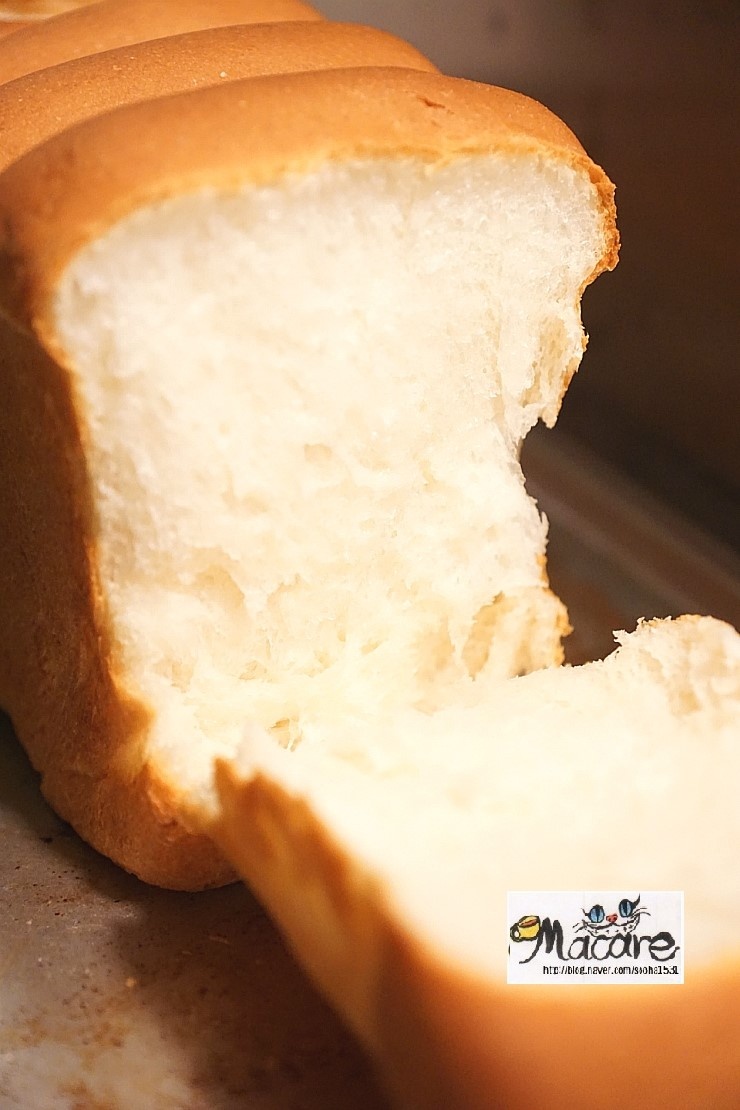
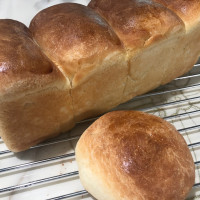
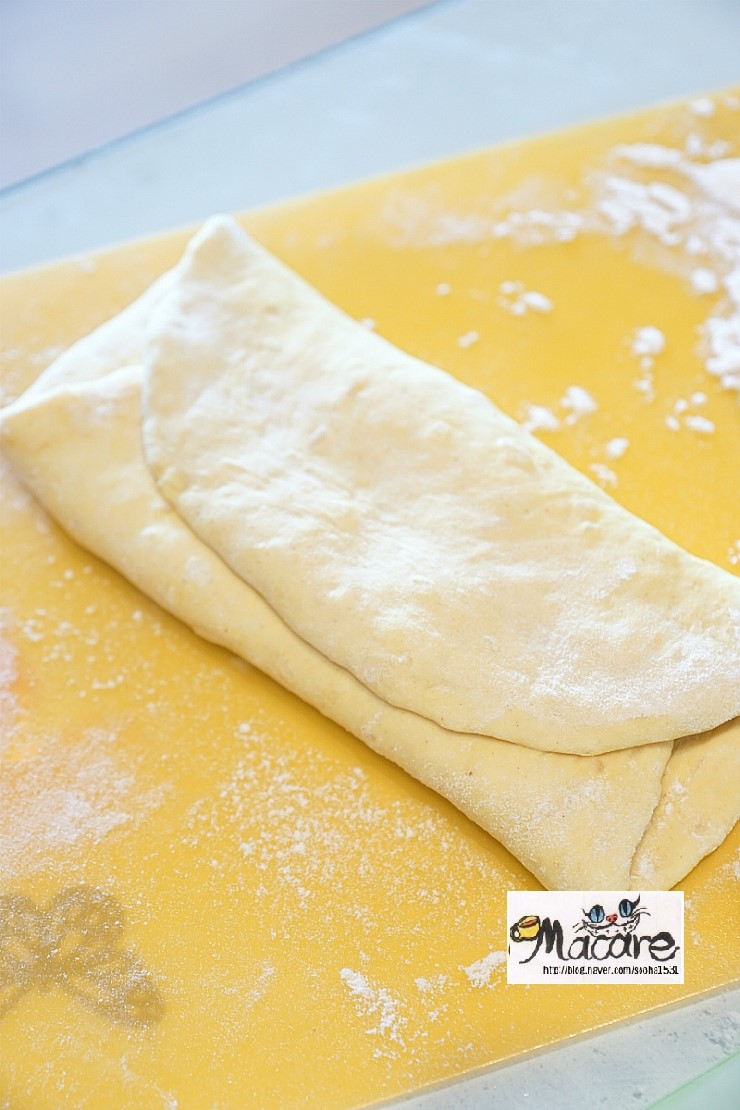 STEP 7/9After molding all the dough, let it ferment in a warm place for about 30 minutes.The fermentation point is when the dough swells up to 1cm below the mold.STEP 8/9Bake in an oven preheated to 180 degrees for 25 to 30 minutes. The oven temperature varies from oven to oven, so please adjust the baking time and temperature depending on the situation.STEP 9/9Ta-da! I'm done making delicious sticky rice bread! By the way, I hurriedly opened the bread to taste it when it was warm..It's shaped as it pleases..Lol. The bread should be completely cooled and cut so that it doesn't get greasy and looks pretty!Of course, if you're going to rip it with your hands, it doesn't matter before it gets cold!
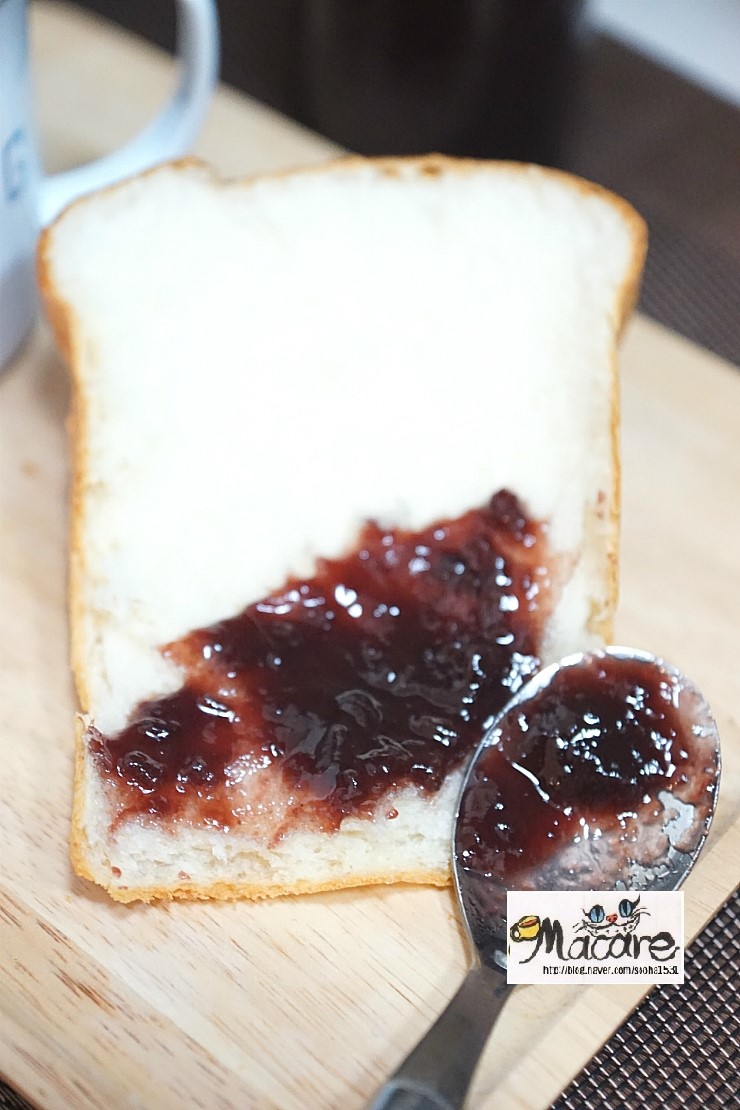 If you don't have glutinous rice flour, you can use strong flour. If that happens, you'll become the milk bread that you know
- Cooking review
-
5.00score
-
 648*****scoreIt was delicious2020-03-13 13:18
 -

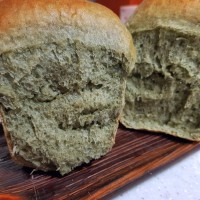 564*****scoreIt's chewy and very delicious! I made it with a little bit of mugwort powder. It's fragrant and bitter, so it's perfect2018-01-21 17:41
-
- chicken Recommended recipe
-
-
1
 Making seasoned chicken with popcorn chicken4.83(6)
 -
2
 Pickled chicken. Charcoal chicken5.00(9)
 -
3
 Grilled garlic chicken. Mom's garlic chicken4.83(35)
 -
4
 Kyochon Chicken Style, Homemade Soy Sauce Chicken Making5.00(5)
-
- stir-fried Rice Cake Recommended recipe
-
-
1
 Tteokguk, tteok, tteok-bokki4.82(45)
 -
2
 Carbonara tteokbokki4.92(180)
 -
3
 Making Baekjubu tteokbokki4.96(80)
 -
4
 [Simple home cooking] Sweet and salty! Making royal tteokbokki w4.83(47)
-