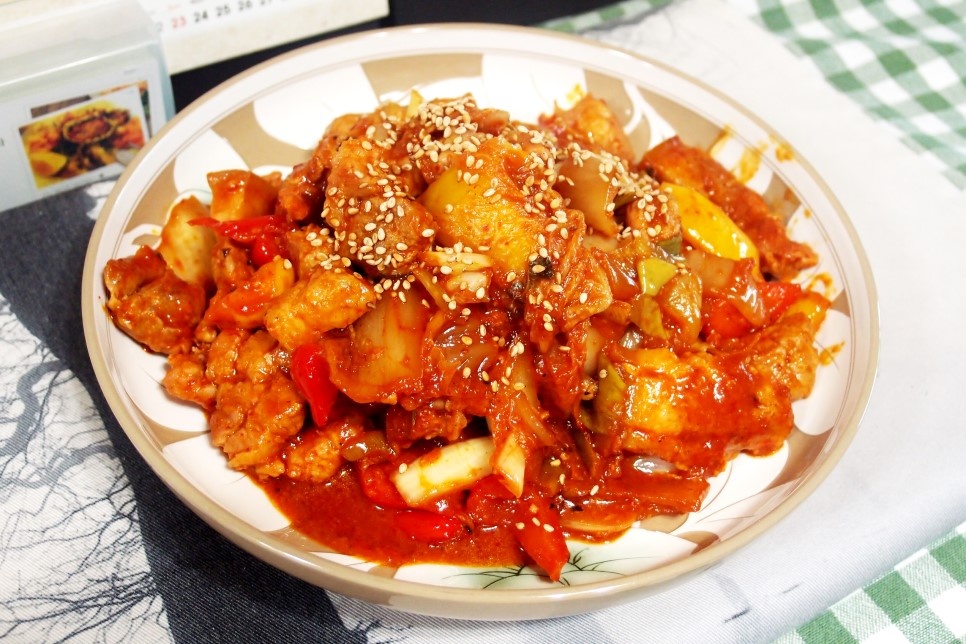
#Making stir-fried pork with chewy pork belly
Stir-fried spicy pork with kimchi like a tea lady for three meals a day!!! It is stir-fried spicy pork with the firmness of pork belly and the crunchiness of each vegetable.
2 serving
Within 30 minutes

강철새잎
- Ingredients
-
-
Pork belly meat400g
-
Saltlittle
-
ground pepperlittle
-
crushed garlic1ts
-
Cheongju1TS
-
Kimchi1/3ea
-
Kimchi1/2ladle
-
Paprika1ea
-
red pepper paste1.5TS
-
crushed garlic1TS
-
leek1piece
-
onion1/4ea
-
plum extract2TS
-
cooking wine1TS
-
Sugar1TS
-
ground pepperlittle
-
Saltlittle
-
ginger powder1ts
-
- Cooking Steps
-
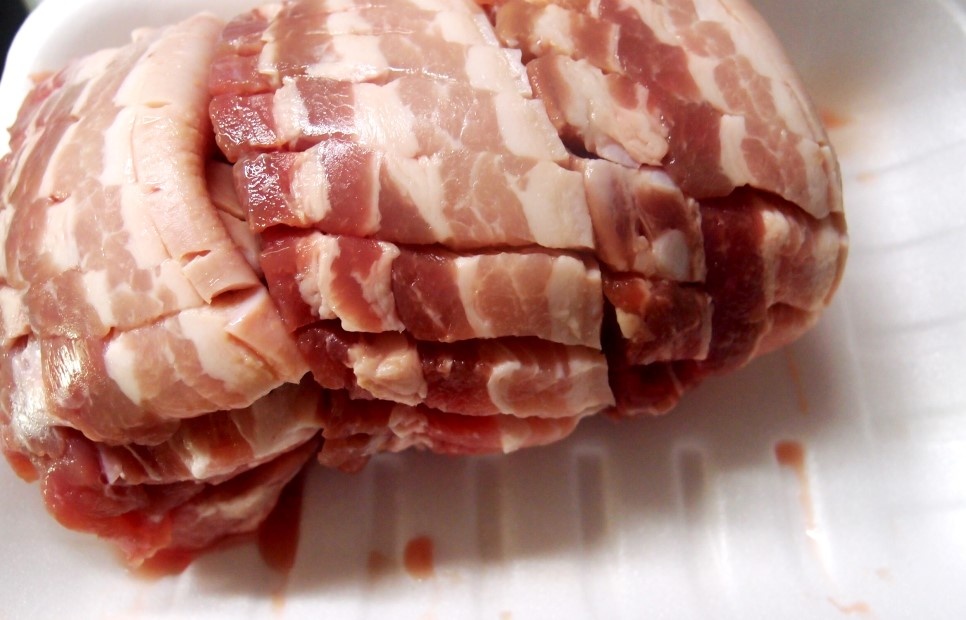
STEP 1/16First, prepare pork belly. I prepared 400 grams of pork belly. Cut it into pieces according to your preference.
 STEP 2/16Prepare the seasoning. There was paprika in a root of green onion and a tablespoon of minced garlic, so they added that.
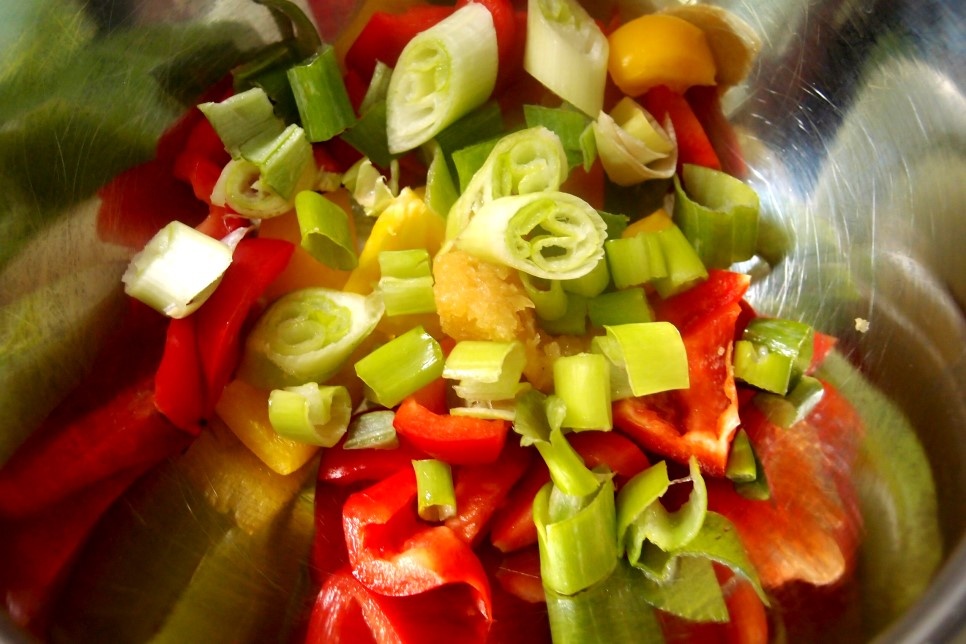 STEP 3/16Now I'm going to put in the kimchi. Cut it with scissors and put it in. I only used 1/3 of kimchi.
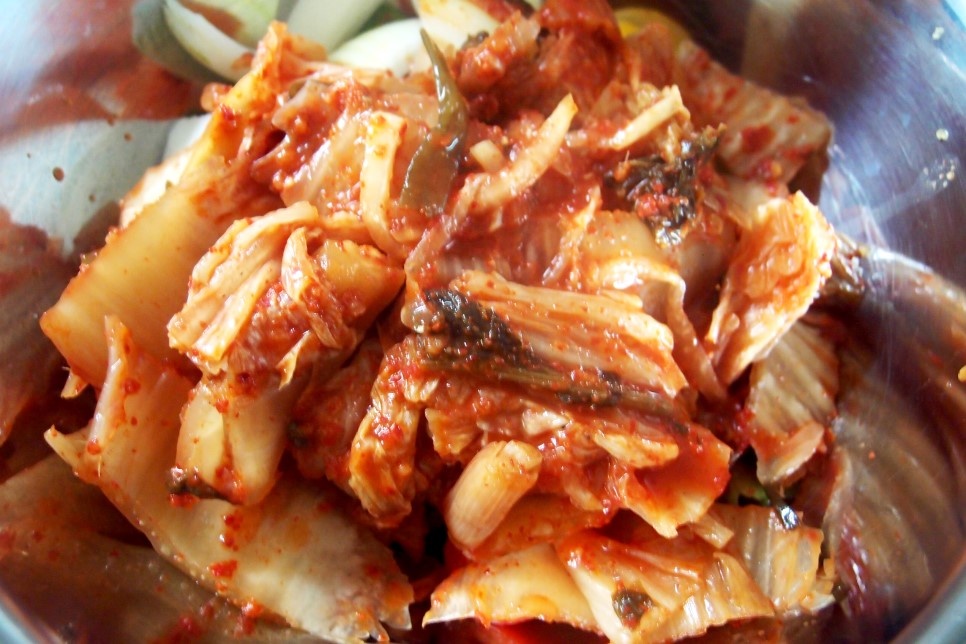 STEP 4/16Add half a ladle of kimchi soup, a tablespoon of sugar, a teaspoon of ginger powder, and a little pepper.
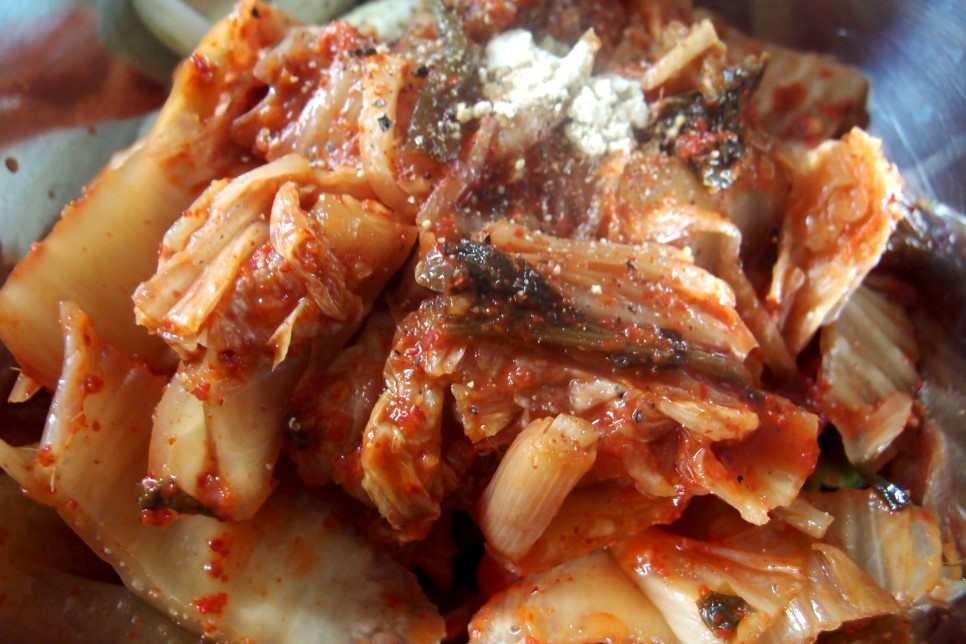 STEP 5/16Add two tablespoons of plum juice and one tablespoon of refined rice wine or cooking wine. It's to control the smell of pork.
 STEP 6/16Lastly, add a tablespoon of red pepper paste and mix well.
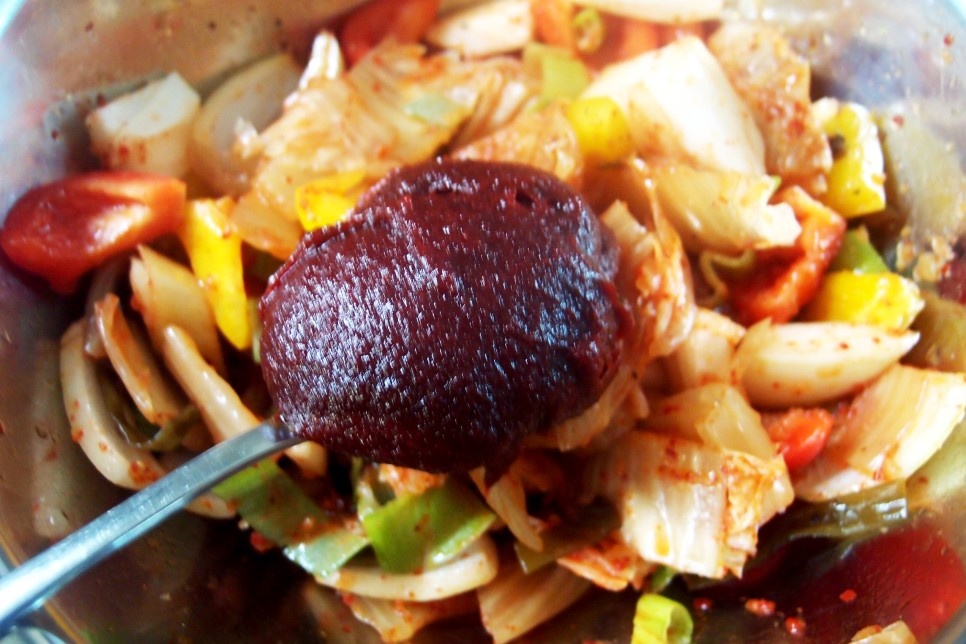 STEP 7/16Mix it well so that the red pepper paste doesn't clump together, and then put it in the refrigerator and let it ripen.
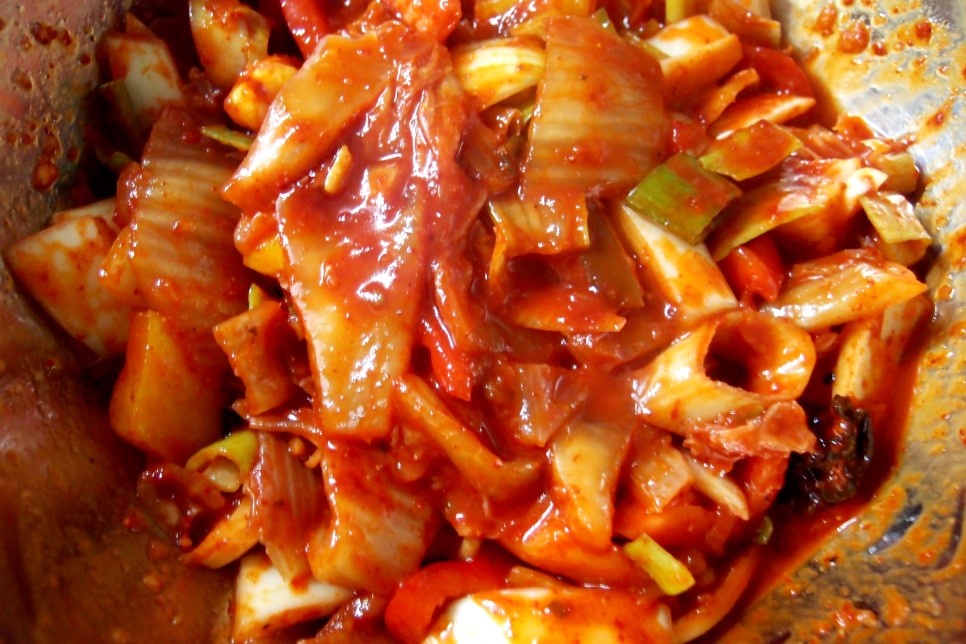 STEP 8/16I'm going to season the pork belly that's cut into bite-sized pieces.
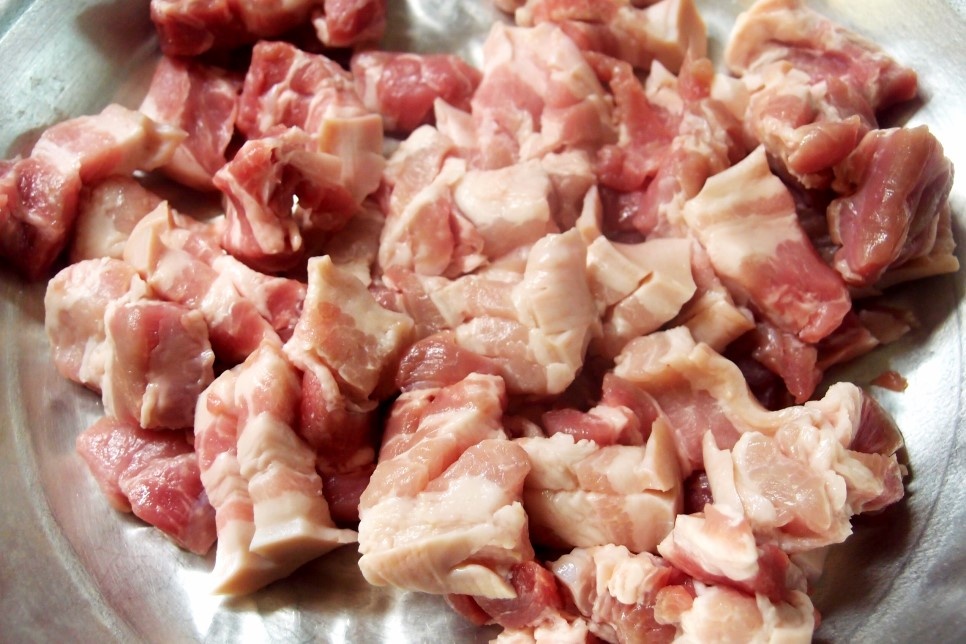 STEP 9/16Add a teaspoon of minced garlic. You can add minced garlic instead of minced garlic.
 STEP 10/16Season it with salt.
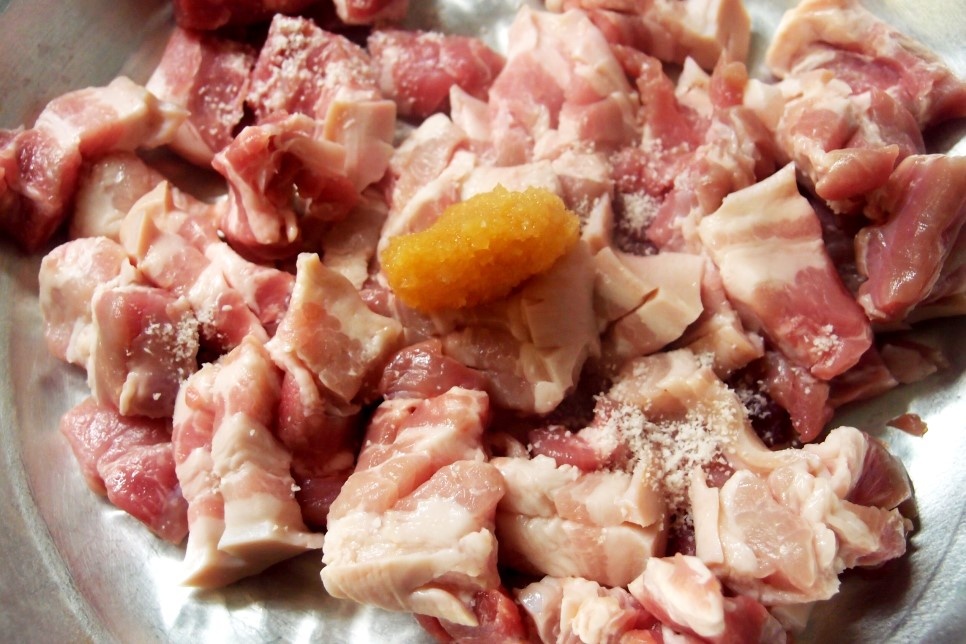 STEP 11/16Put the seasoned pork belly in the refrigerator for a while and marinate it.
 STEP 12/16Let's officially make kimchi stir-fried pork for three meals a day!!
But it's a little different. You don't stir-fry meat and seasonings at once, but I grill pork belly first. Then you can eat the firm pork stir-fried pork without being mushy.
First, grill pork belly on a pan.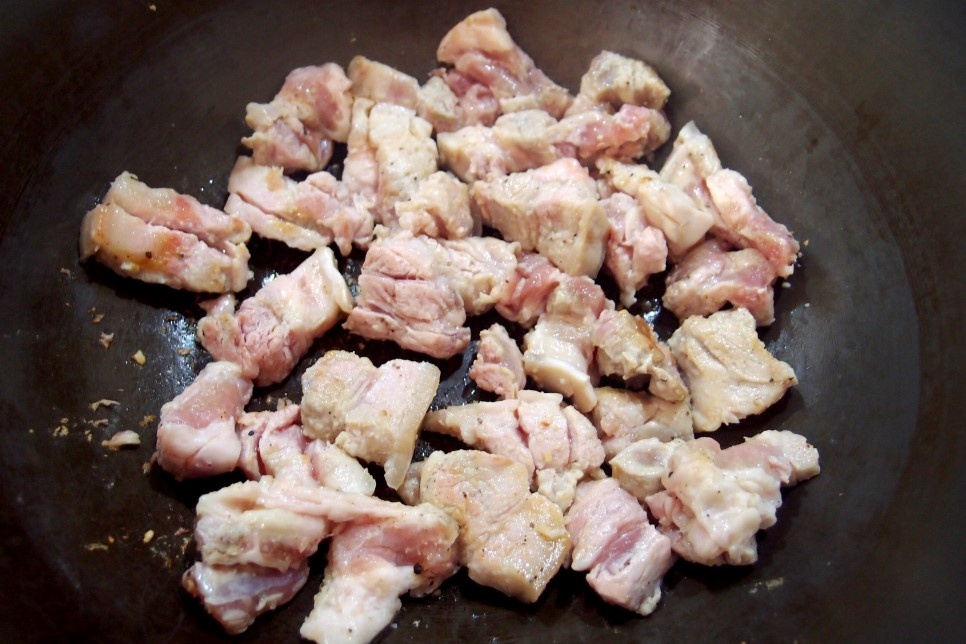 STEP 13/16Bake front and back until golden brown, but only until the surface is cooked. Grill it without oil. It will naturally produce pork oil. That's enough to cook.
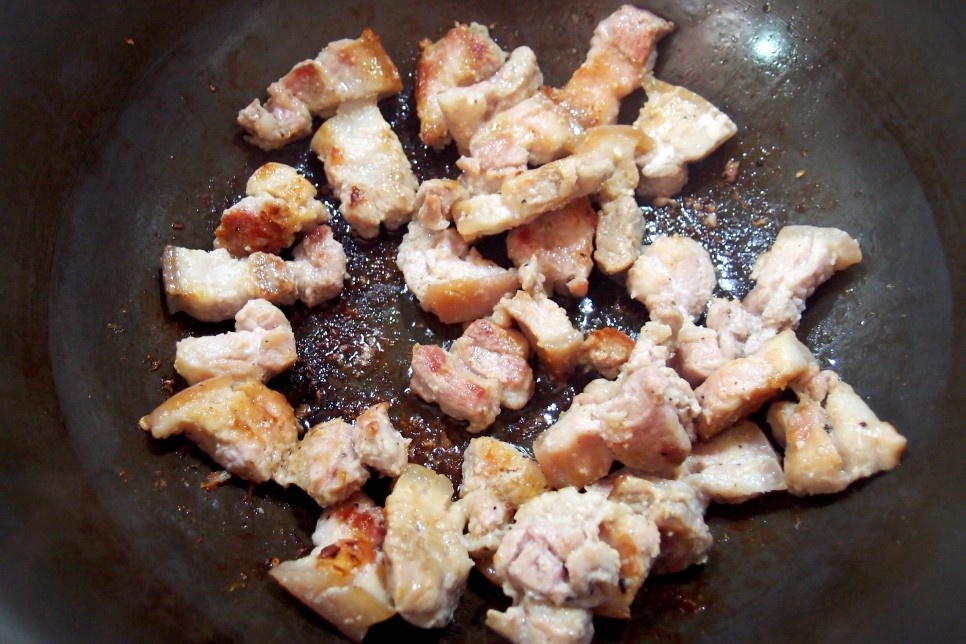 STEP 14/16When the pork belly is done, add the matured seasoning. Stir-fry while mixing well.
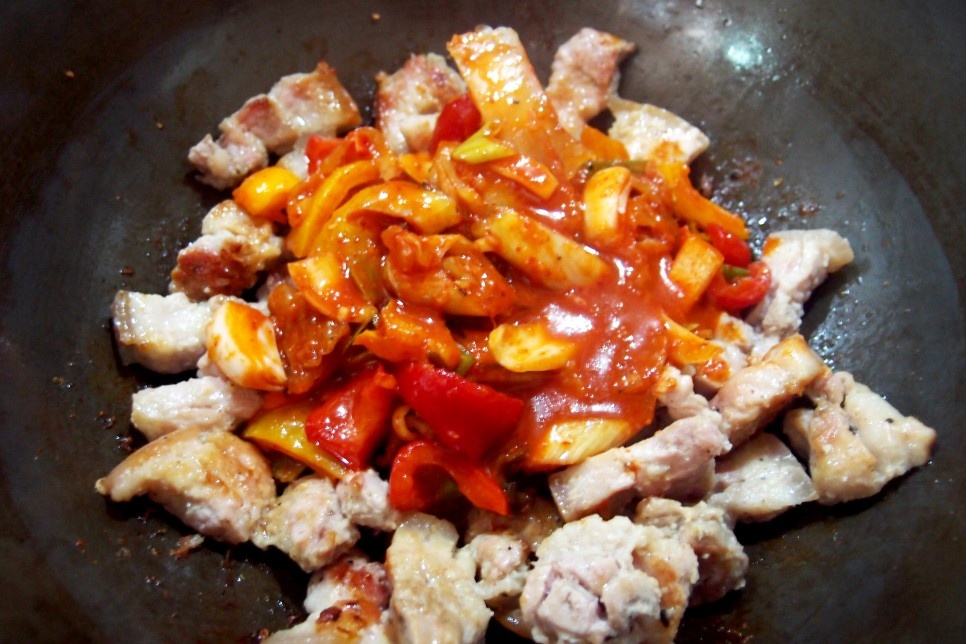 STEP 15/16The meat is well seasoned and the other vegetables are all cooked. Since the meat is lightly grilled first, you can turn off the heat as soon as the vegetables are cooked and seasoned well. Turn off the heat and drop one or two drops of sesame oil.
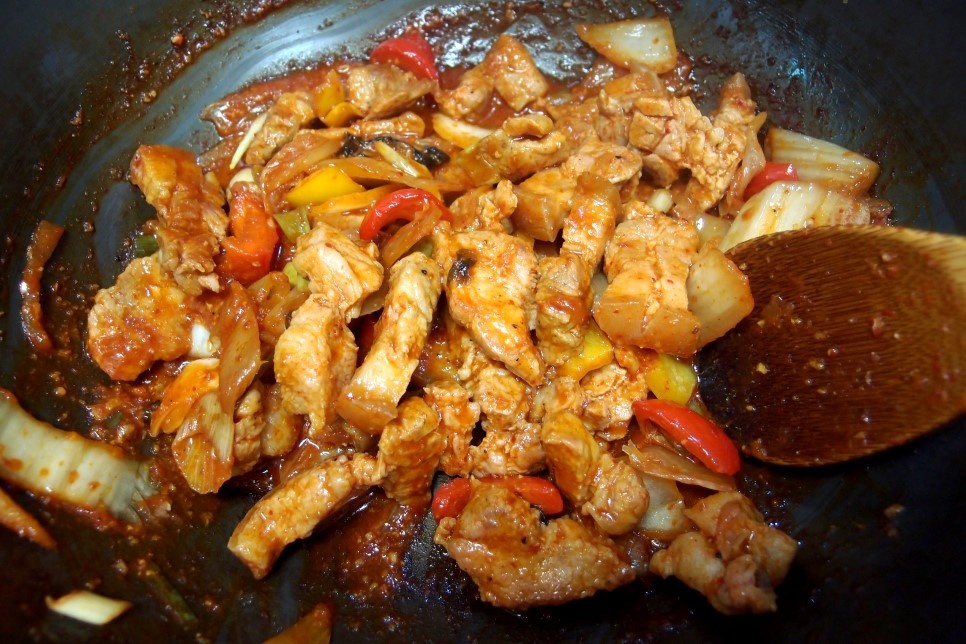 STEP 16/16It's done! Put it in a plate and sprinkle sesame seeds on it's done!!! If you have chopped green onions, you can sprinkle them on top. The color gets pretty, too.
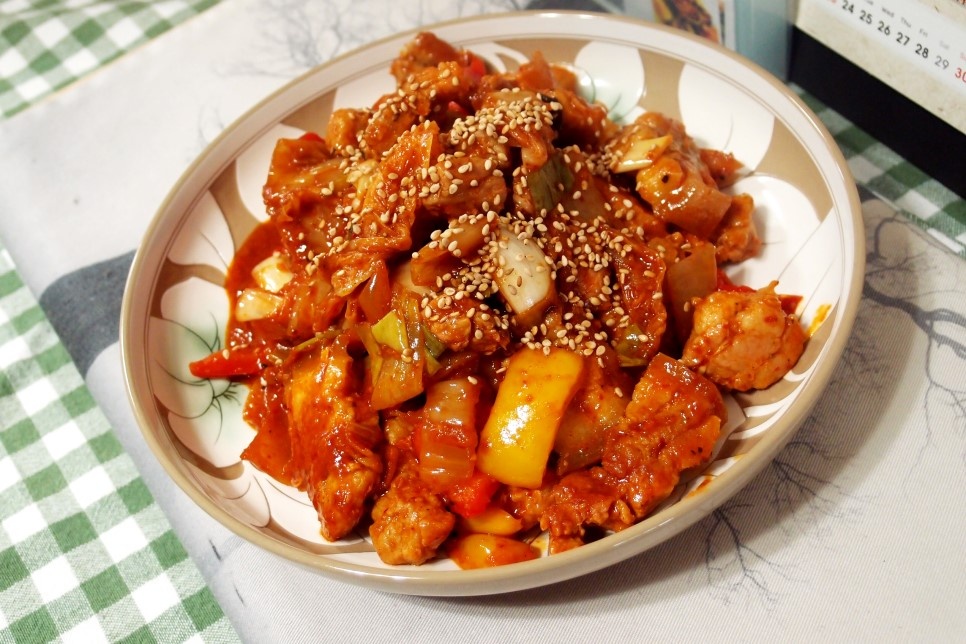
- Cooking review
-
5.00score
-
 635*****scoreI made kimchi pork for the first time! Successful ^^ It's so delicious.Thank you. It tastes better with a bit of Cheongyang chili pepper2016-12-01 20:29
-
- chicken Recommended recipe
-
-
1
 In vain... On the knife... On the knife!!!!!!Curry Oven Chicken5.00(8)
 -
2
 Healthy Chicken Made with Air Fryer Garlic soy sauce chicken4.83(6)
 -
3
 Kyochon Chicken Style, Homemade Soy Sauce Chicken Making5.00(5)
 -
4
 "Air fryer chicken" crispy on the outside and moist on the ins4.89(38)
-
- stir-fried Rice Cake Recommended recipe
-
-
1
 Soup tteokbokki - Soup of tteokbokki from a snack bar in front o4.89(212)
 -
2
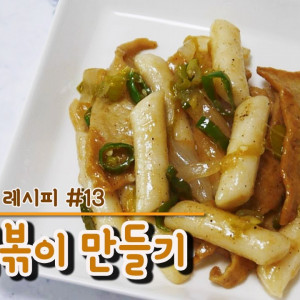 Making Soy Sauce Tteokbokki #13 A simple menu that is also good5.00(27)
 -
3
 It's so simple, but you're surprised because it's delicious. The4.91(1628)
 -
4
 Sausage soy sauce tteokbokki. Tteokguk tteok. Soy sauce tteok4.91(199)
-