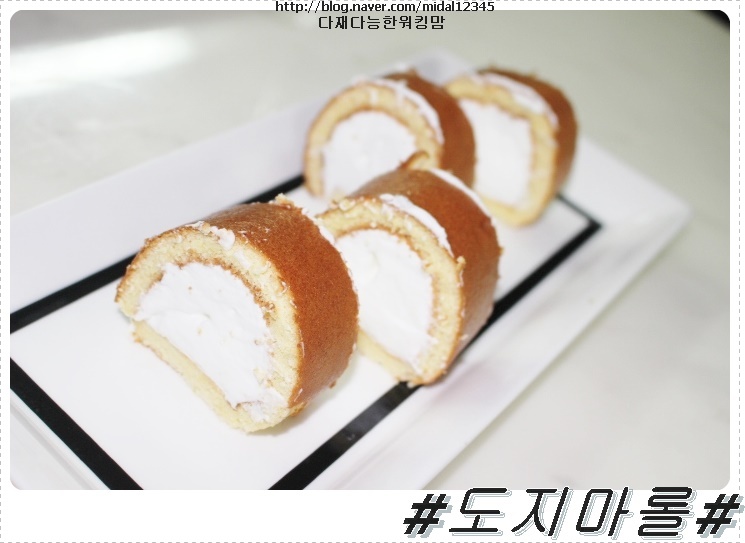
Dojima roll
Bread sold at a bakery is expensive and too sweet and stimulating, right? So I made Dojima roll at home. We can make sandwiches, simple cookies, and hotcakes, but baking is not easy. But you'll probably know the pride and joy when it's completed. Let's make Dojima roll from Japan!
2 serving
Within 60 minutes
다재다능한워킹맘
- Ingredients
-
-
white sugar40g
-
whipped cream350g
-
Sugar50g
-
Milk50ml
-
Vanilla Extrack10g
-
egg4ea
-
- Video
-
- Cooking Steps
-
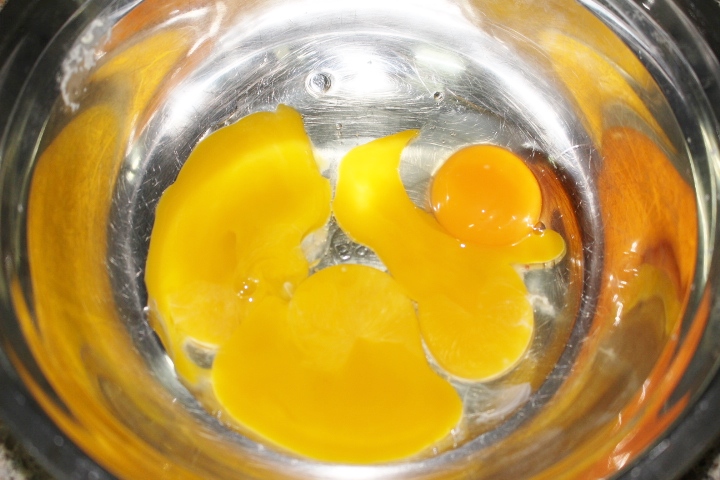
STEP 1/20We need to make castella, which is called a shell, right? I'll separate the egg yolk
 STEP 2/20Put the first ingredient you measured and mix it with a hand mixer. If you have a whisk, you just need to whip it vigorously.
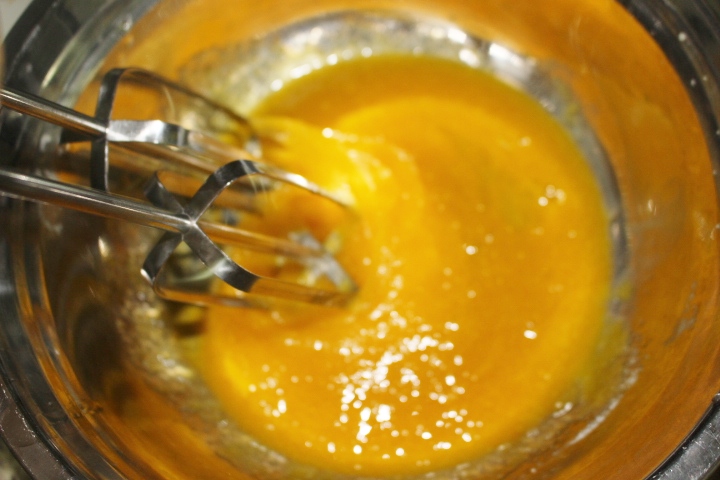 STEP 3/20If it's like that until it's ivory, it's done
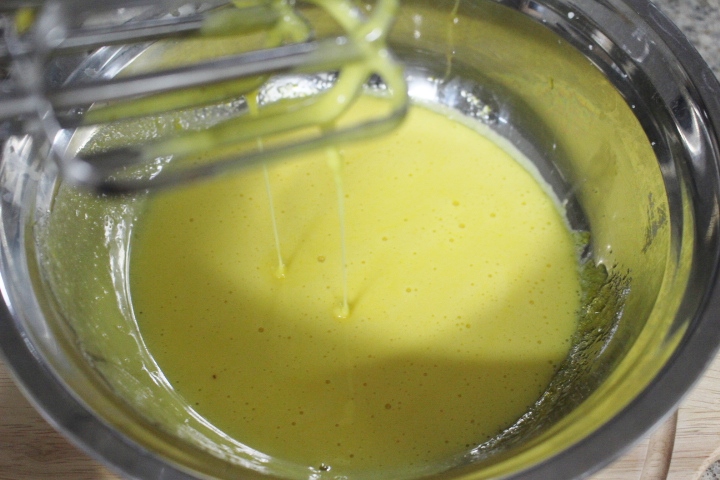 STEP 4/20Strain the flour and mix it.
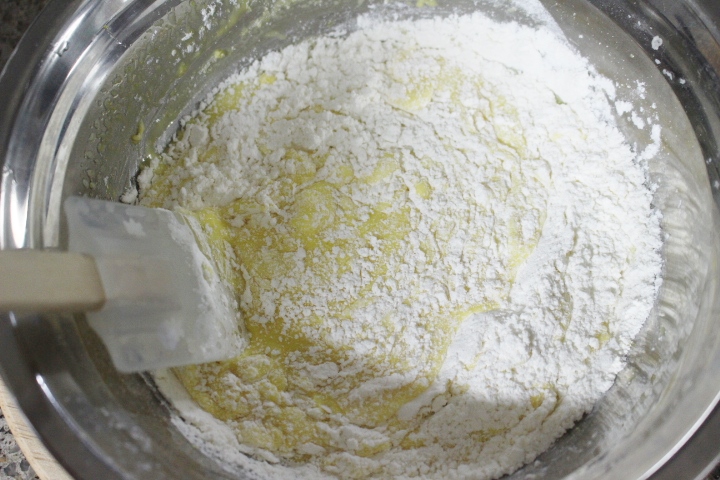 STEP 5/20I put it in the video to tell you the degree of dough.
 STEP 6/20Put milk and vanilla extract and wait.
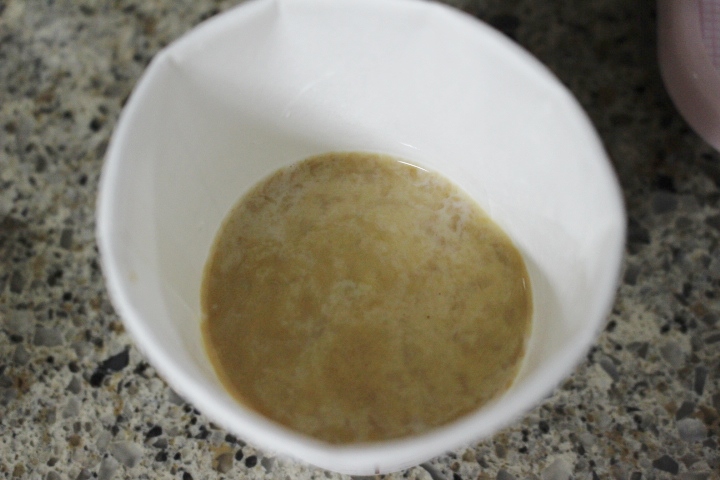 STEP 7/20Put white sugar into the egg whites that you separated earlier
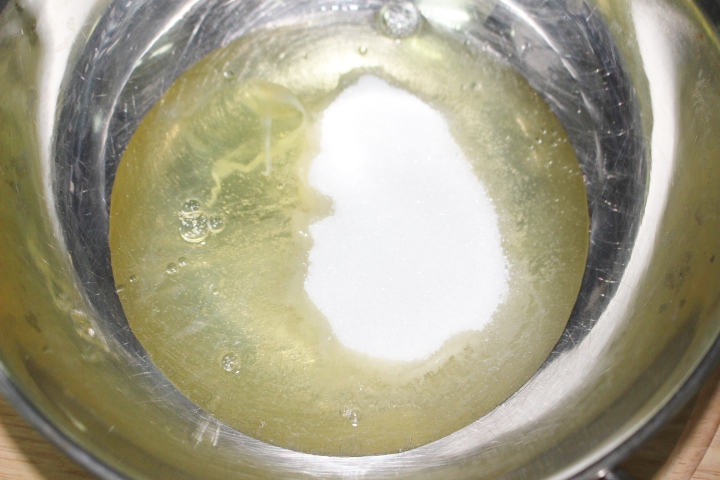 STEP 8/20Make me meringue. Meringue is also very easy because there is a hand mixer. I'll make it firm until it feels that soft.
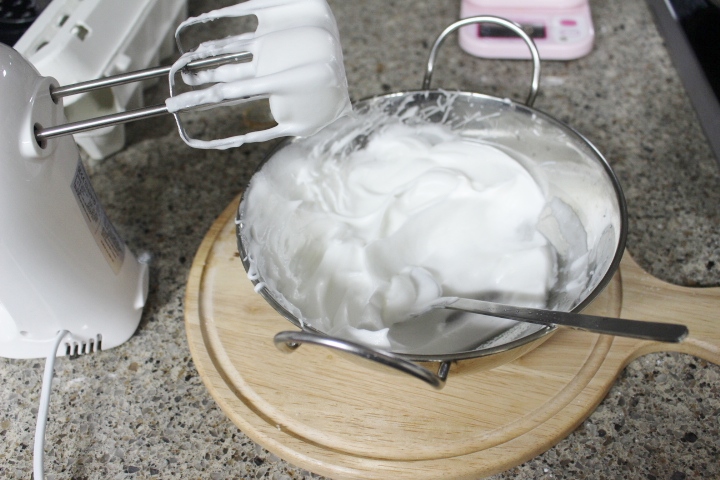 STEP 9/20Mix it with the dough you were waiting for earlier.
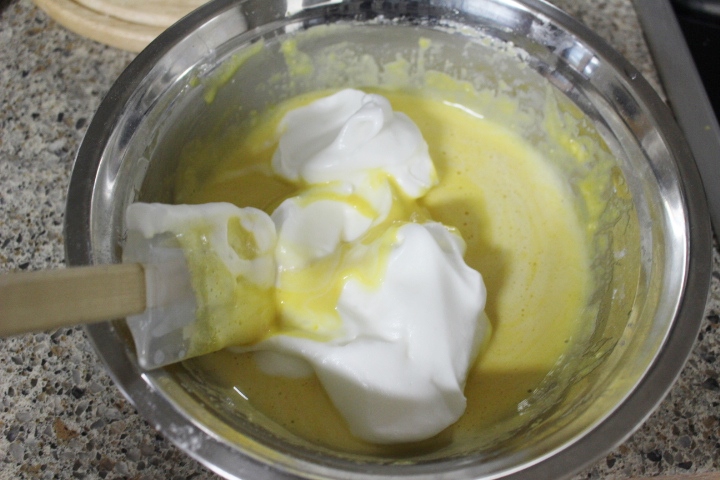 STEP 10/20Keep putting it in so that it's not watery. Dojima roll shell is done.
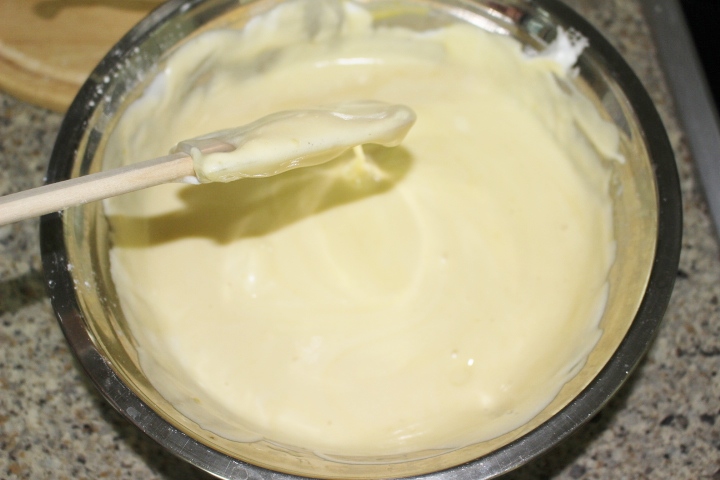 STEP 11/20Put parchment paper on the oven pan
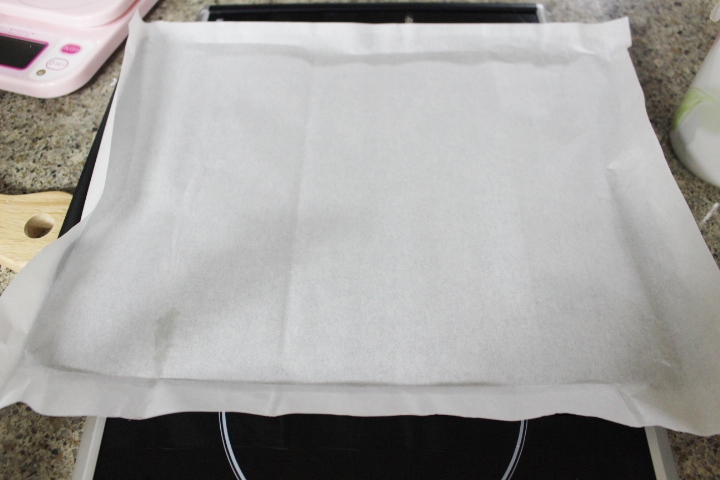 STEP 12/20Spread the dough evenly by cutting it flat.
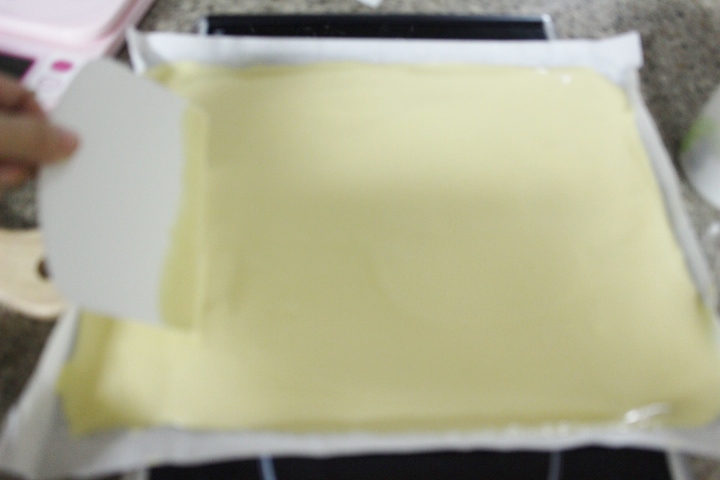 STEP 13/20Bake at 180 degrees for 15 minutes. Is the process difficult? Maybe it's because I put on macarons, but it was too simple for me. I didn't feel like it was expensive because there were all the ingredients.
 STEP 14/20Add sugar and make soft whipped cream to go inside.
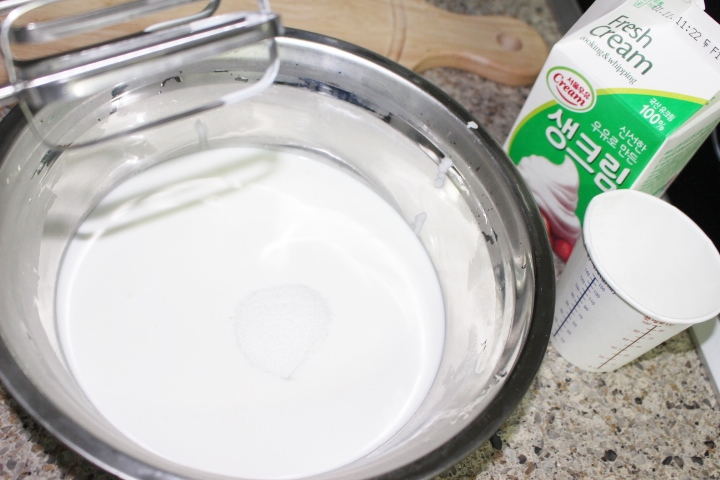 STEP 15/20In the meantime, the castella is cooked well.
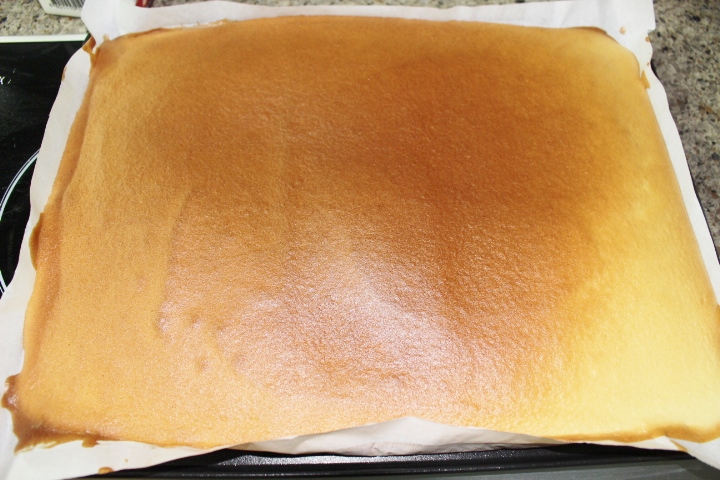 STEP 16/20It's hard to take off the bread. Spread the parchment paper and oil it. I used grape seed oil.
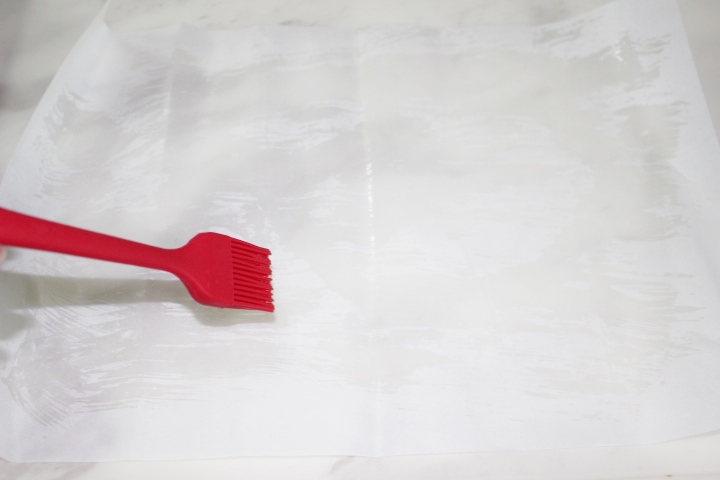 STEP 17/20Turn the baked bread upside down
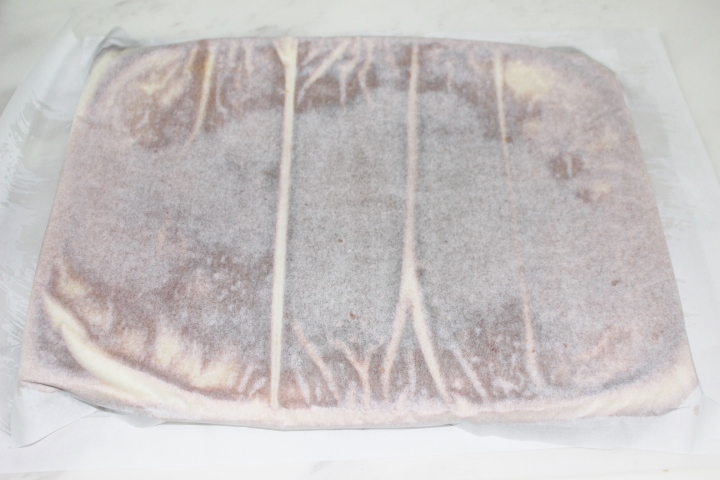 STEP 18/20Gently remove the parchment paper from the top. A white figure is revealed. I left the colored parts intact It's a part that's covered anyway. You can cut it off. Please trim the edges with a bread knife.
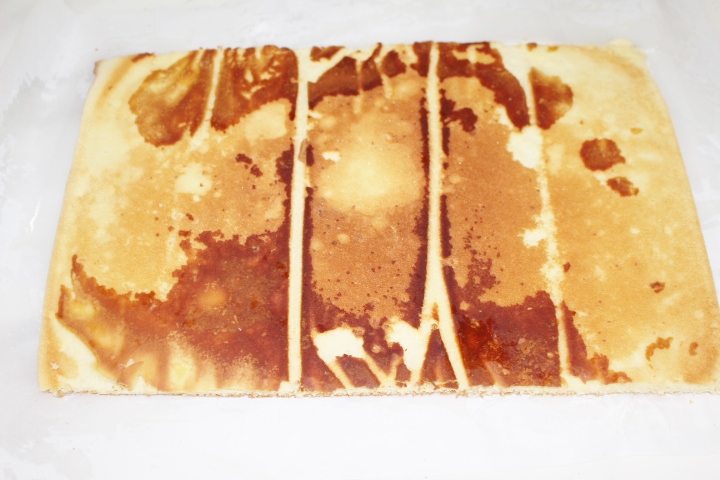 STEP 19/20I'll cut it in half and get two. Make an acid on one side and apply whipped cream evenly.
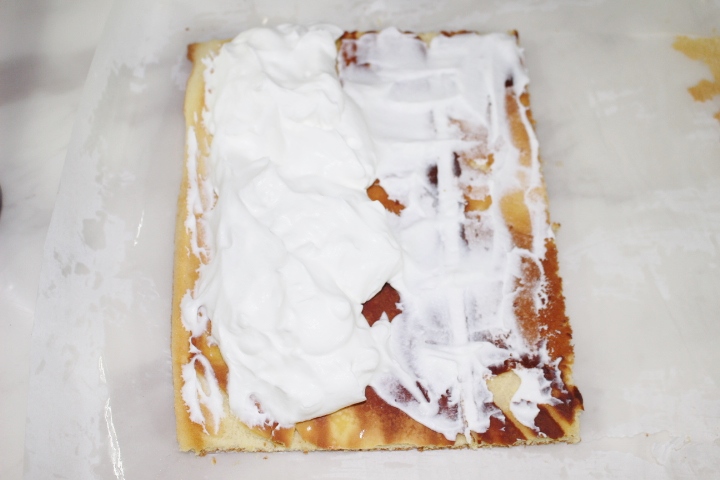 STEP 20/20Roll it up and leave it for a while. I like it more because it's hard when I keep it in the refrigerator. You can eat it after it hardens a little.
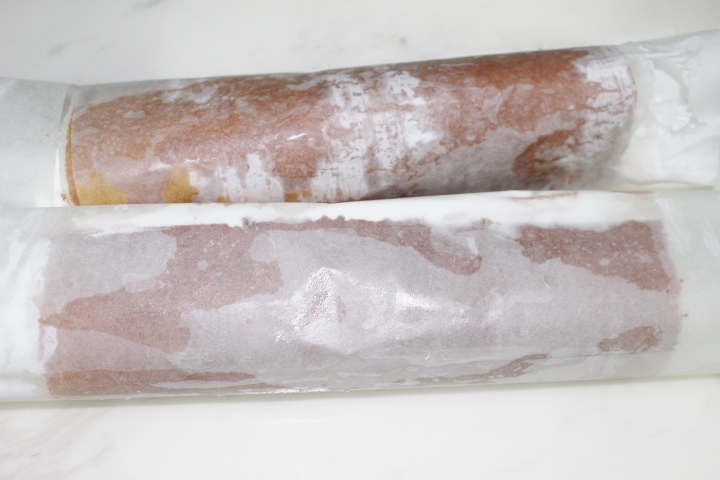
- chicken Recommended recipe
-
-
1
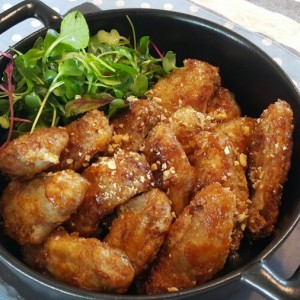 Making Kyochon Chicken - Soy Sauce Seasoned Chicken4.76(21)
 -
2
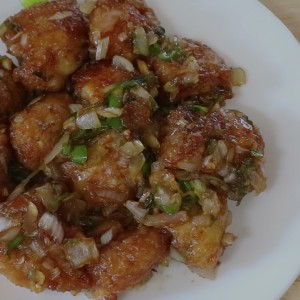 Cooking using leftover chicken! Making "Kkkanpung Chicken"4.95(20)
 -
3
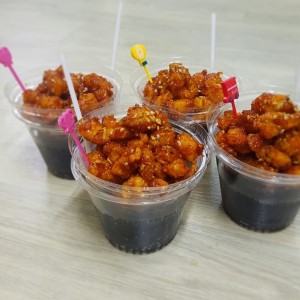
 Making barbecue chicken Let's make a barbecue-flavored chicken5.00(14)
 -
4
 Chicken breast chicken (cold pop)5.00(15)
-
- Japchae Recommended recipe
-
-
1
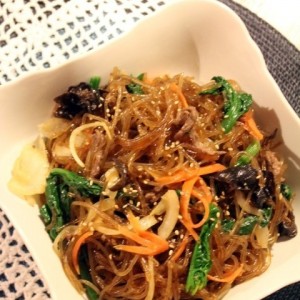
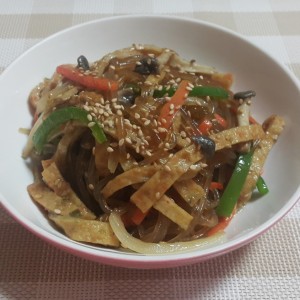 Making fish cake japchae with ingredients in the fridge4.86(78)
 -
2
 I make japchae really simple, too. Stir-fried japchae4.72(18)
 -
3
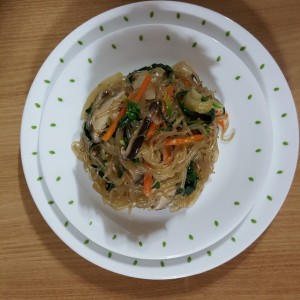 Making japchae easily and quickly4.85(13)
 -
4
 If you don't watch it, you'll regret it - super fast japchae gol4.71(28)
-