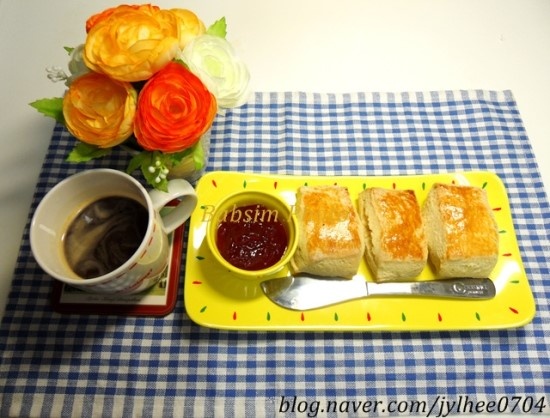
Scone
It's making scone with a light taste.
6 serving
Within 999 minutes

밥심은국력
- Ingredients
-
-
Soft flour700g
-
Baking powder10g
-
Butter120g
-
egg180g
-
Milk150g
-
Sugar80g
-
Salt8g
-
- Cooking Steps
-
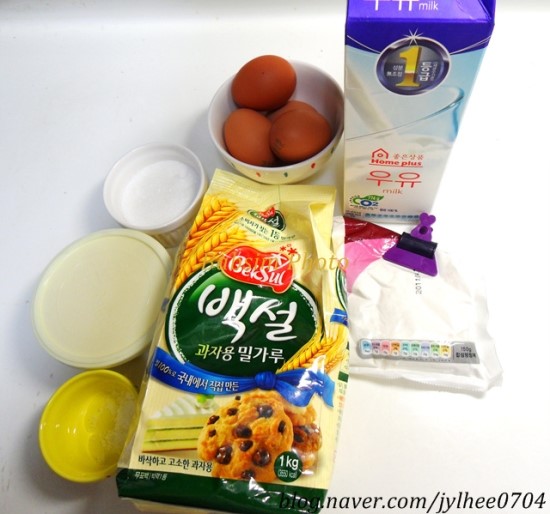
STEP 1/17Prepare the ingredients according to the recipe above. For flour, we used soft flour out of three types: strong flour, gravity flour, and soft flour. Flour is in the order of strong persistence, and soft flour is the least persistent, so it is usually used to make crispy cookies. Therefore, we use a lot of strong flour to make the bread chewy. Gravity powder is often used, so it is also written as multipurpose. So the most common thing in the household is the gravitational powder.
 STEP 2/17Mix 700g of flour and 10g of baking powder. Therefore, it is essential to put it on the scale accurately. The most important thing in baking is accurate measurement. Therefore, many people say that it is easier than Korean food because it is less likely to fail if you measure it well. It is difficult because the Korean recipe is not accurately measured, and this is also an obstacle to the globalization of Korean food. If you are good at Korean food, it's delicious even if you add the seasoning. When baking, it is essential to sift the powder ingredients. If you sift it like this, the air goes in and the bread floats well. Do the sift twice.
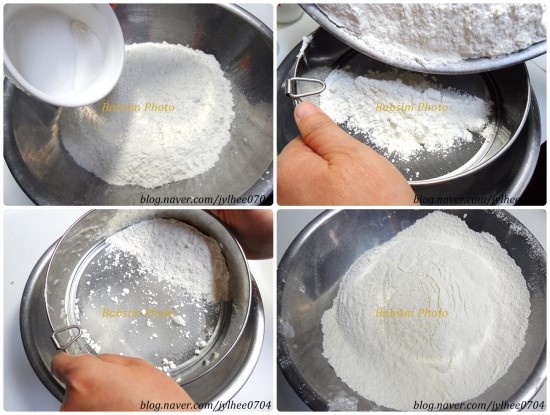 STEP 3/17Add 120g of butter left at room temperature and cut the butter with a scraper or spatula to make it smaller. The butter size should be much smaller. Then add 80g of sugar and 8g of salt.
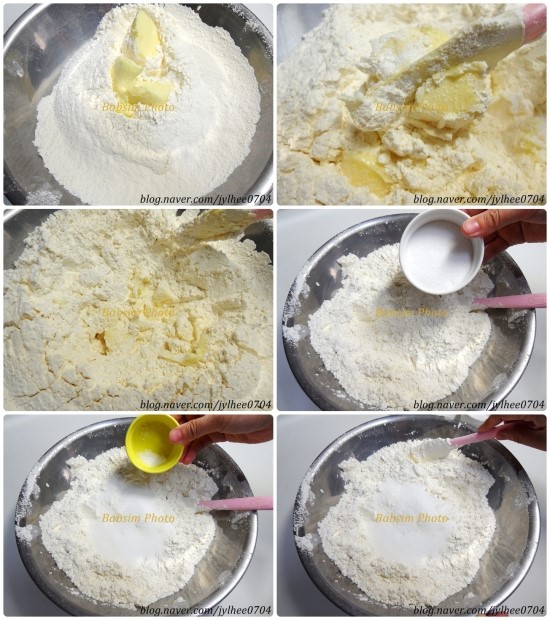 STEP 4/17Prepare 180g of eggs and 150g of milk. For your information, each egg weighs 50g, but the weight varies slightly depending on the size of the egg. When making bread, eggs should always be taken out of the refrigerator and left at room temperature for 30 minutes to inflate the bread well.
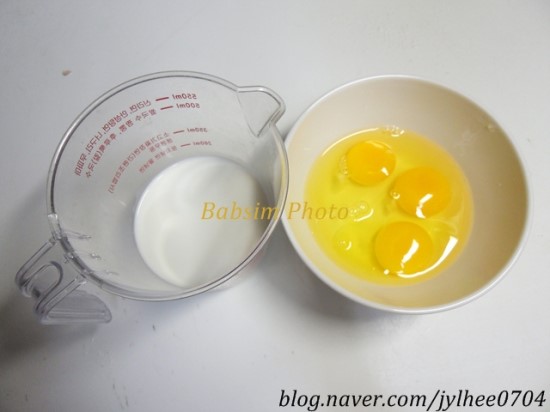 STEP 5/17Add egg water and milk. Then stir roughly with a spatula to blend well.
When it starts to clump, knead it with your hands.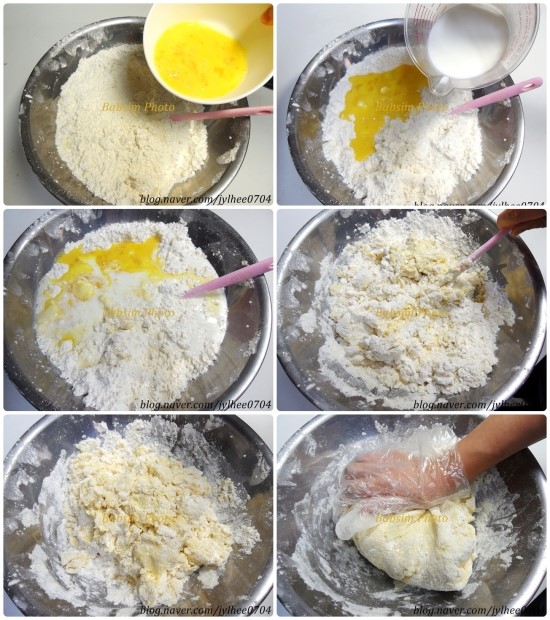 STEP 6/17The dough is done.
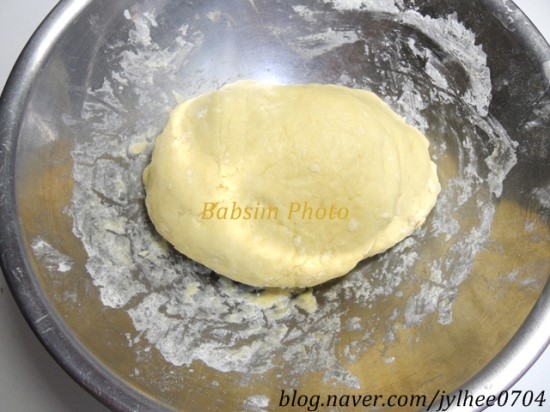 STEP 7/17Cover with plastic wrap and rest in the refrigerator for 30 minutes.
 STEP 8/17It's dough taken out of the refrigerator.
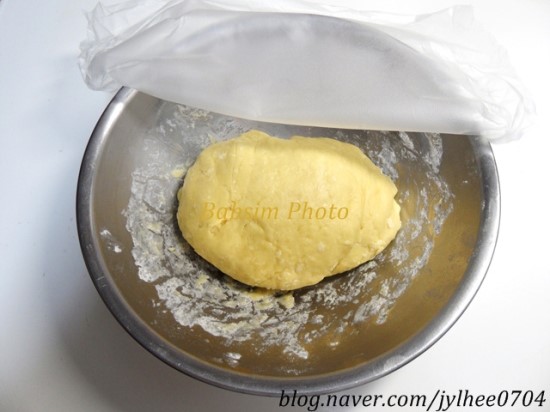 STEP 9/17Sprinkle the powder with soft flour~ (This is to prevent the dough from sticking.) Put the powder back and forth on the dough and push it with a rolling pin, pushing it to a thickness of 2.5-3cm thick.
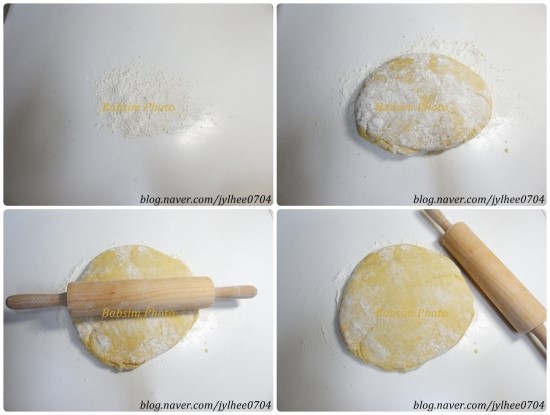 STEP 10/17I'm going to make a square shape instead of a traditional triangle. Cut off the ends and organize them. After cutting it vertically into three parts first
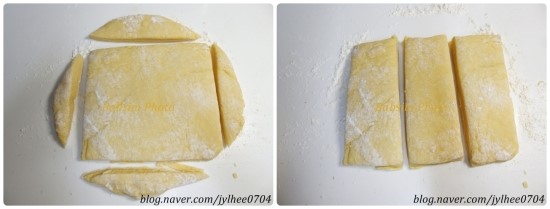 STEP 11/17I divided it into 4 pieces horizontally. You can make the shape you want, such as a triangle, a circle, or a square. Originally, the traditional shape is a triangle
 STEP 12/17Place parchment paper on the oven pan and leave space in consideration of the scones swelling.
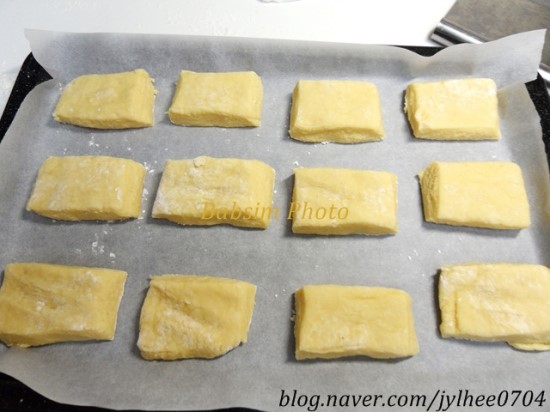 STEP 13/17Dip the yolk into a silicone brush and spread it evenly over the top of the scones.
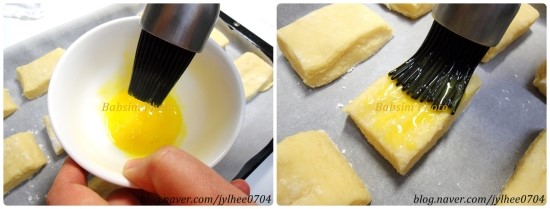 STEP 14/17All you have to do is bake it in the oven.
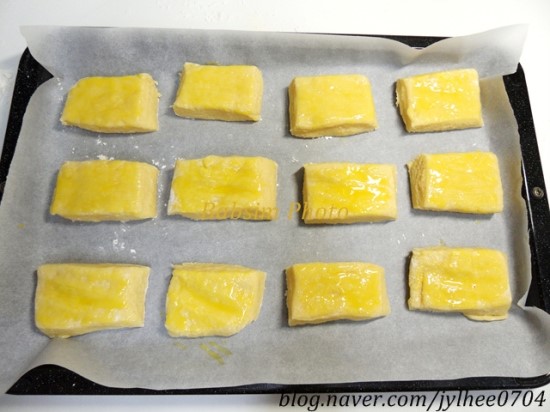 STEP 15/17Bake at 180 degrees for 25 to 30 minutes. I baked it without preheating because it's a light-wave oven, but you must preheat the oven that needs preheating first. Each house has different oven performance, so please note that if it's not cooked enough, you can bake it a little longer. I cooked it by hand, not by automatic cooking.
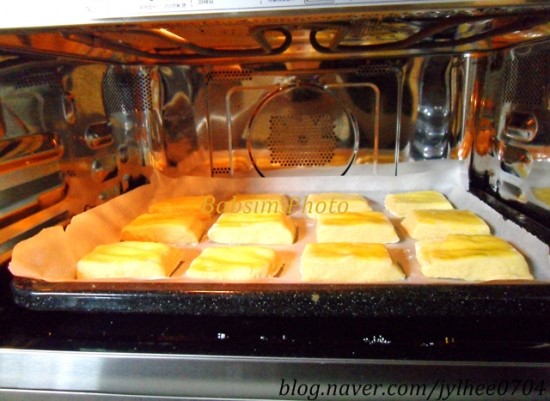 STEP 16/17I took it out of the oven.
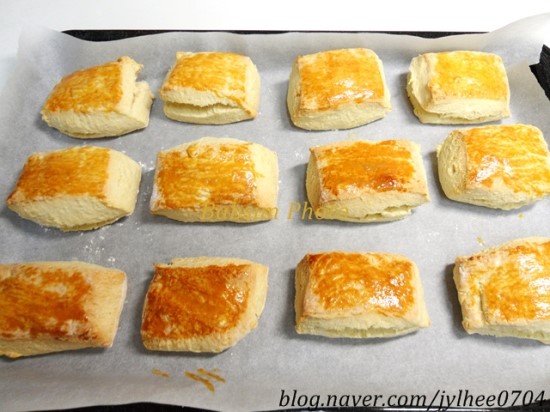 STEP 17/17It's better to cool it slightly on the cooling net.
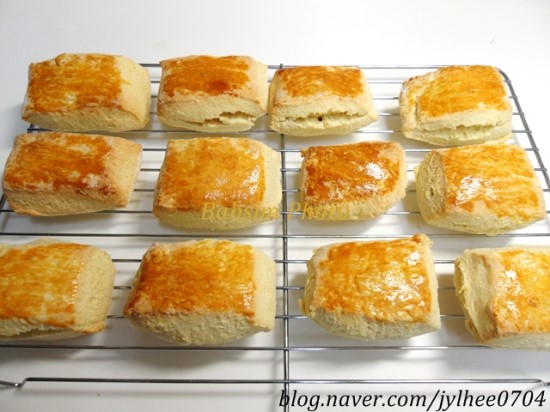
- Cooking review
-
5.00score
-
579*****scoreThanks to you, I enjoyed the meal. Thank you~^^2017-11-02 23:36
-
- Japchae Recommended recipe
-
-
1
 Making fish cake japchae with ingredients in the fridge4.86(78)
 -
2
 Making red pepper japchae / red pepper japchae rice tastes like5.00(16)
 -
3
 Bean sprout fish cake japchae4.84(37)
 -
4
 How to make bean sprout japchae4.97(30)
-
- Bulgogi Recommended recipe
-
-
1
 Duck Bulgogi is the best for nutritional supplements4.95(39)
 -
2
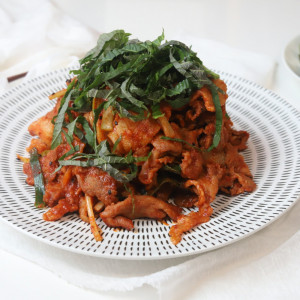 Pork red pepper paste bulgogi, cost-effective pork back-leg dish4.96(27)
 -
3
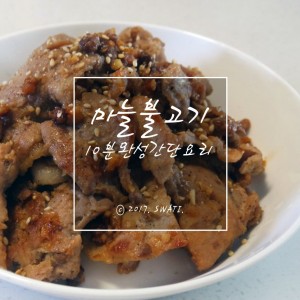 10 minutes complete!] Garlic bulgogi, simple and delicious!4.94(144)
 -
4
 How to make Ttukbaegi Bulgogi :: Have a Ttukbaegi~4.96(24)
-