Homemade cheesecake pickled radish
Homemade cheese pickled radish that's as good as commercial pickled radish
6 serving
Within 999 minutes
원빵
- Ingredients
-
-
Radish500g
-
Let's do it5ea
-
Salt1handful
-
Water2cup
-
Sugar1cup
-
Vinegar1/3cup
-
Salt1little
-
- Cooking Steps
-
STEP 1/11Cut radish into appropriate thicknesses while considering the thickness of commercial pickled radish. It's a bit chewy as it's salted, so cut it into a thick slice that's not too thin. Adjust the length according to the type of gimbap you want and cut it. To make it the same size as the commercial pickled radish in a long gimbap, you have to cut the radish vertically, but I cut it short to use only half of the radish. And don't cut the radish, just pickle and ripen the whole radish, and then cut it into the shape you want and put it in the kimbap. I cut it and prepared it so that it can be pickled and aged as soon as possible.
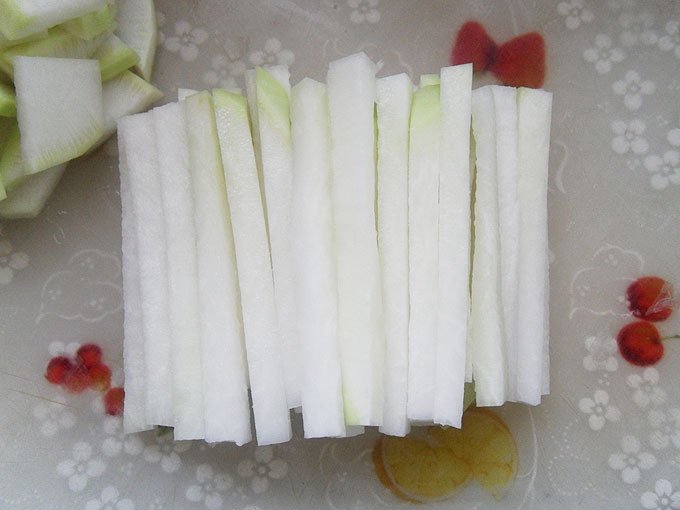 STEP 2/11Since the radish is cylindrical, cut the straight part of the middle long and the rounded edge thinly. I'm going to make pickled radish and eat it with dumplings or jajangmyeon.
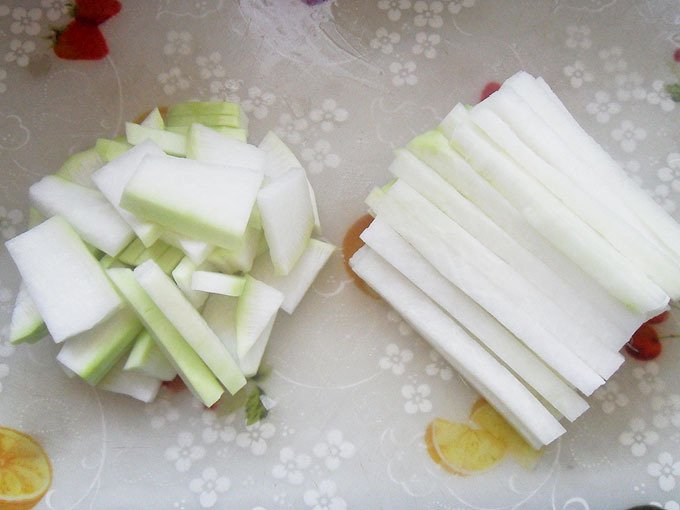 STEP 3/11If you cut the radish into the desired size, sprinkle thick salt evenly and soak it for about 4 to 5 hours. Turn it upside down in the middle so that it can be evenly pickled When you pickle a whole radish without cutting it, you put a lot of salt on it, but I cut it and pickled it, so please add a proper amount.
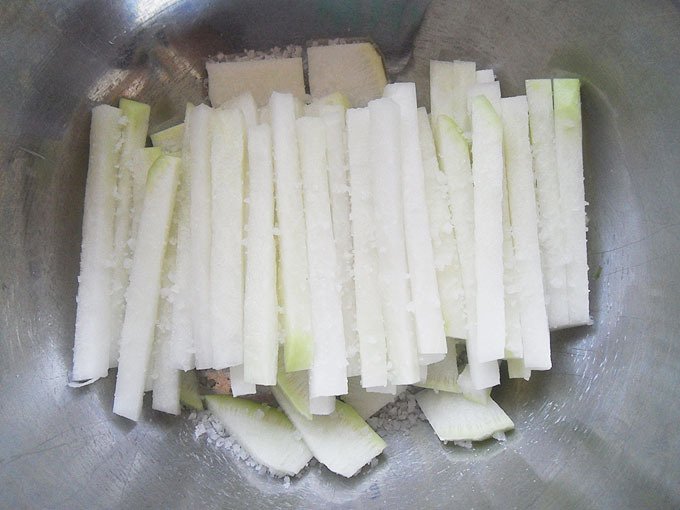 STEP 4/11Wait until the salt is all melted and the radish is mushy.
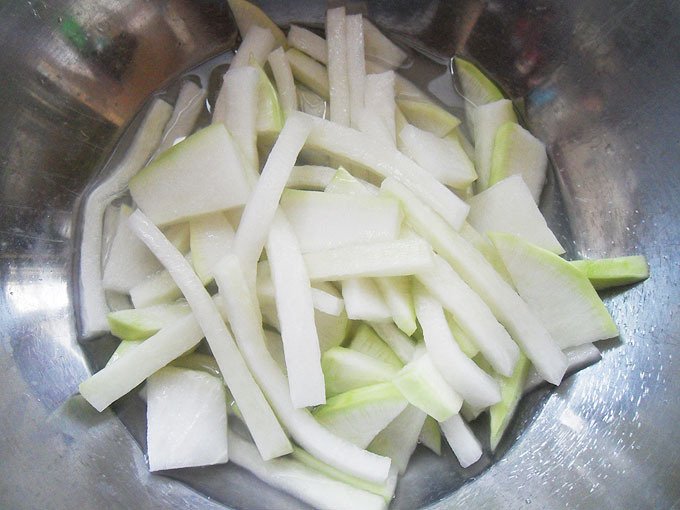 STEP 5/11When you fold the radish in half, it doesn't cut and if it bends, it's moderately salted. There's still a bit of crunchiness left, but I don't want it to be too salty, so I'll stop here. If you want a very firm texture, marinate it a little more
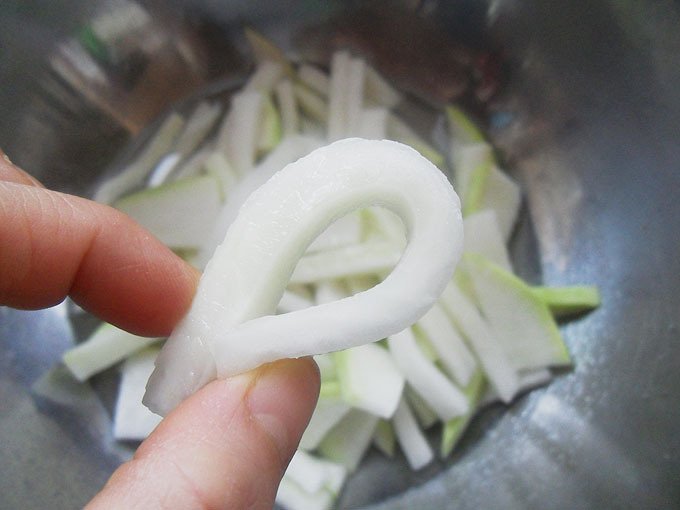 STEP 6/11When the radish is pickled, make sweet vinegar water. Boil water, vinegar, sugar, salt, and cheese in a pot according to the amount of ingredients. I made a slight cut on the ruler to make yellow water come out well, and as soon as I put it in the water, yellow water starts to come out little by little.
 STEP 7/11And even before the water boils, it turned yellow.
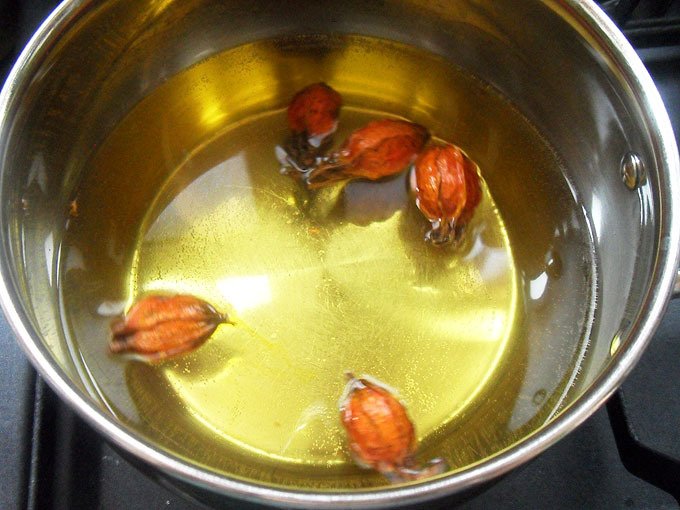 STEP 8/11While waiting for the sweet vinegar to boil, put pickled radish in a bowl to mature the pickled radish one by one.
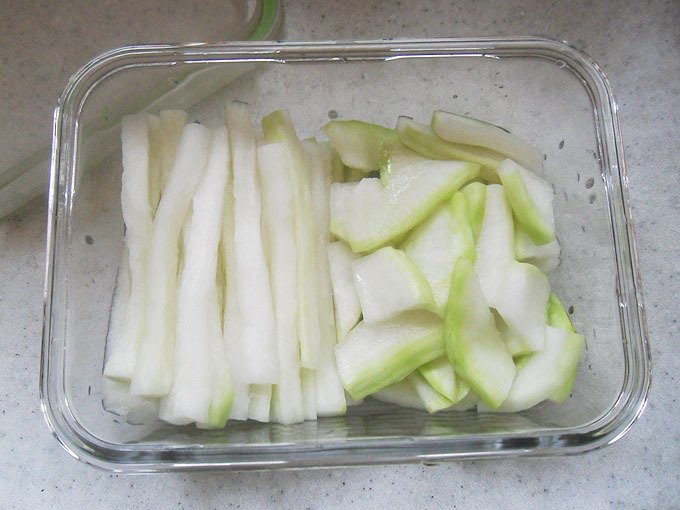 STEP 9/11Sweet vinegar water that turned into a thicker yellow as it boiled!! If you boil it for too long, it can have a bitter taste, so if the yellow water comes out, it's good to take it out right away
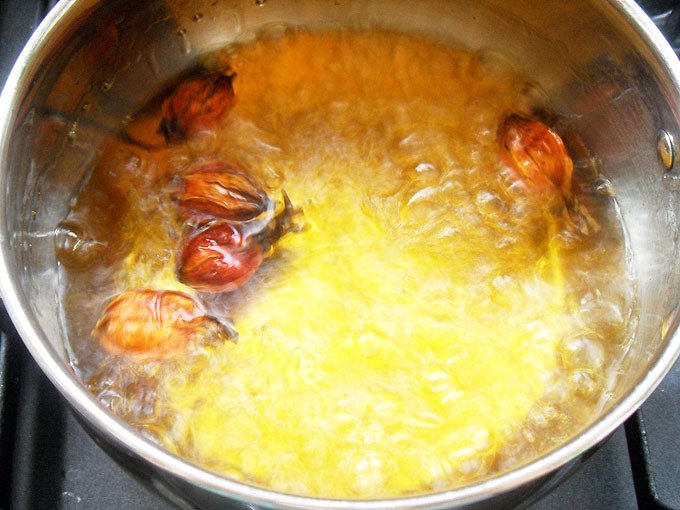 STEP 10/11Pour the hot sweet vinegar water into a bowl of pickled radish, close the lid, cool it at room temperature, and put it in the refrigerator for about a week to ripen the delicious pickled radish.
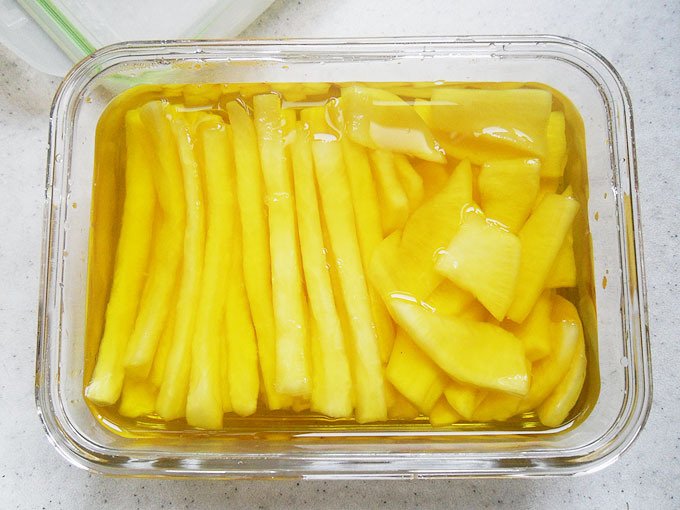
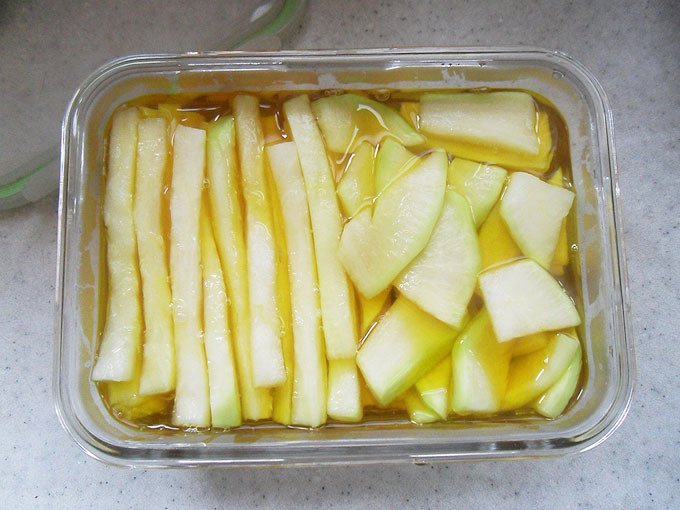 STEP 11/11Wow, isn't the color really pretty? It was taken before leaving it at room temperature overnight and putting it in the refrigerated. It's been a day since I made it. It's been a day and it's turned yellow.
- Bibimbap Recommended recipe
-
-
1
 Healthy + Honey Taste + Simple Eating Alone! Salted pollack avoc5.00(9)
 -
2
 Cockle Bibimbap - Making Cockle Bibimbap4.80(10)
 -
3
 Making bean sprout bibimbap5.00(14)
 -
4
 Cockle bibimbap! It's more delicious than buying it4.94(17)
-
- chicken Recommended recipe
-
-
1
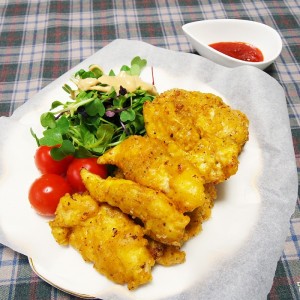
 Making crispy chicken without a drop of oil with an air fryer4.75(12)
 -
2
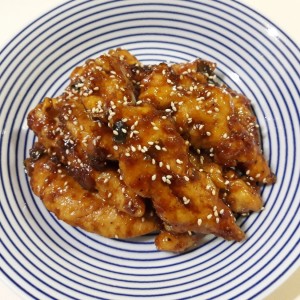
 Imitating ZICOBA chicken 100%4.93(256)
 -
3
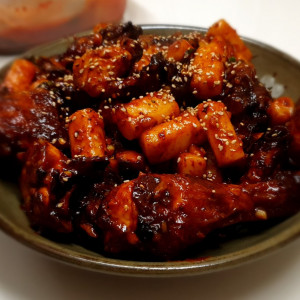
 Making soy sauce chicken Kyochon slap sauce :)4.81(63)
 -
4
 How to make curry chicken, make boneless curry chicken :)4.86(7)
-