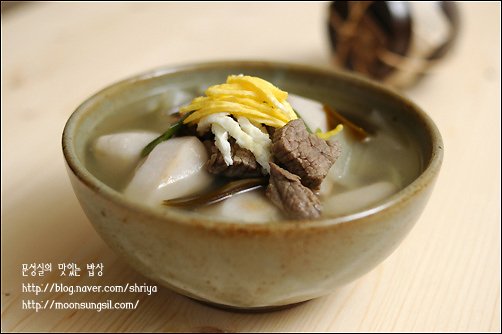
How to cook taro soup
When I was young, I hated the slippery taste of taro, but now I'm attracted to the soft and mysterious taste, so I'm looking for it more these days.
6 serving
Within 60 minutes

문성실
- Ingredients
-
-
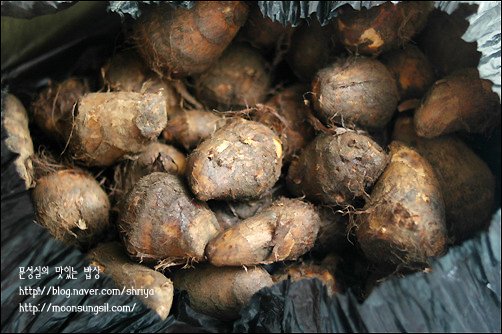
a taro400g
-
Beef200g
-
Radish1piece
-
leek1/2ea
-
anchovy broth10cup
-
Saltlittle
-
ground pepperlittle
-
Cheongju2TS
-
crushed garlic1TS
-
salted anchovies2TS
-
Sesame oil1TS
-
ground pepperlittle
-
- Cooking Steps
-
STEP 1/13Wear gloves and trim the taro with a filler or knife. Otherwise, people who are sensitive or have weak skin may experience itching.
 STEP 2/13Peel the taro and soak it in water. Peel it all at once and trim it.
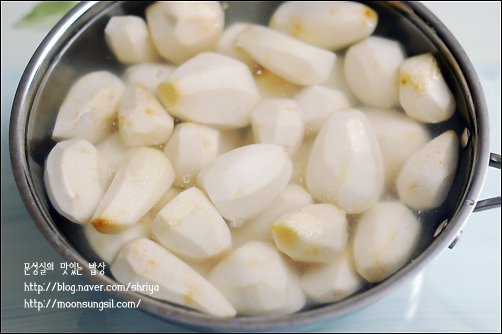 STEP 3/13Blanch taro for about 15 minutes in 7 cups of rice water with 1 thick salt when it boils hard. The reason for blanching taro in rice water is that it can block the slippery surface and eliminate the arin taste of taro itself.
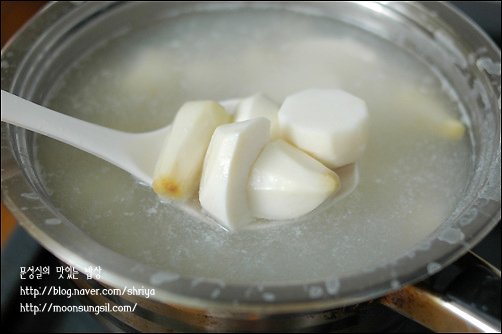 STEP 4/13Rinse blanched taro in cold water, drain and drain.
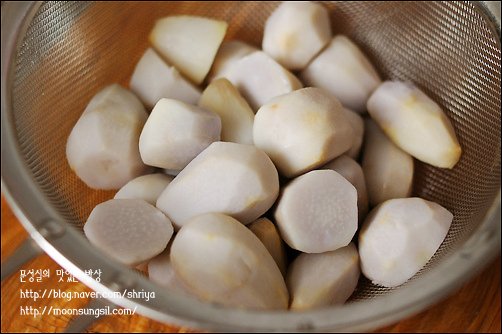 STEP 5/13The anchovy kelp stock, which is boiled with anchovies and kelp, is boiled and cooled in advance to receive only clear broth, and the kelp is taken out separately and cut into diamond shapes.
 STEP 6/13Cut the beef brisket, which is for soup, into bite-size pieces and season it with rice wine 2, minced garlic 1, anchovy sauce or soy sauce or tuna soup 2, sesame oil 1, and a little pepper.
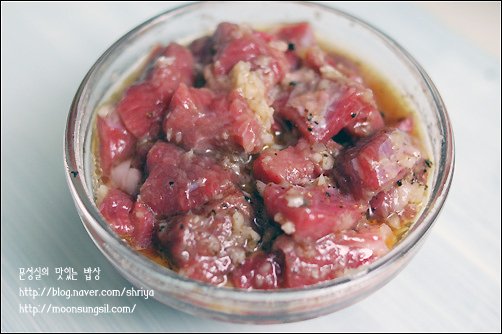 STEP 7/13Slice the radish thickly and roughly, and slice the green onion diagonally.
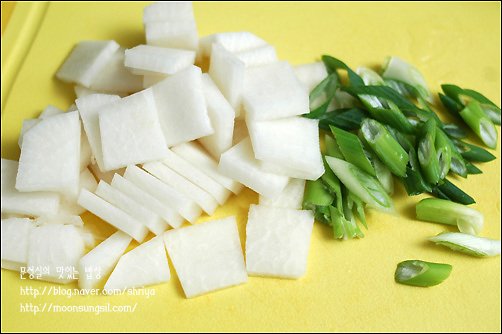 STEP 8/13Add seasoned beef to saucepan and stir-fry until the meat surface is cooked white so that it does not burn sweetly.
 STEP 9/13Then add radish and stir-fry together.
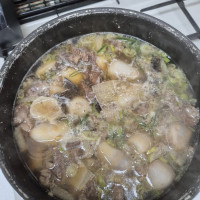
 STEP 10/13Add the pre-boiled anchovy kelp stock and boil it until the meat tastes good and the radish is fully cooked. Beef soup tastes better the longer it boils. First open the lid and bring to a boil, then close the lid and bring to a boil.
 STEP 11/13Use a ladle to remove the foam and oil that floats up in the middle.
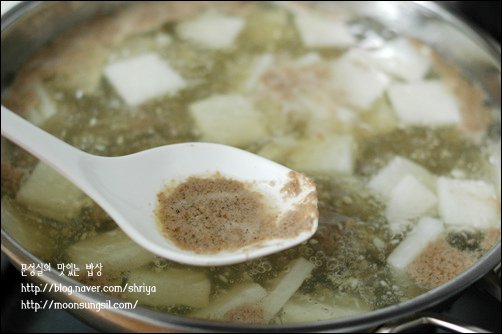 STEP 12/13When the soup is delicious, add the blanched taro and bring to a boil.
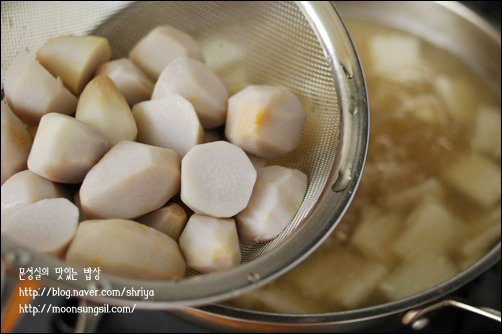 STEP 13/13Lastly, add chopped kelp and green onions, and add salt and pepper to taste.
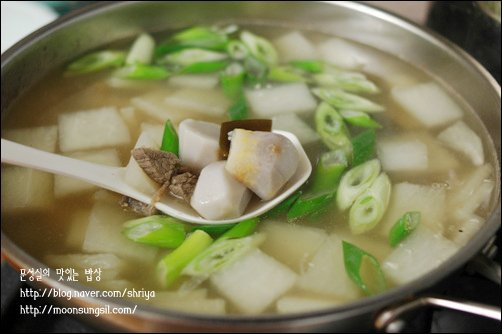 It's a paper cup and rice spoon measurement.
- Cooking review
-
4.90score
-

 373*****scoreIt's been a while since I made it... It helped me a lot^^2024-09-17 12:53
 -
313*****scoreWash the taro, blanch it in boiling water, put on the gloves, twist it, and it will peel off. After that, soak it in water to drain it2024-09-16 09:12
-
112*****scoreSuccess! It's good~~~2020-10-27 17:35
-
 390*****scoreThanks to you, I succeeded in making taro soup for the first time I also blanched bean sprouts^^ The taste is perfect! The texture of the taro is good, too2020-10-07 00:02
 -
 203*****scoreI really enjoyed the meal.2019-10-25 14:46
-


- stir-fried Rice Cake Recommended recipe
-
-
1
 How to make spicy tteokbokki deliciously4.90(39)
 -
2
 Ketchup tteokbokki. Making spicy tteokbokki. Eye snacks4.91(53)
 -
3
 Making Baekjubu tteokbokki4.96(80)
 -
4
 [Simple home cooking] Sweet and salty! Making royal tteokbokki w4.83(47)
-
- Japchae Recommended recipe
-
-
1
 How to make pepper japchae4.91(11)
 -
2
 Meatless japchae (paprika japchae with only vegetables)4.88(16)
 -
3
 Red pepper japchae. Golden recipe for red pepper japchae4.97(36)
 -
4
 (Drinking at home) Chili Chili Japchae - Home Party / Guest Serv4.97(270)
-